When we moved into our new home, being a new build it was like starting with a blank canvas. This was something we were very excited about as it meant that we could put our own stamp on our home from fresh.
On the plus side this meant we had a whole house to make our own but on the down side this meant we had a whole house that needed a lot of decorating, DIY and sorting to make our own.
Gallery walls
Having a lot of white walls can be the perfect excuse to incorporate prints or a trip down memory lane. This solution will be the easiest and quickest thing you can do but it will make the most difference.
Obviously painting , colour blocking and/or panelling is an option, but this requires a great deal of effort and isn’t something that can be done in 5-10 minutes!
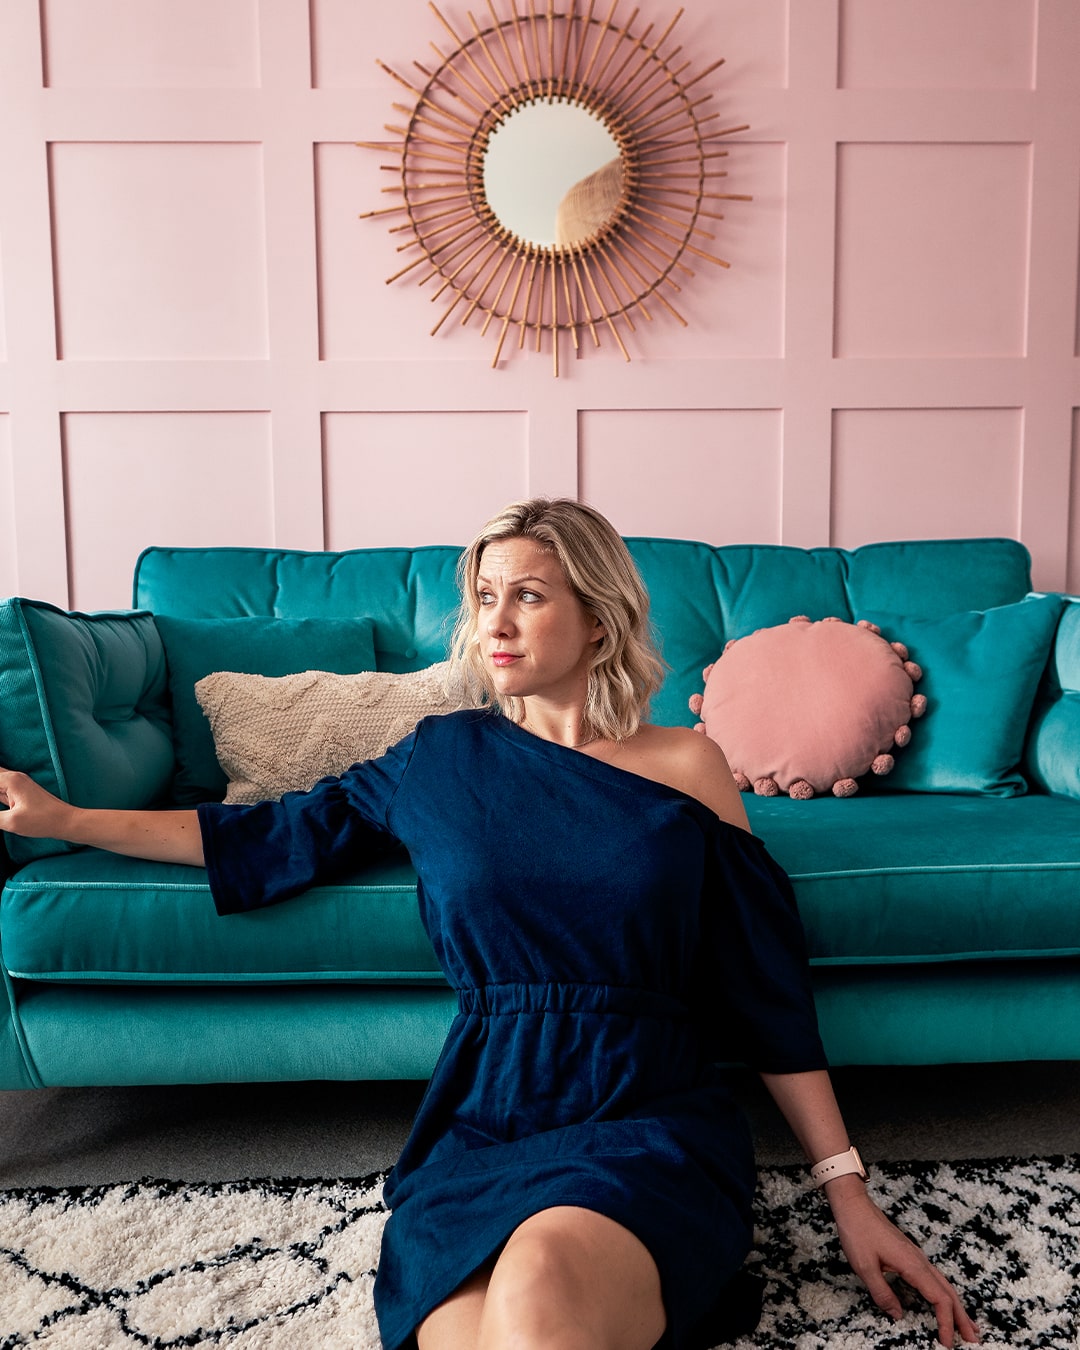
With gallery walls you have so many options, you can go for prints which is really fun to transform a dead space.
Or you could create gallery walls from your favourite photos, which lets face it, who in this day and age doesn’t take photos of their kids / days out / holidays / special moments!
Poster / Print gallery walls
There are so many companies offering prints all at differing sizes, finishes, frame options and so on. One company I have used multiple times before is Junique. I have worked with them through collaborations but I have also purchased prints from them myself.
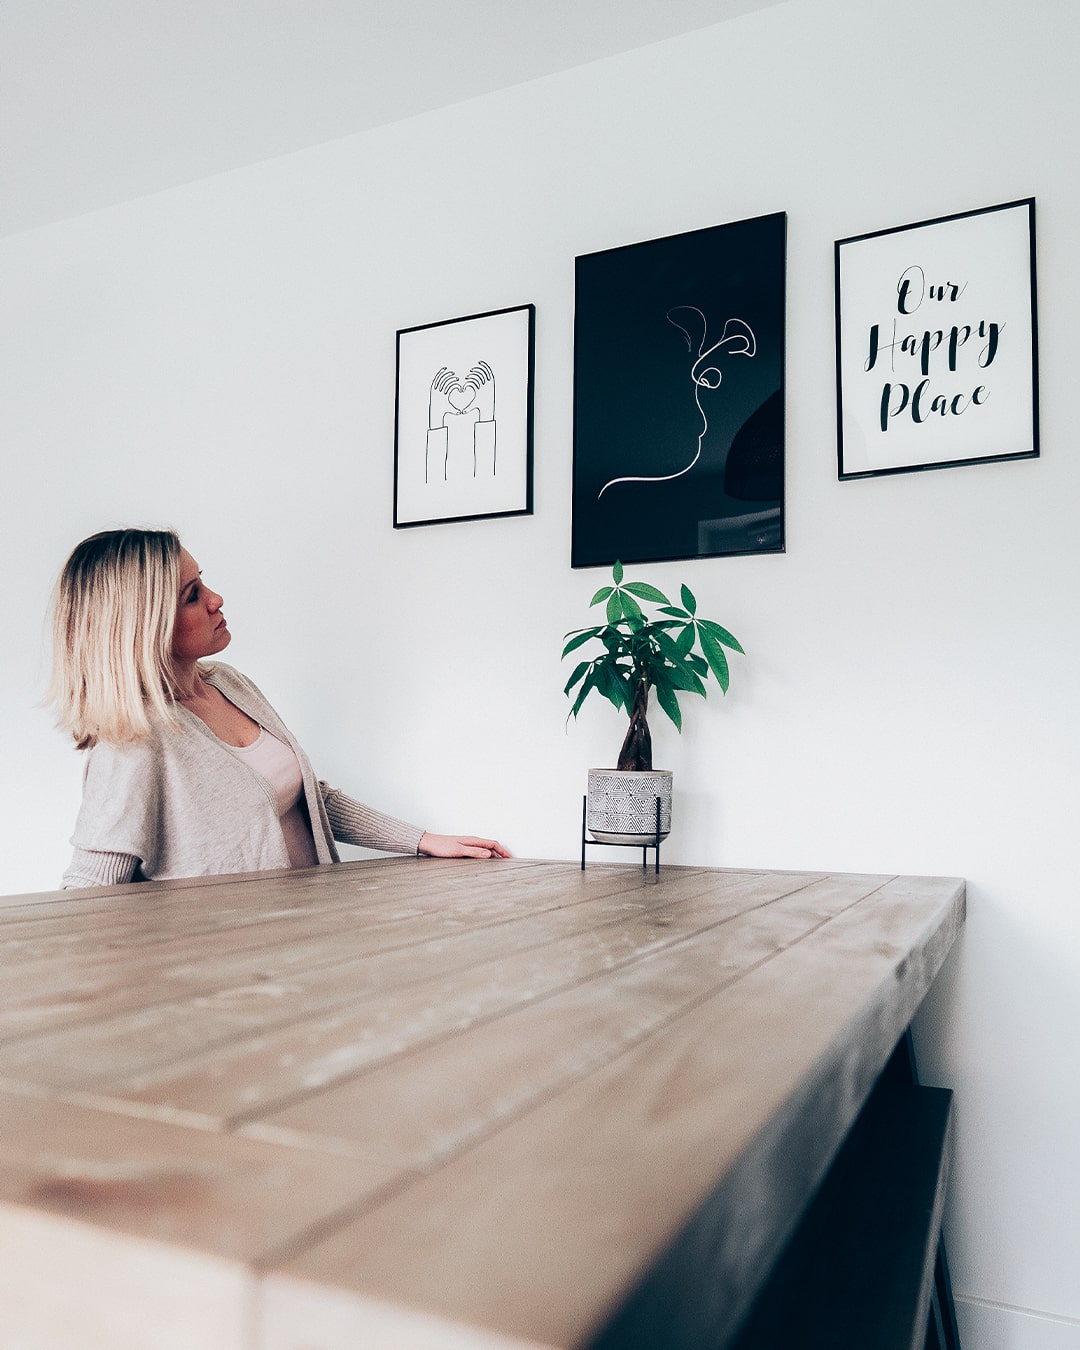
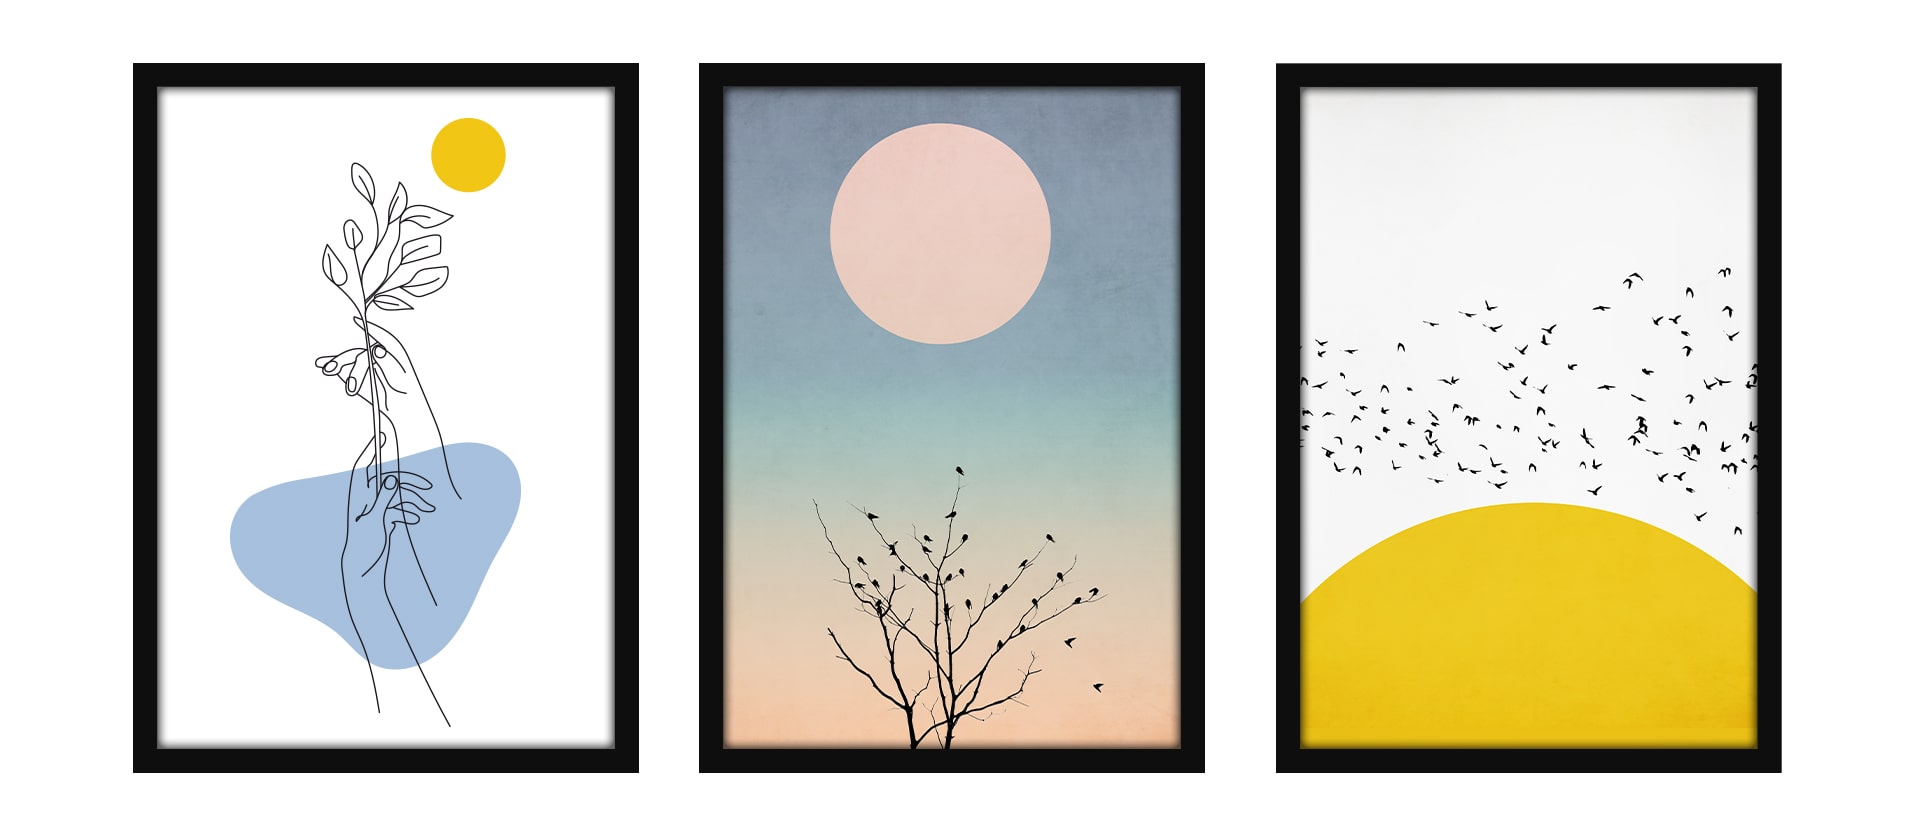
They have literally thousands of choices from animal prints, abstract, retro, nature, cities, the list goes on.
The only down side to Junique prints is that they offer them in strange sizes that don’t correspond to frame sizes that you can pick up easily in places like Wilkos or Ikea. They do offer frames, so depending on how many prints you would want to go for to transform one of your spaces, this could end up costing a fair bit.
One option you do have is to choose prints that have the design mostly central, that way you could order the prints and trim the size to fit the standard frames you can pick up easily.
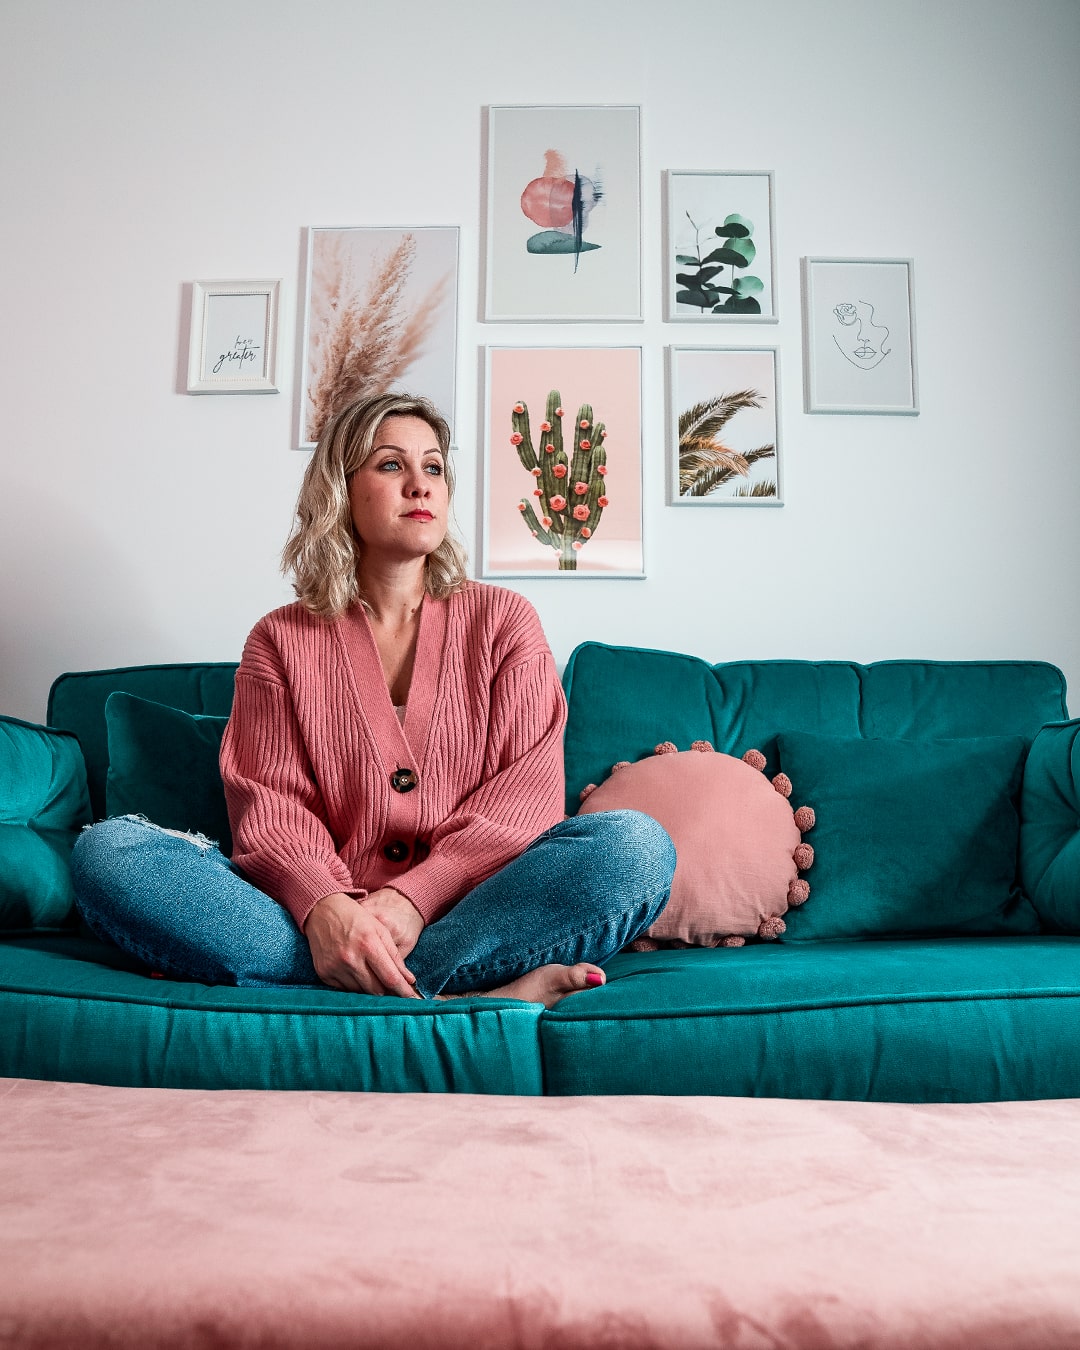
I will say one thing though, the frames are pretty good and if you go for their standard black or white plastic frames, it might not be as expensive and is could be with other premium options like wooden frames.
Photo gallery walls
For a gallery wall, the photo gallery wall has to be my favourite for transforming plain spaces. We absolutely love taking photos in our house, so it is a good position to be in to have so many choices.
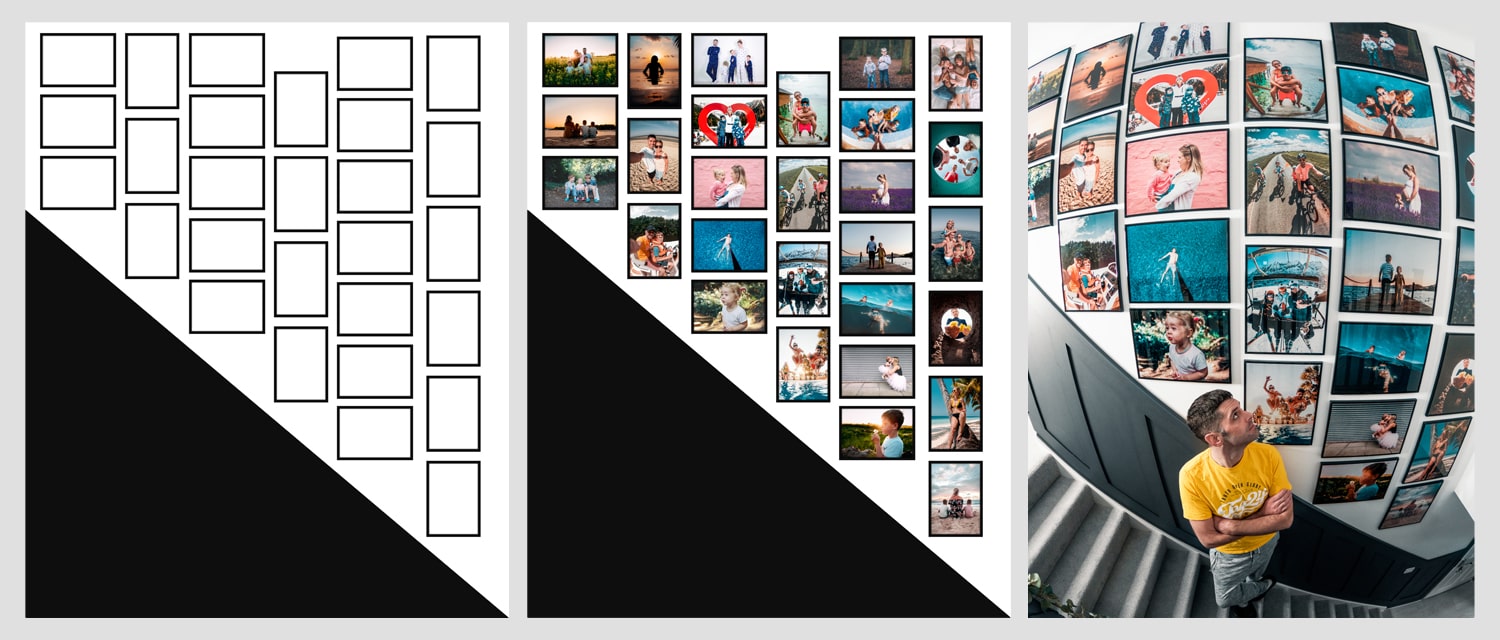
We recently transformed our stairs wall to a photo gallery wall. It was such a huge white wall, the biggest in our new home.
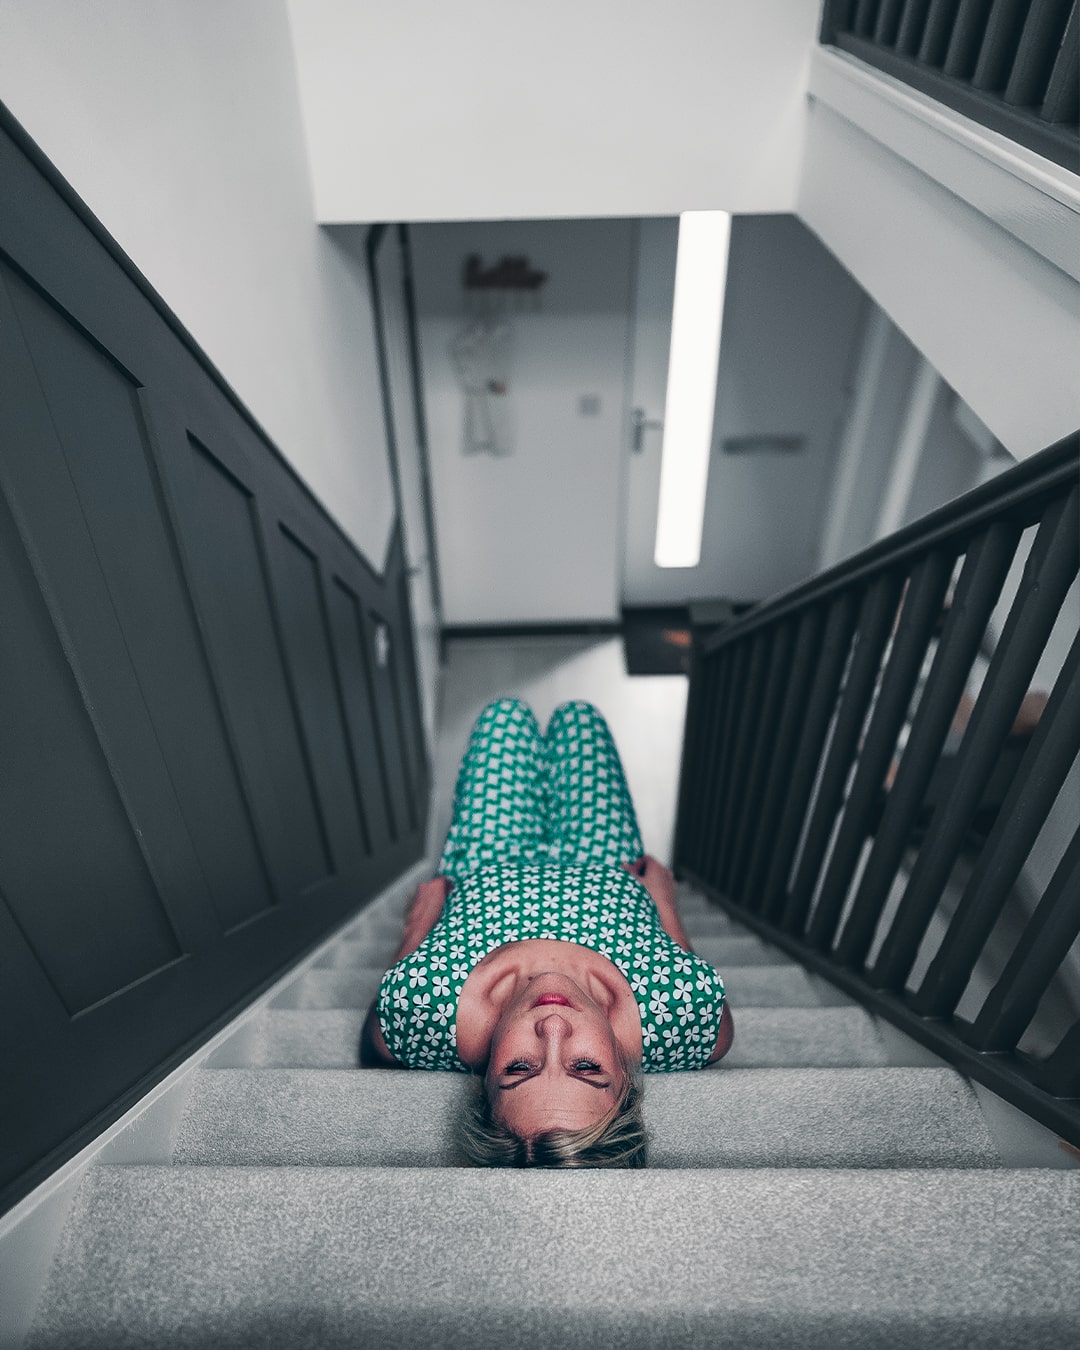
We had always planned to do half panelling, but once we had finished we knew that it needed something more.
When it comes to gallery walls, the hardest part is always deciding how to arrange your prints/photos. Usually what we do is lay them out on the floor in front of our wall. so we can see how we want the gallery to look.
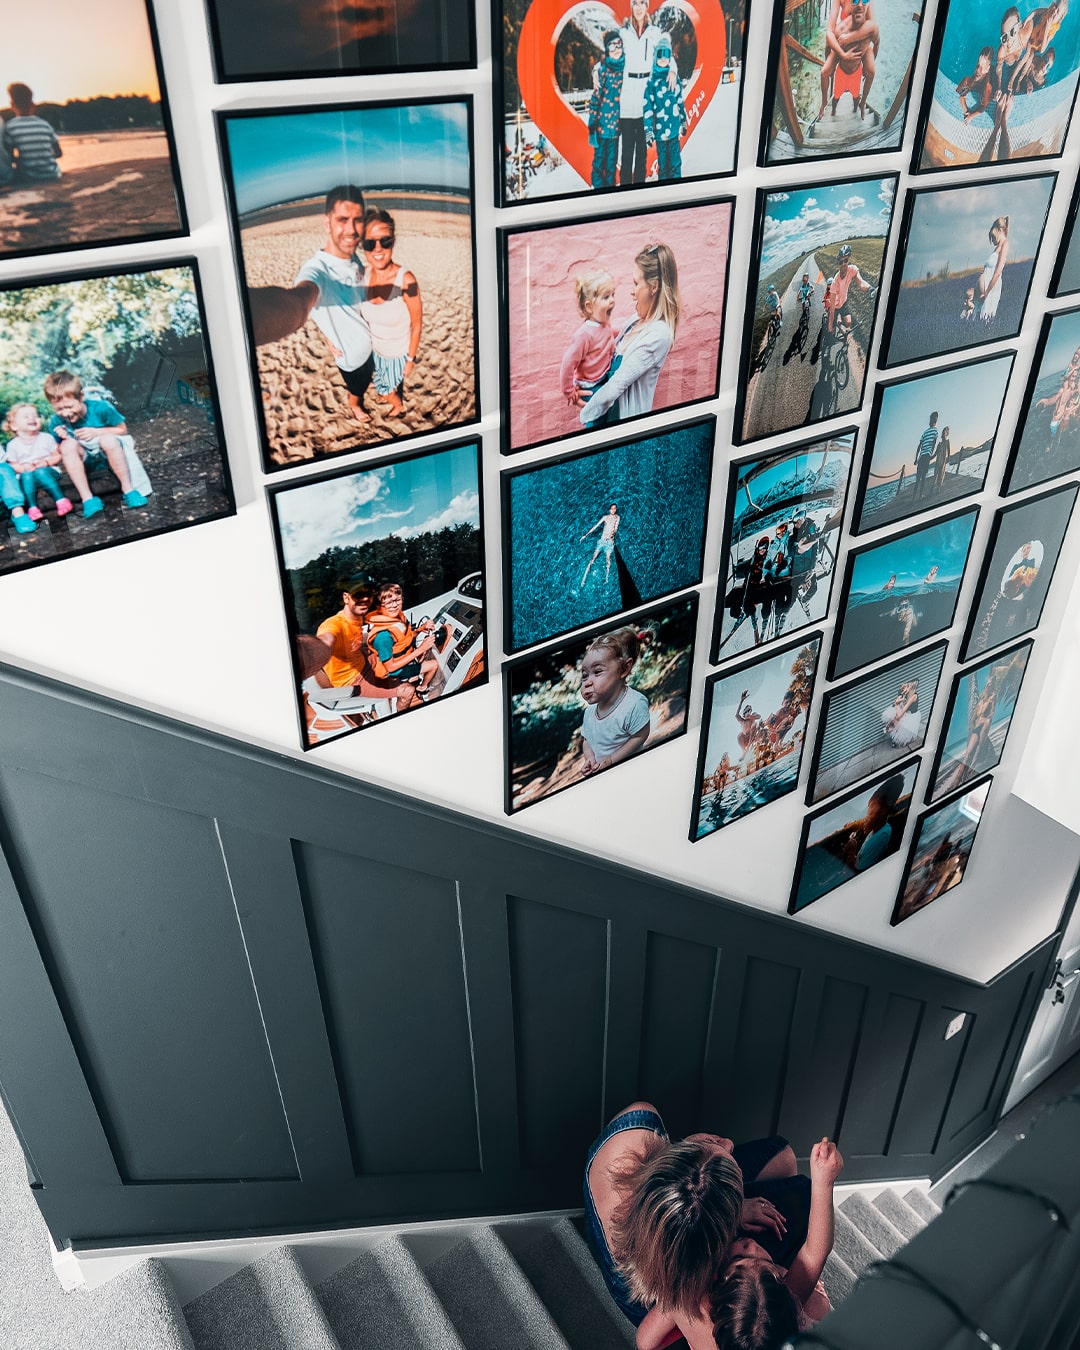
This usually helps if you have the frames and/or prints in advance as it will make it easier then to just order a random amount of prints and then set about laying them out. It is always a good idea to have your layout in mind first, then you can set about ordering the prints.
There is also another way, but this requires a bit more of an effort, but this way is absolutely fail safe if you have the time, patience and resources to do it.
The answer is photoshop! You can get the dimensions of your wall and it makes it super simple to design the layout based on the sizes of prints/frames you want to use. This is actually how we did the gallery wall for our stairs.
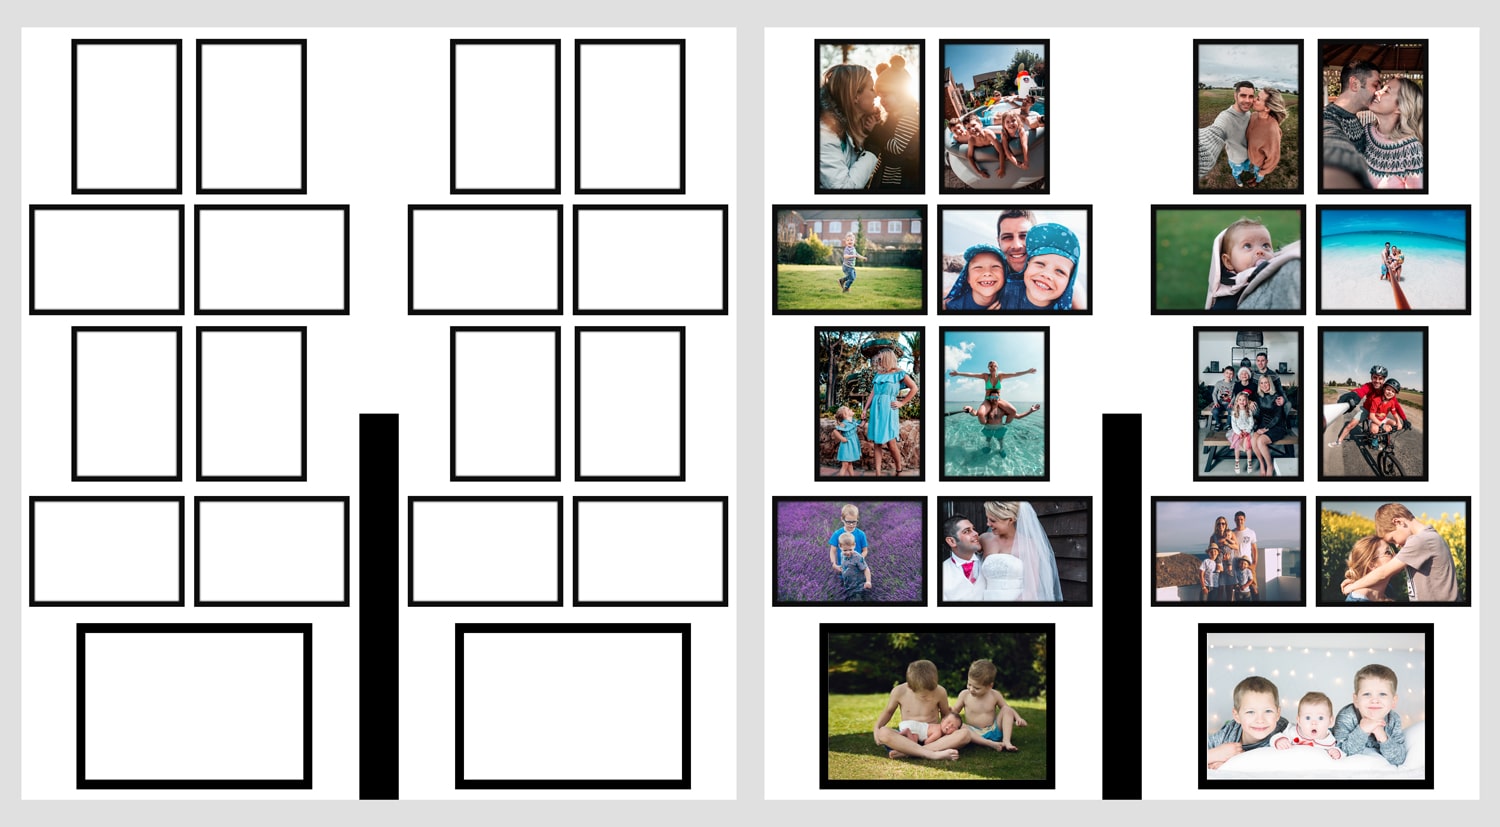
We made it even easier by designing it around using all the same sized frames but varying up the orientation.
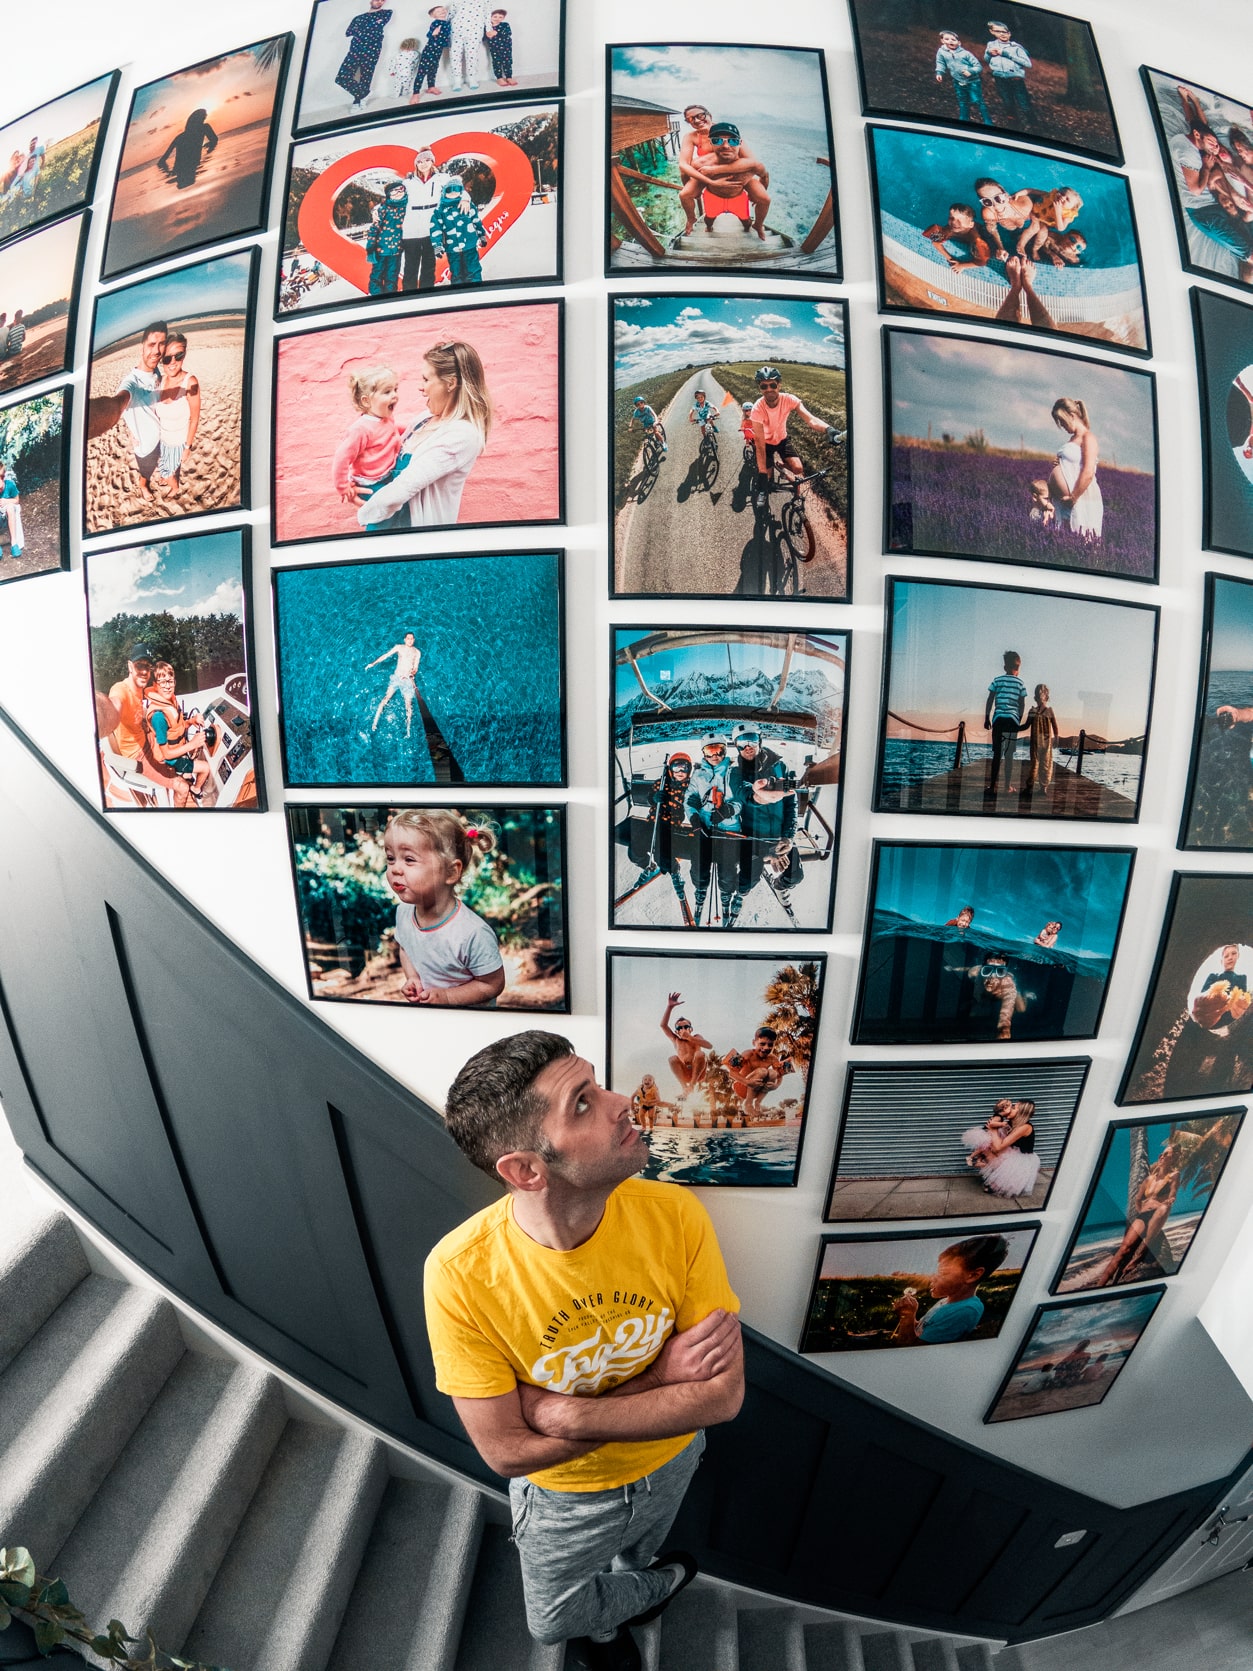
This is the photoshop design and this is the end result, it matches perfectly.
What to buy and where to order
The final part of the puzzle is deciding which frames to get and where to order your photos from. This was actually a really difficult task as we ended up needing a total of 49 frames to cover the walls around the stairs.
Finding the frames was quite difficult as we needed frames that weren’t too expensive as we needed so many but yet needed frames that looked smart.
We settled on Wilkos Black Easy Photo Frame 16 x 12 Inch which cost £3 each, in total we spent £147 on frames.
The final part was choosing a place to get our photos printed. In the past we have used various online photo printing services and we have never been fully satisfied with the quality of the finish.
CEWE Photoworld were recommended to us by a photography friend. We have since found out that Boots photo printing services are powered by CEWE so this is who we used.
We went for CEWEs Classic Semi-Gloss Poster, 30x40cm which cost £4.99 per print, in total we spent £244.51 on prints.
But I can confirm the finish of the photos is absolutely amazing, the quality is the best we have seen from any photo printing service and I will now be using them again for any future photo printing needs.
If you are looking for ideas for transforming your plain white walls I hope this helped.
*Nb. This is in no way a collaborative post, I am just sharing to help out anyone else who is looking for ideas for ways to spruce up your bare walls with gallery walls.

Leave a Comment