
Whether you have a new or old kitchen, there will come a time when you want to make some changes or give the existing features a makeover. Depending on your budget and ideas, there are always hacks or something that you can do to change the look of your fixtures and fittings and give your kitchen a totally different feel. Before we moved into our new place, I was always busy making plans on how to style our new build.
Kitchen unit hack
Our house is new and because of this, we were able to choose our kitchen cabinets, flooring and tiles before we moved in. I already knew what style I wanted to go for and when it came to choosing our cabinets but I was unsure of what to do. We had initially decided that we would source our own cupboard doors once we had moved in, but when I saw the standard cupboard options (that wouldn’t have cost any money), I knew that I couldn’t have face having them installed and then waiting until we had saved enough to change them to better ones. In the end we decided to upgrade the units to the shaker style and colour that I wanted, so that this would save us the hassle further down the line. We already knew that the quartz worktop upgrade was well overpriced and would be something that we would change ourselves at a later date, so we opted for a small upgrade fee for a laminate worktop that would match well with the units and overall colour scheme of the kitchen.
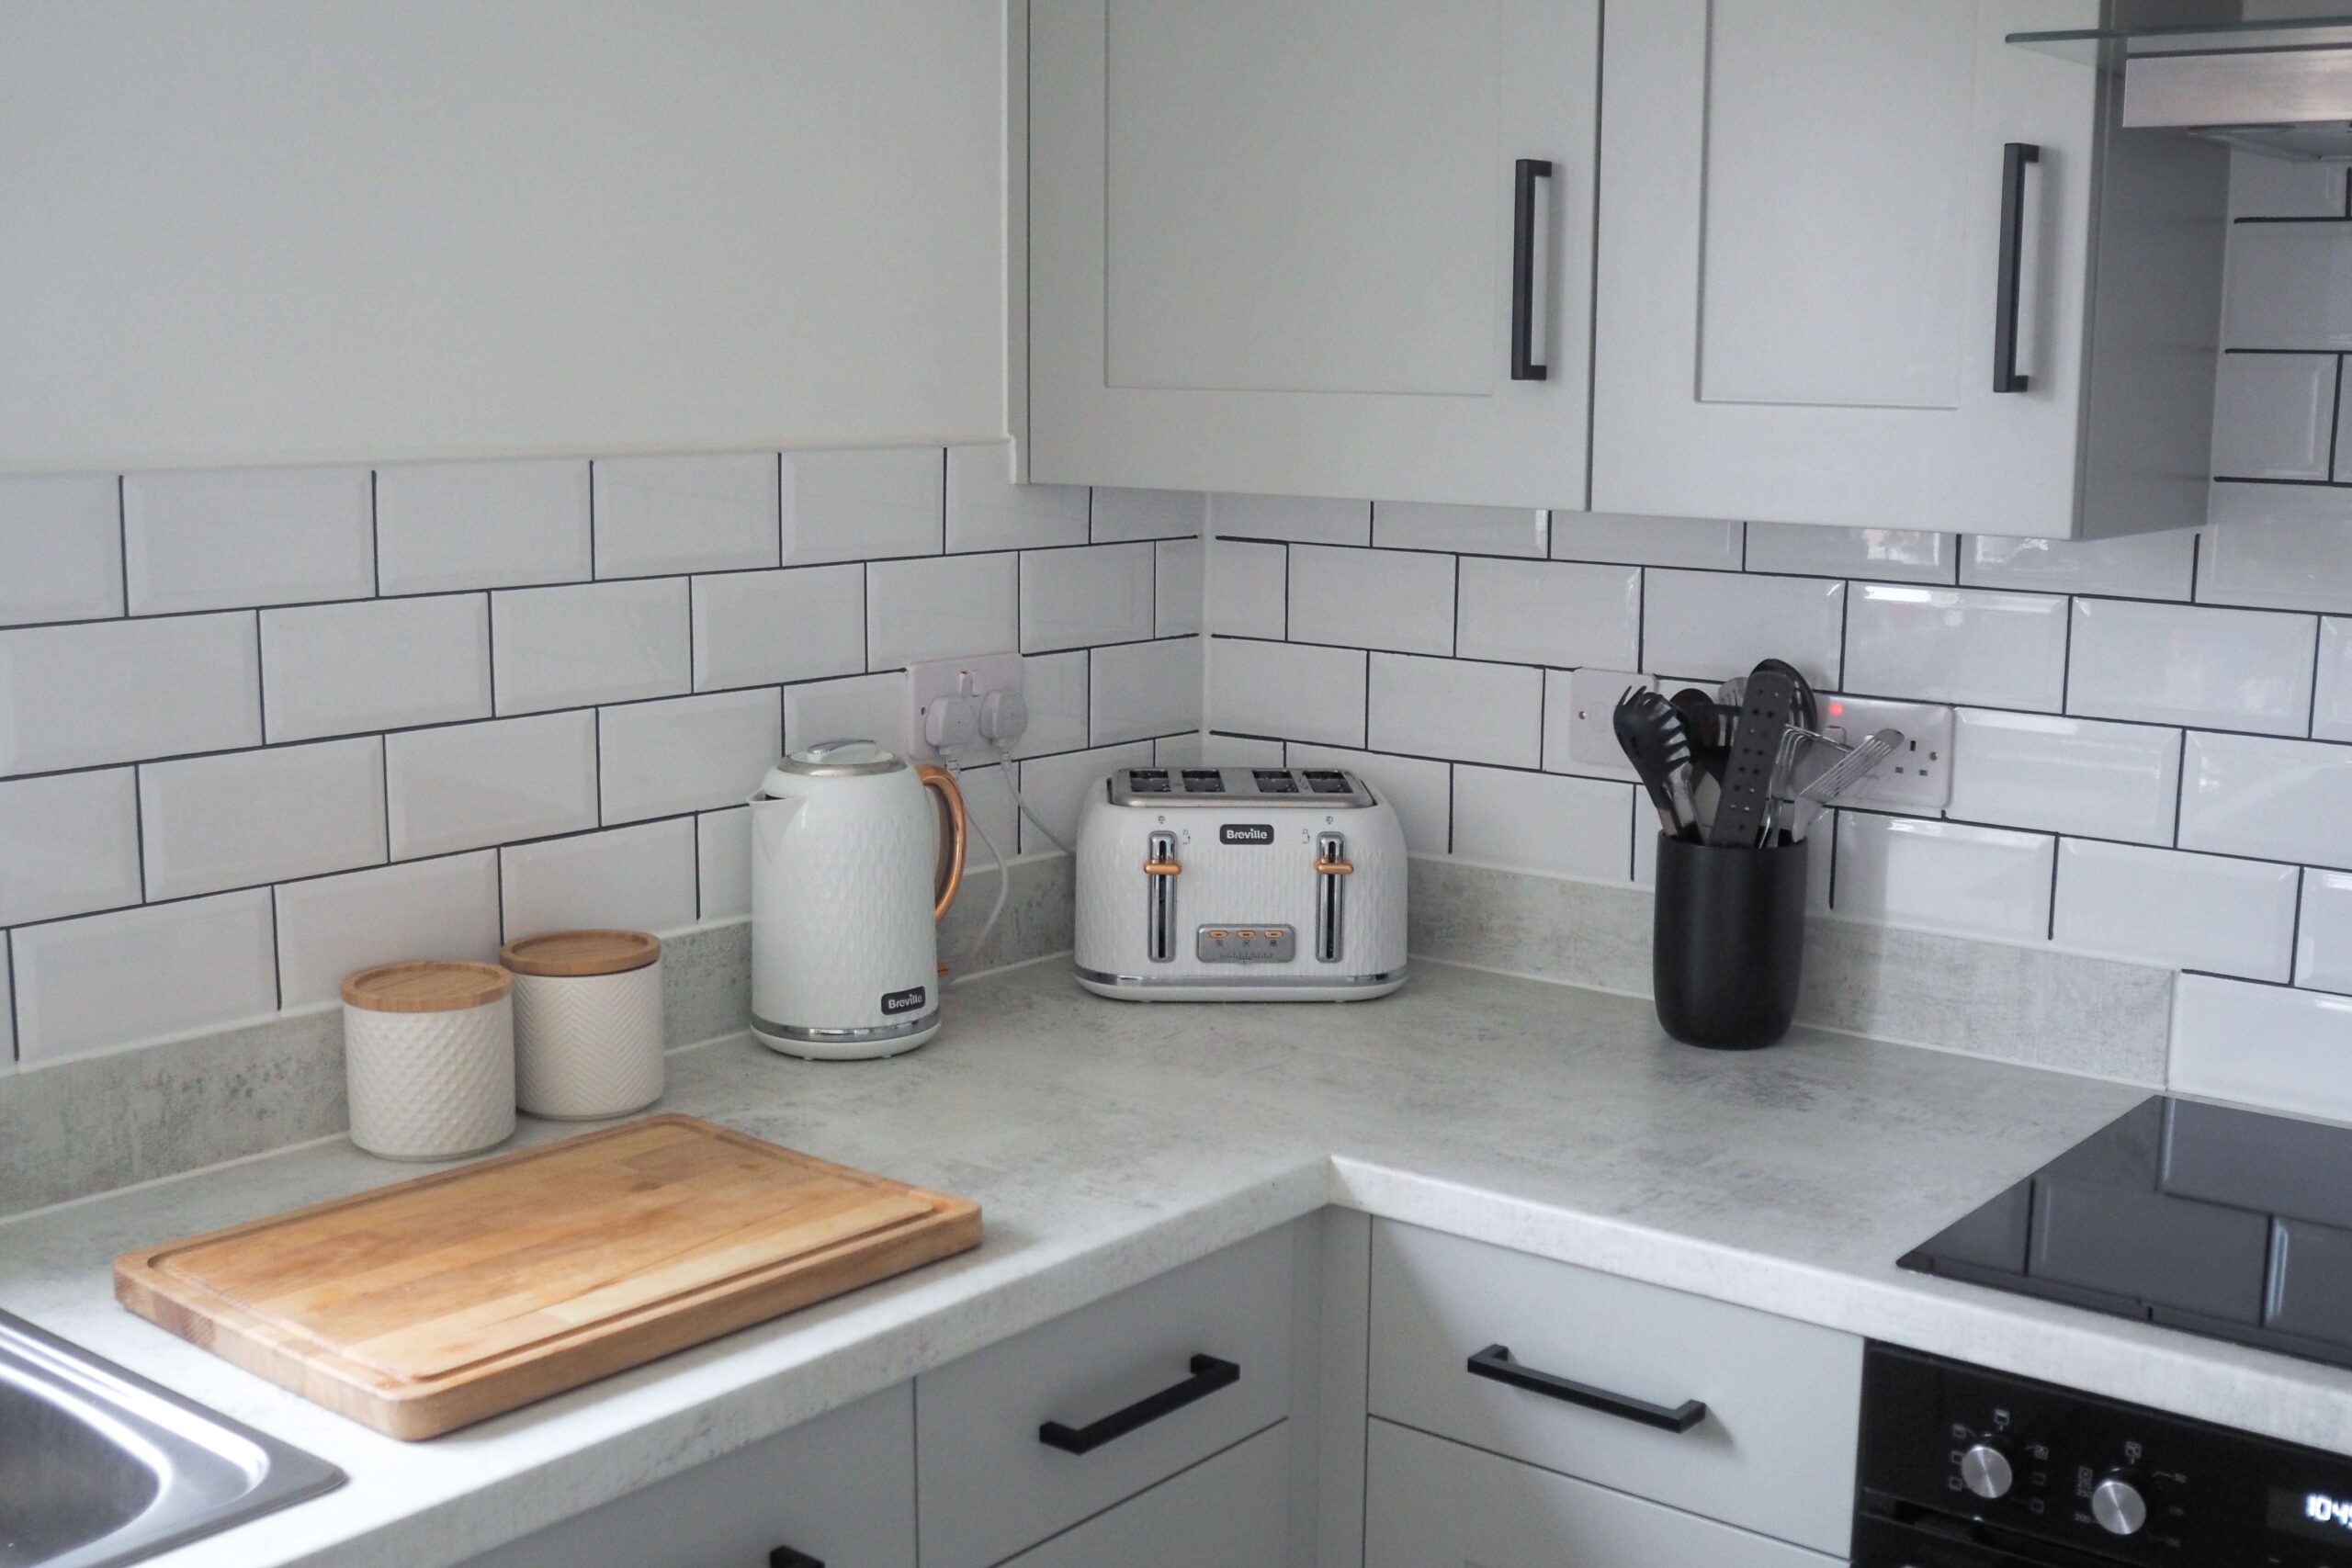
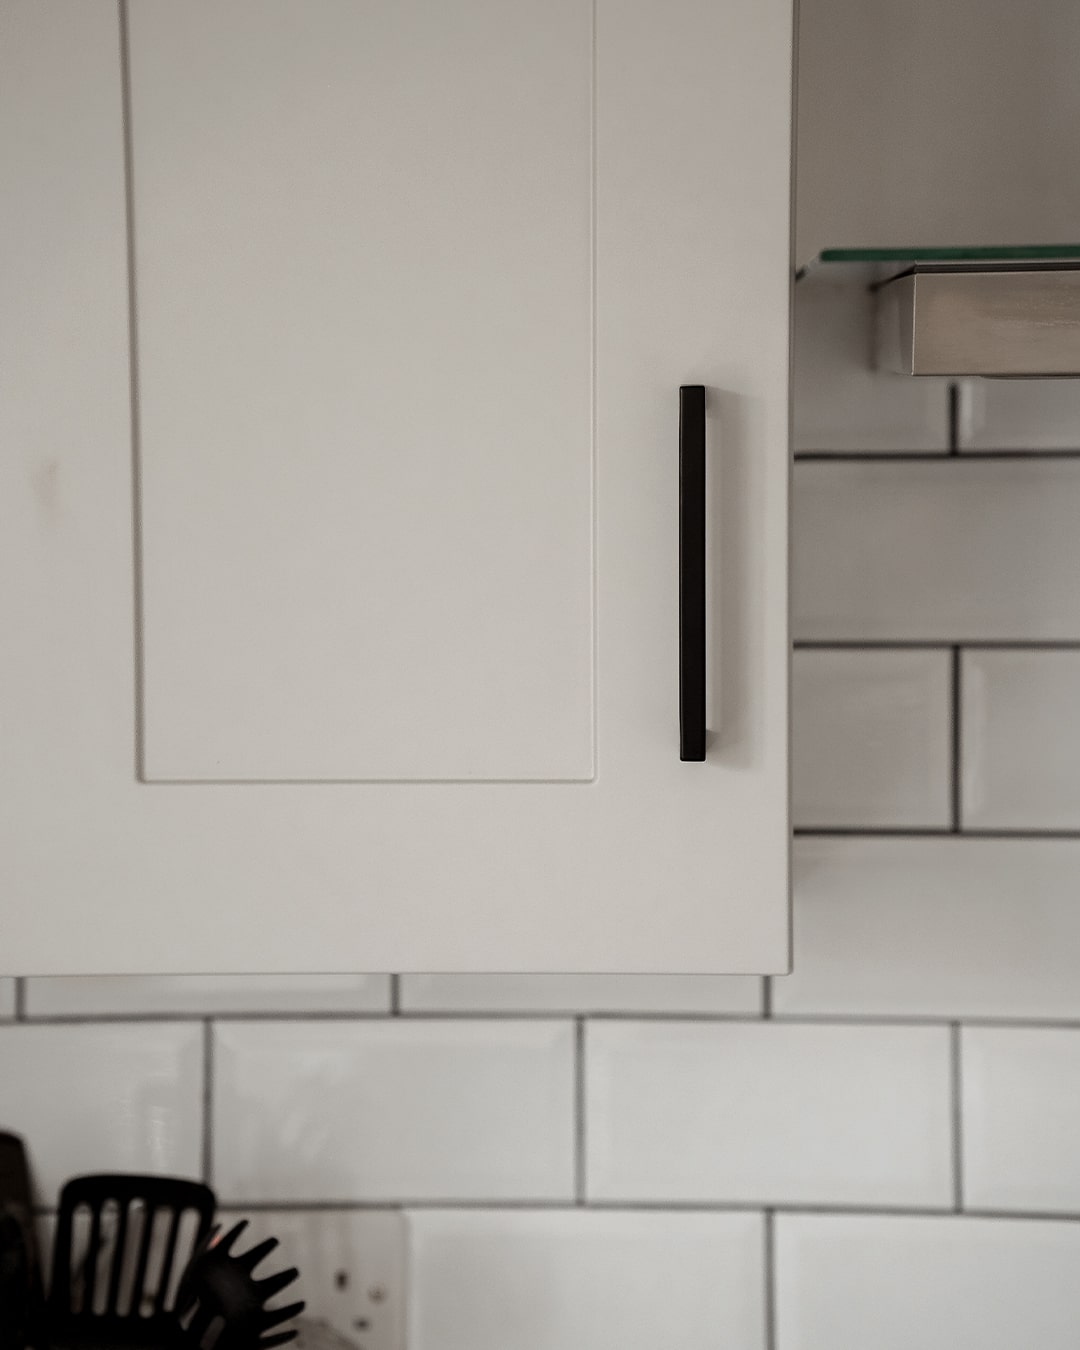
The kitchen units came with chrome handles that I was keen to change straight away. As black is the key accent shade in the room, I knew that they would look more in keeping with the overall look. I ended up choosing these stainless steel T bar handles in matt black to add a more contemporary appearance to the units.
Change the look of your tiles
Instead of paying for a splash back, we decided to have our kitchen tiled with metro tiles. In fact it worked out at the same cost as a splash back but it meant that our entire kitchen and utility area would be tiled. The tiles came with standard white grouting and I knew that I wanted the grout to be grey as soon as they could be changed, so we bought some dark grey grout pens before we even moved in! If you’re prepared to spend a bit of time drawing on the grout with a pen, then it’s well worth the effort. I used five pens in total to cover the kitchen and utility tiles and the only painstaking part of the process was having to wipe away the excess pen and tidy up the edges, along with the challenges of using a pen at an angle where the ink stops coming out! I used wipes and often my finger nail (which I wouldn’t advise if you like to keep your nails looking nice – mine ended up looking like a mechanics) to make the edges neat. Don’t be afraid to cover over the existing grout and tile, because it does wipe away from the tiles, even when left for days. I was able to achieve the look I wanted without having to pick out the grout and re grout in dark grey and I think it makes a striking difference.
Accessorise
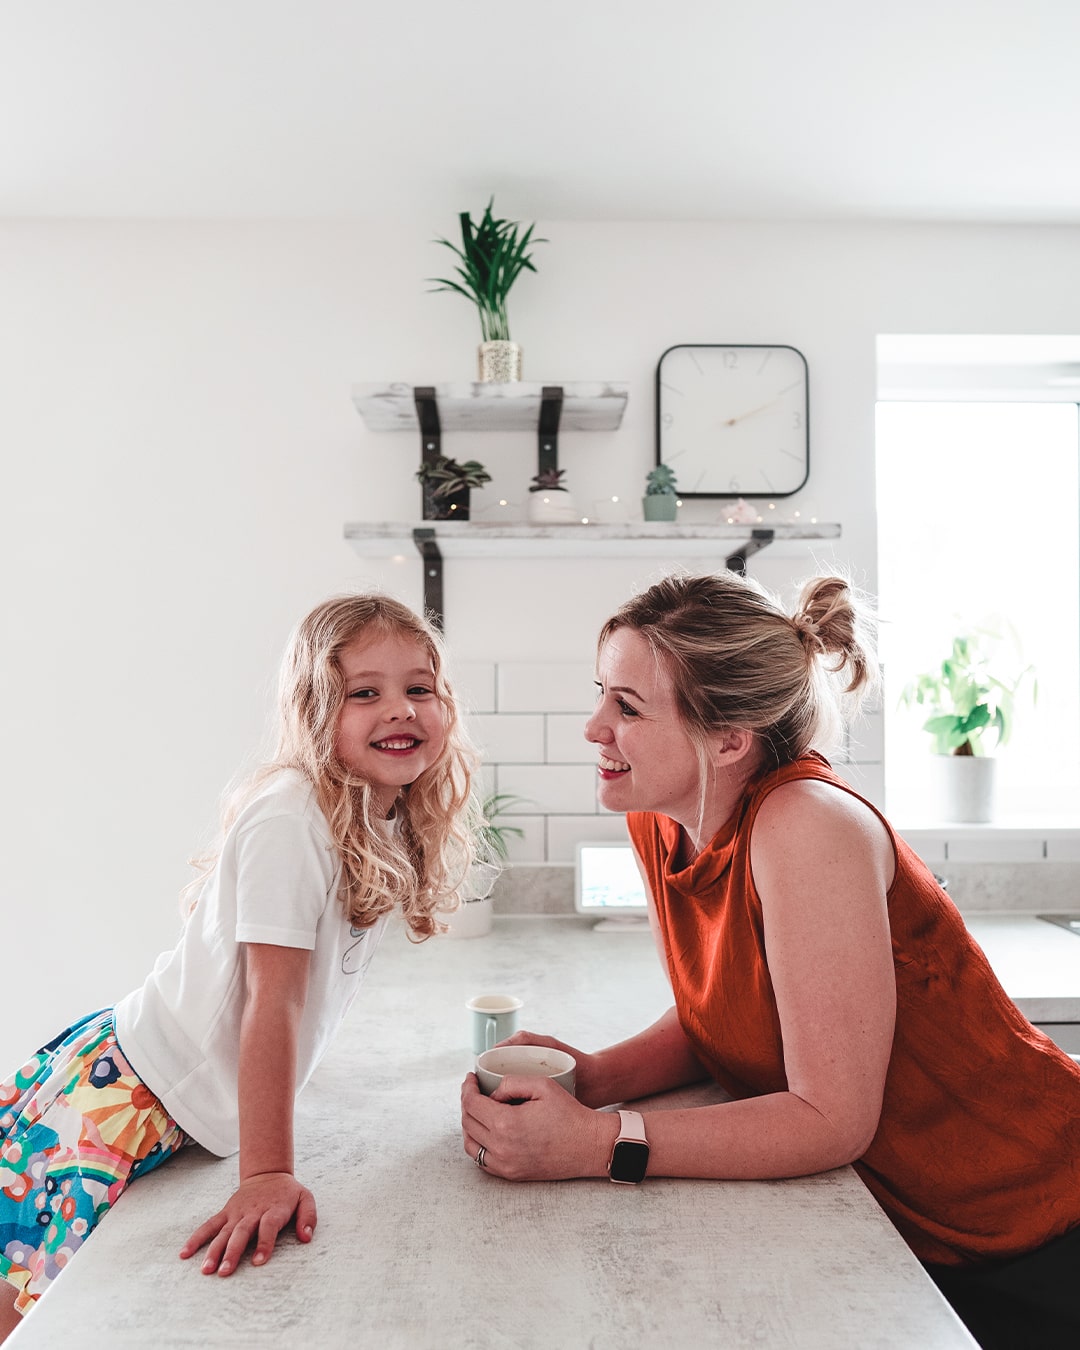
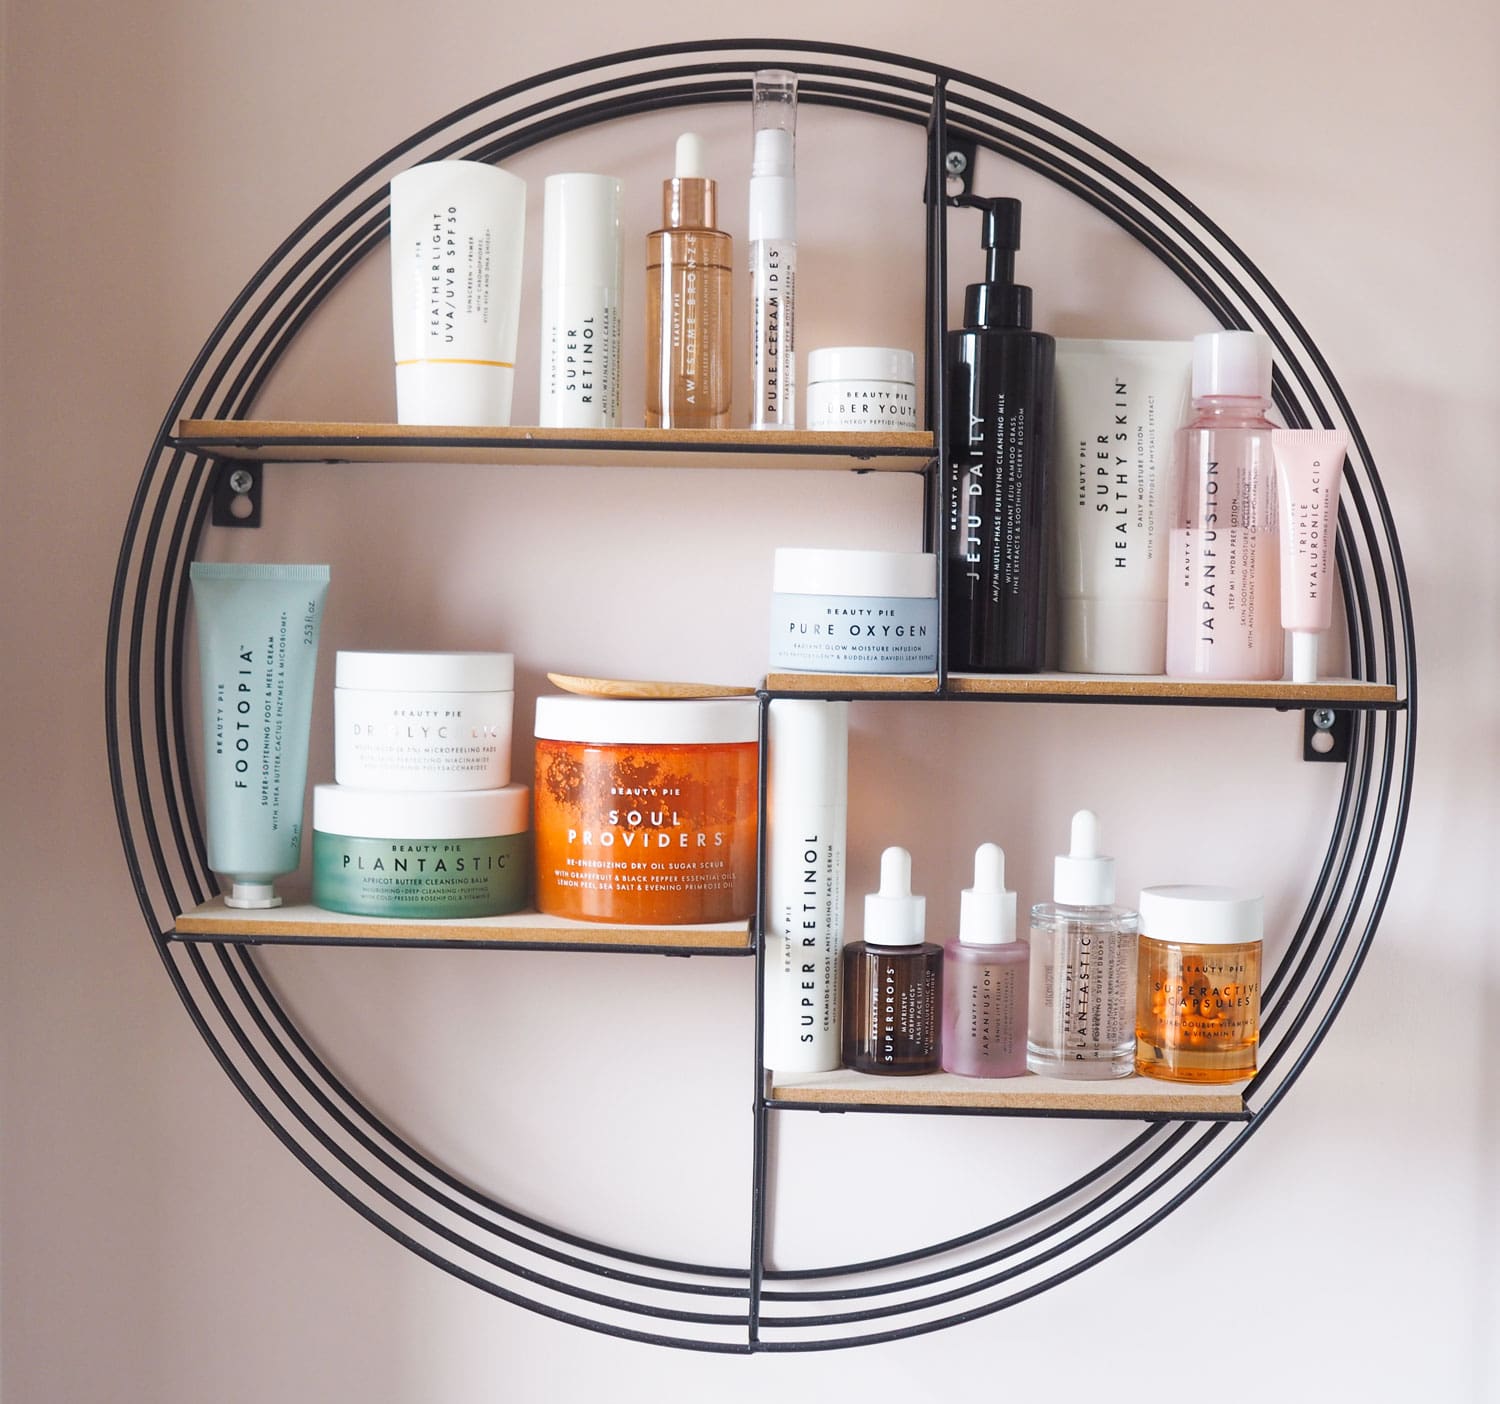
As the walls are white, I was keen to add some areas of interest to break up the plain walls. These white washed shelves from Etsy, add some rustic charm and are in-keeping with the industrial thing. Of course they’re also handy as a spot to place succulents and other paraphernalia.
I added some black accessories that were replacements for chrome or coloured items I had. The utensil pot and fruit bowl were from Sainsburys and were the last items on my list to really complete the look, apart from the installation of a new sink and tap – which will hopefully be in the pipeline next year.


Leave a Comment