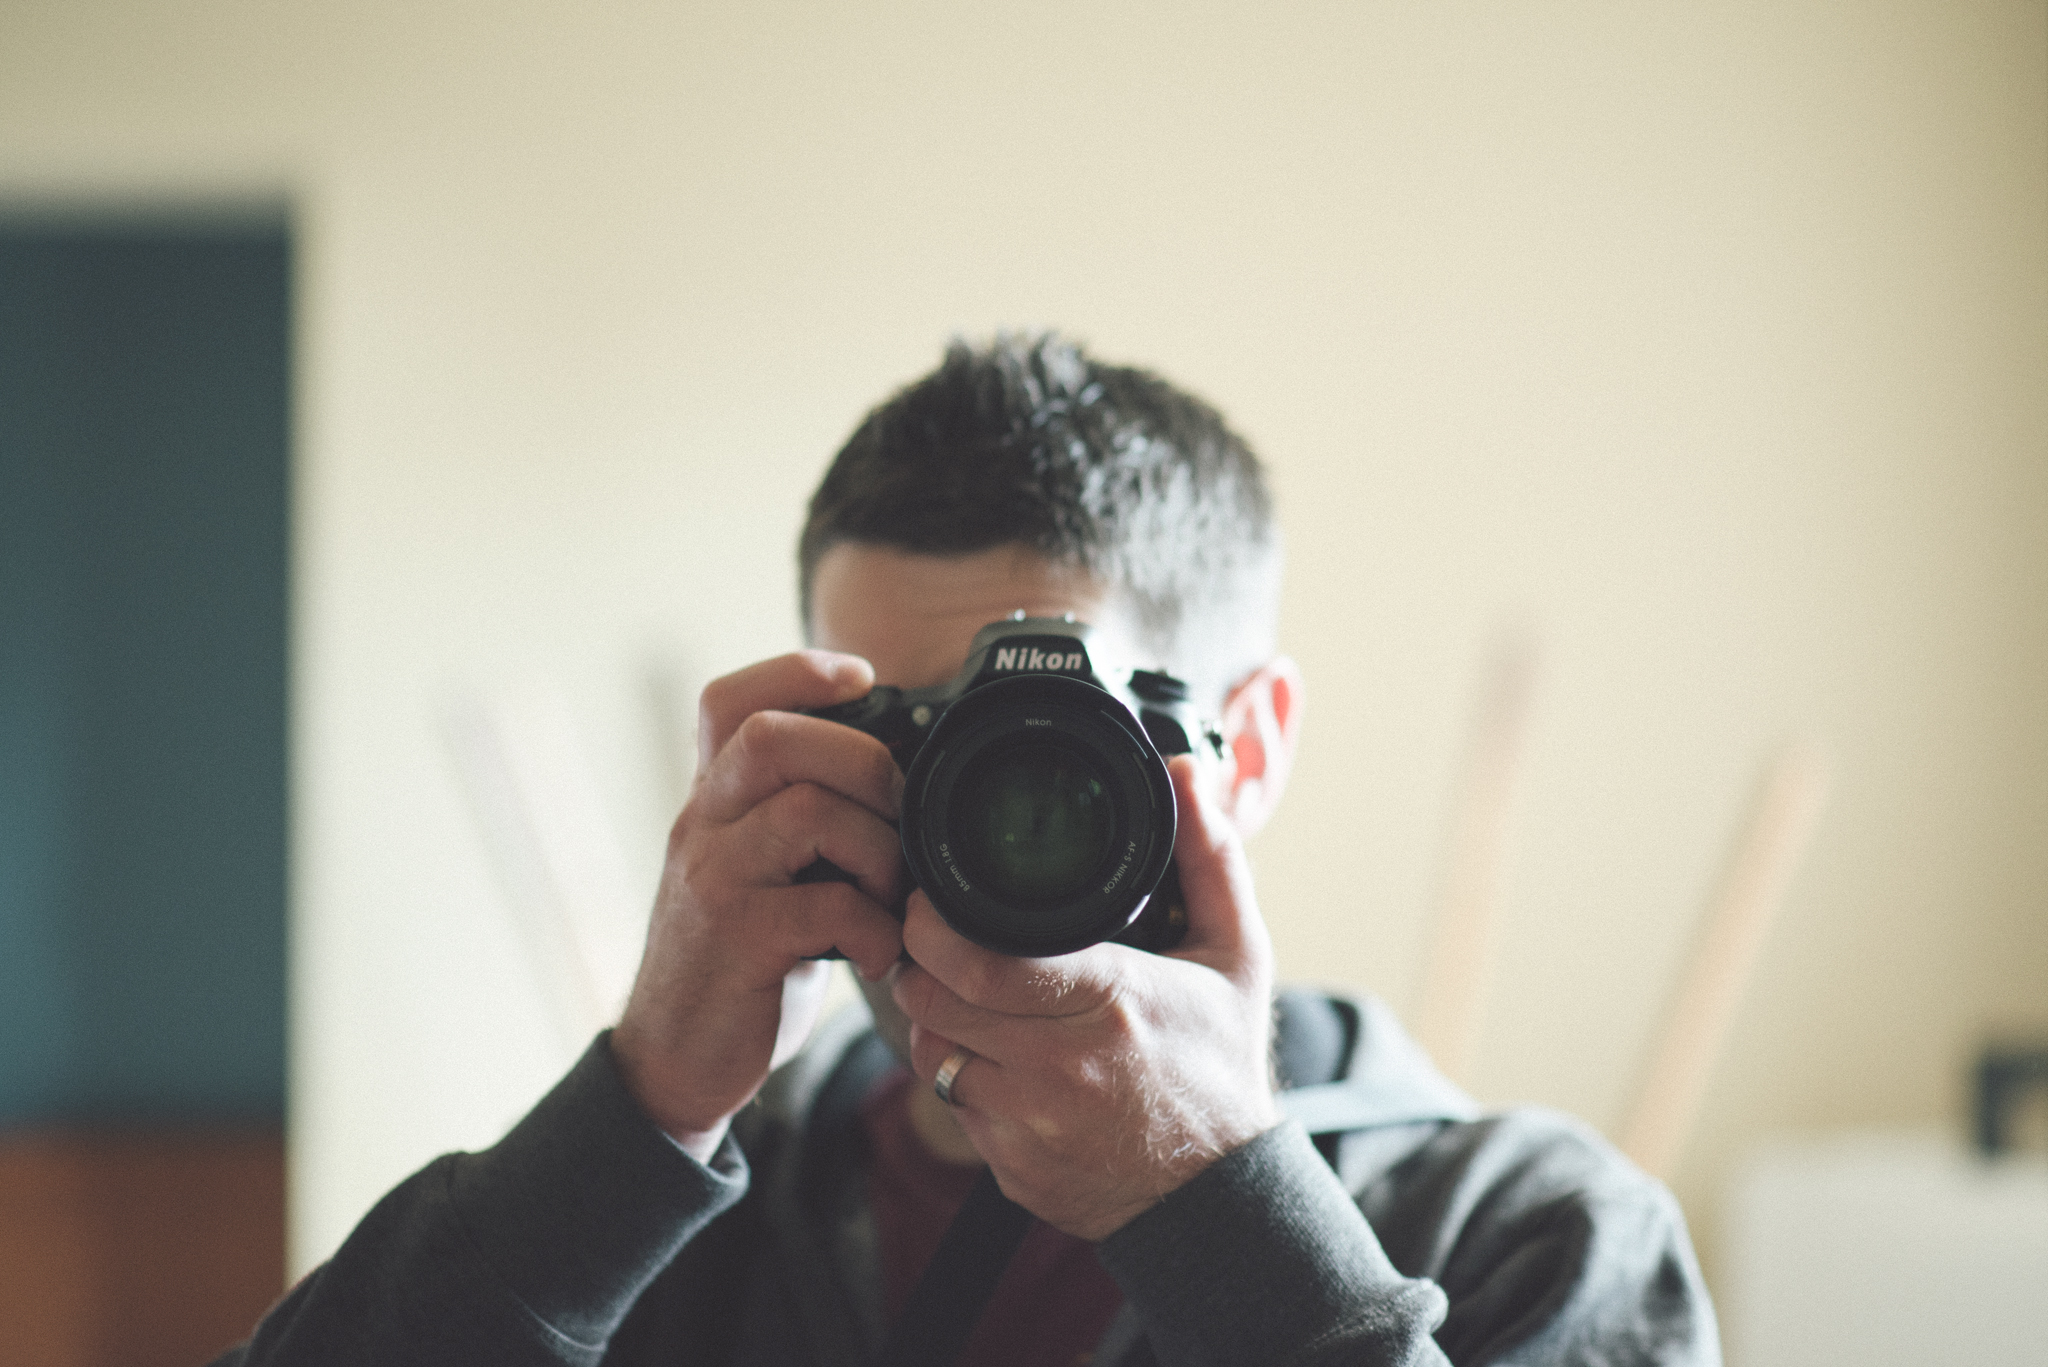
Photography and editing – Part 1
After my last guest post, some of you will now have a better understanding of what I am about and a little more about the man behind Hannah. You may also have noticed an image I included from a recent shoot I did with Hannah in our home. I urge anyone remotely interested in photography to do a boudoir shoot with their partners, it is a fun way of spending time together that is a bit different from a standard date night and costs nothing! You don’t need a fancy DSLR to do it, anything will do from a camera on your phone to a DSLR if you have one. You just have to drop any inhibitions you may have and just go with it, I promise you it will be fun.
In my opinion its best to capture your life with anything you have than not at all, so you really have no excuses not to capture your moments. Most of you own at least a phone with a camera so just get out there and shoot. In this day and age, everyone captures everything, so join in.
Up until a few months ago most of the photos that were on this blog were taken and edited by me. Since those days Hannah now has her own camera and doesn’t have to badger me to take photos for her. She is even doing the editing herself, which proves if she can, then it’s achievable by most people.
I hear all too often that ‘Photoshop is far too complicated’. So people don’t bother learning how to use it. Photoshop can be a bit daunting at first but once you use it enough, you will not think twice where everything is. It’s even better now that you can pay monthly for Photoshop at just £8.57 per month, so that’s the equivalent of one take-away per month, or one trip to your local coffee shop.
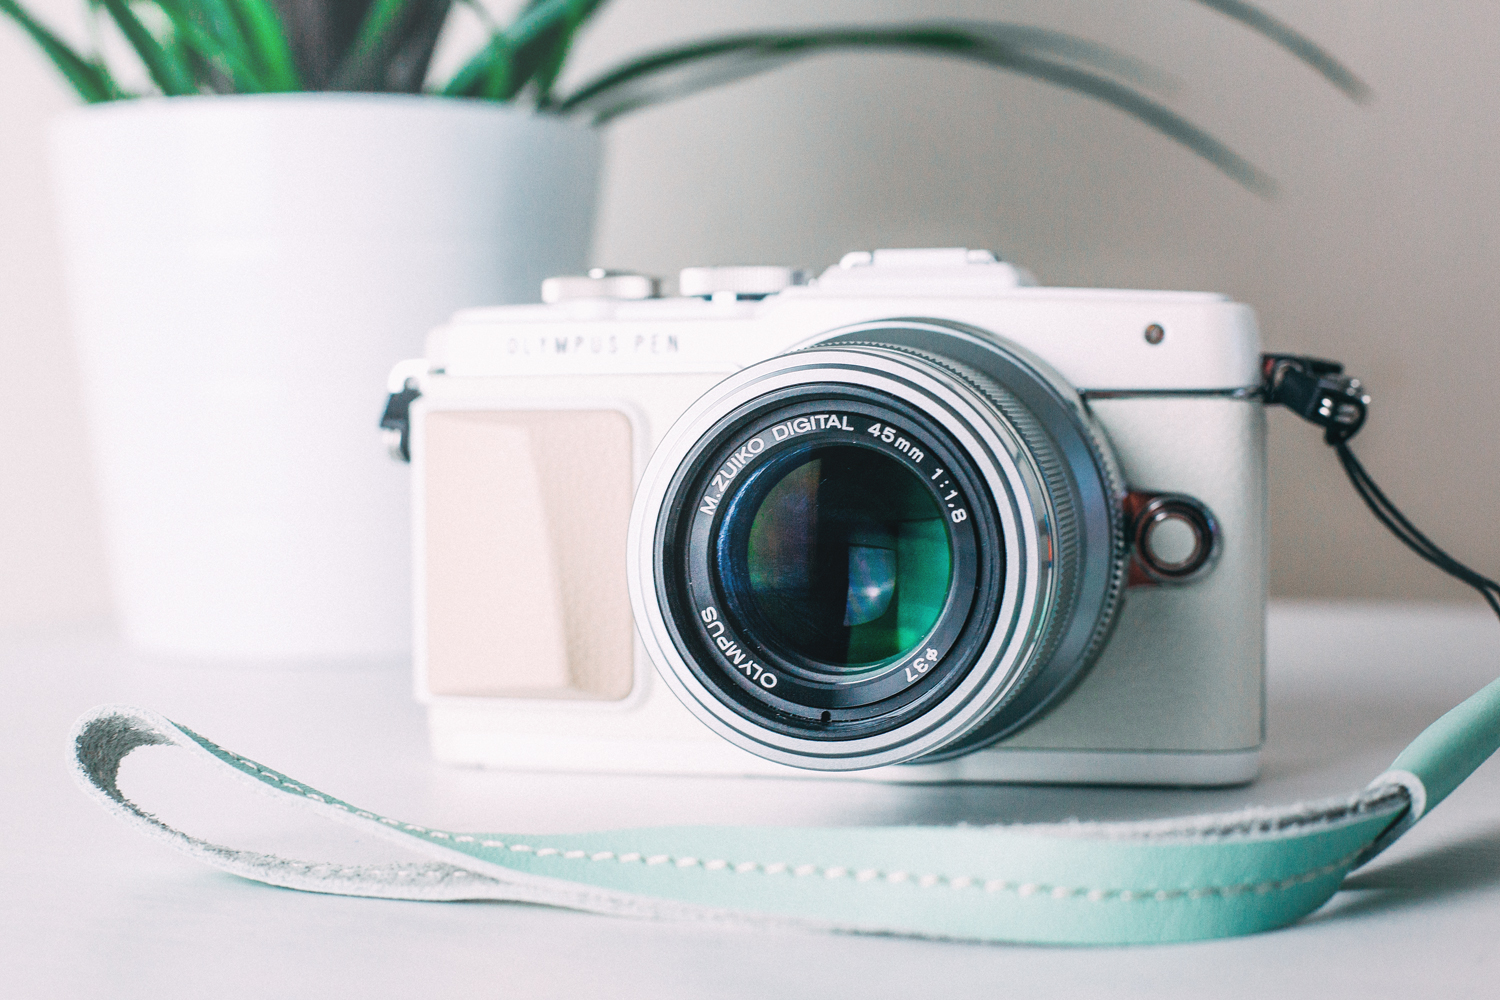
Hannah now has an Olympus PEN E-PL7 with an M.Zuiko 45mm f1.8 lens and more recently a Sigma 19mm f2.8 lens (you can read her post of it here ).
I am on my computer most days, mostly because my job as a Visual Designer requires me to be. As soon as I turn my computer on the two things I open instantly are iTunes and Photoshop. These are my two main tools when doing pretty much anything on my computer. I personally cannot work without music being on, the louder the better as it helps me to concentrate, much to the annoyance of my wife!
When I am not designing I am editing photos and videos (obviously not editing videos in Photoshop but that’s for another post).
When it comes to anything I do, I will always throw myself into it 100%. I always like to learn different skills. Photography was definitely one I wanted to learn and I have spent hours and hours and hours watching tutorials on youtube and vimeo, buying peoples courses, experimenting myself trying different things, learning how to use the many features there are for editing photos in Photoshop. Photography is not something you can just learn overnight, it helps to watch tutorials and do everything I mentioned above, but the best way to learn is just to get out there with your camera and make mistakes and then build on those mistakes.
The one thing people say all the time is ‘I have this big fancy camera but I don’t know how to use it, so I just leave it on auto’. A lot of people assume because you have this big fancy camera that it will do all the work for you, but that isn’t reality. The best way I started to learn the different settings was to start off in Aperture priority mode and have the ISO on auto. Your camera sets everything else but you set the aperture. From here as your confidence grows you will start to learn why you might need to adjust some of the other settings and this is when you can start experimenting in manual mode. There might be certain situations where in Aperture priority mode you would need to bump your Shutter speed up slightly and this is the time to switch to manual.
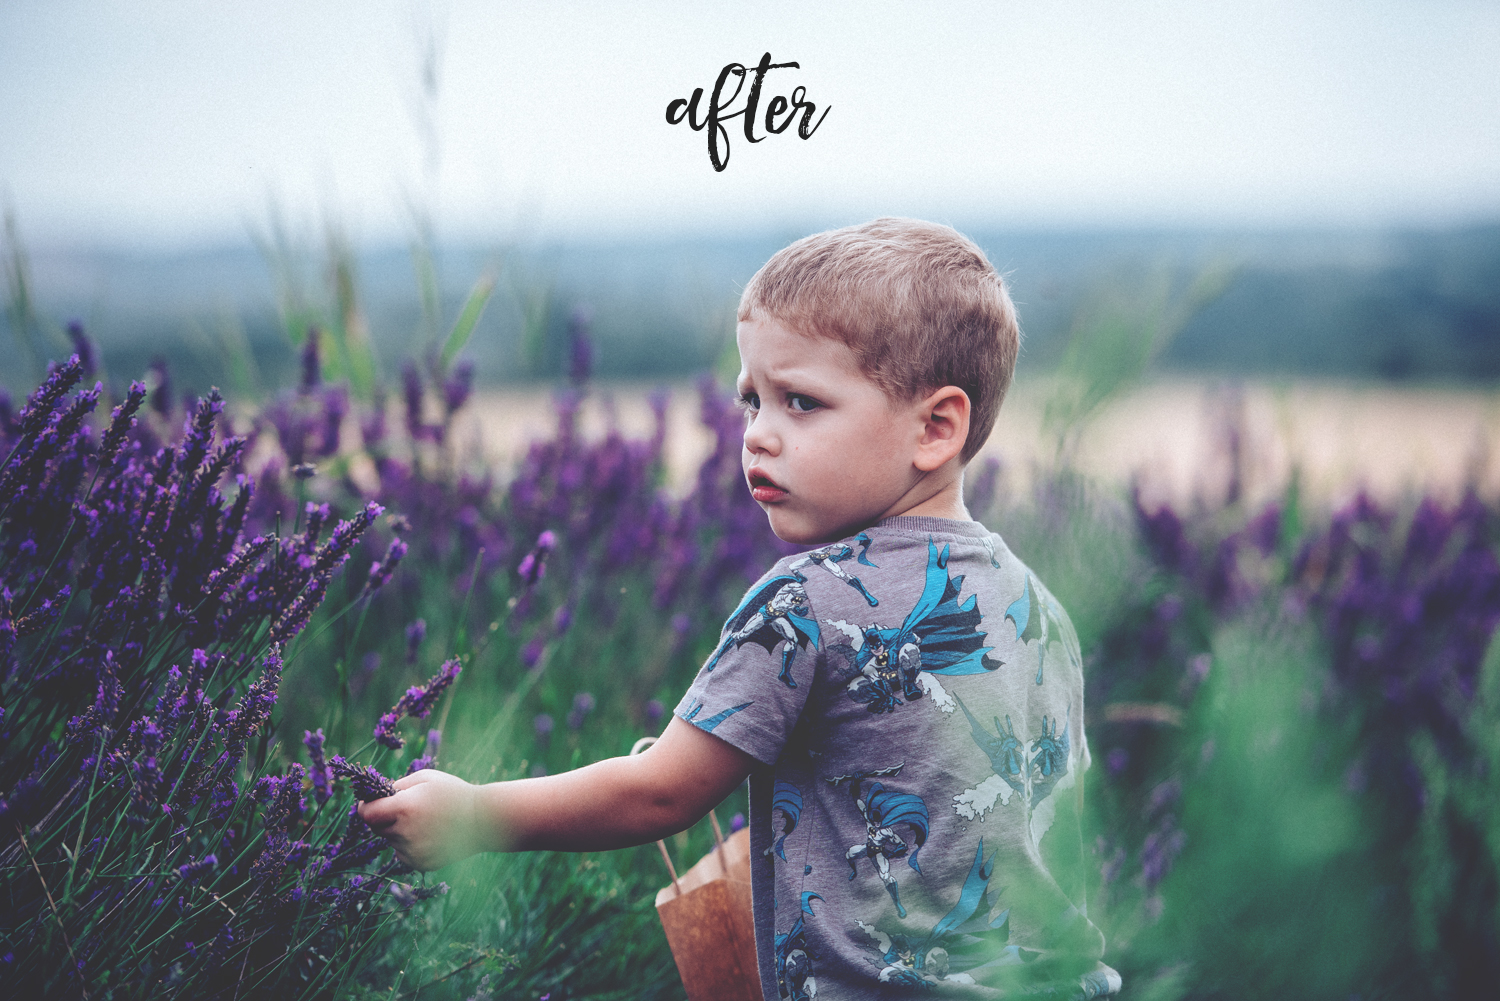
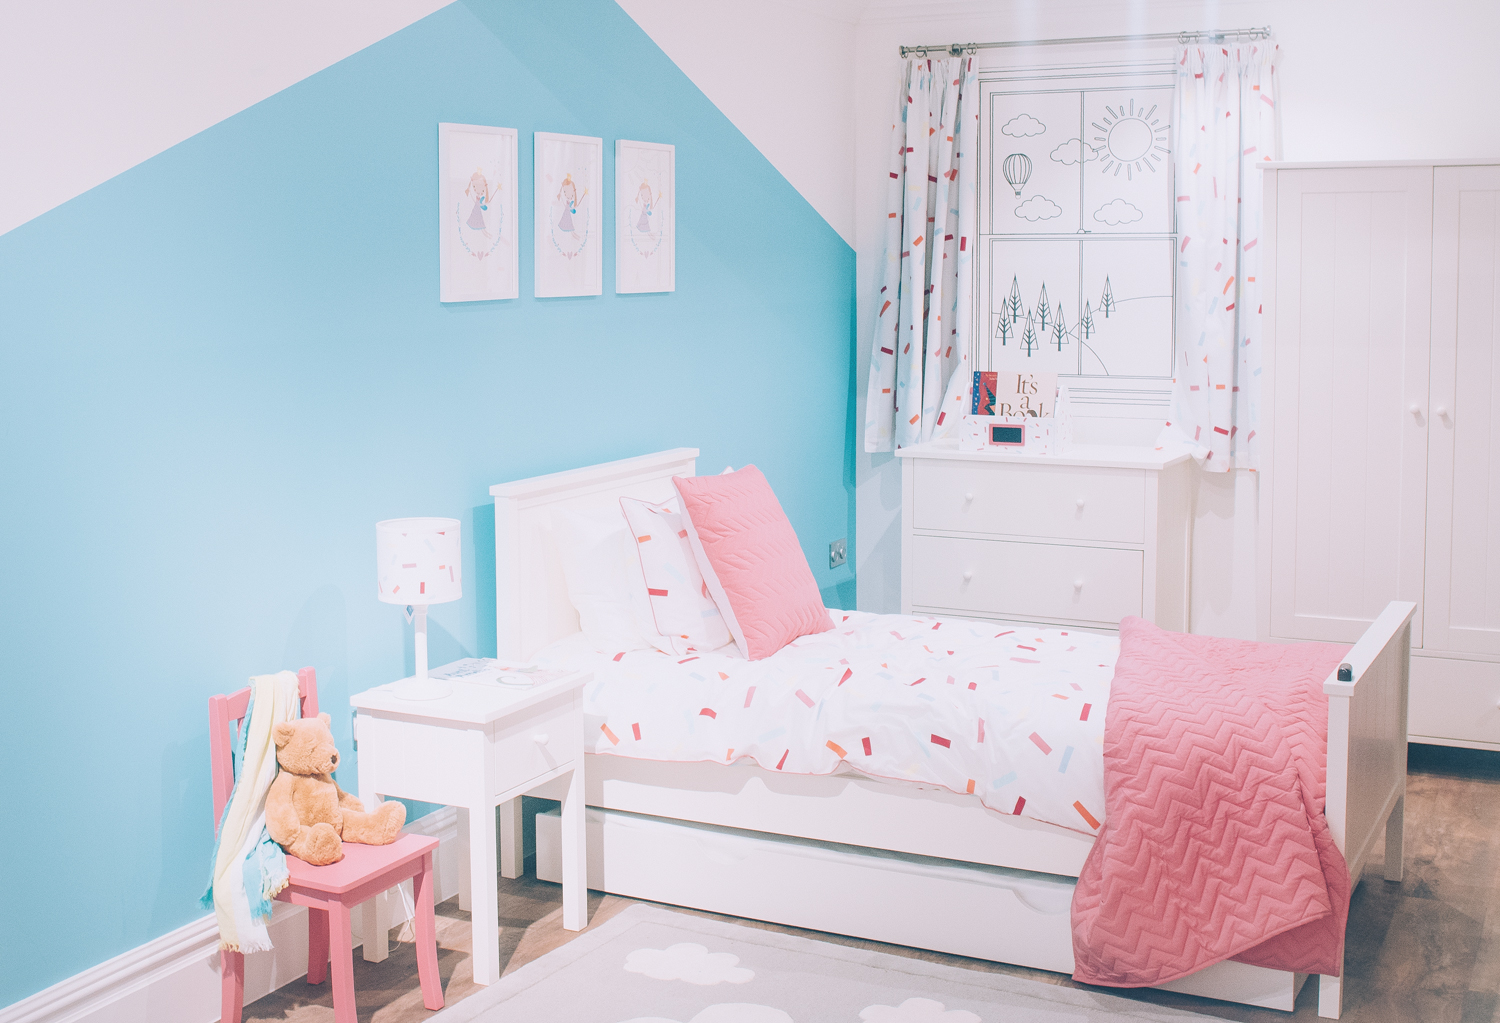
I love taking photos but the best part for me is the editing side of photography. Like with a good book (not that I read anything, I hate reading, I have pretty much read one book since I left school!) where the author paints a picture with words, Photoshop gives you the ability to tell a story with your image. You can change the mood of a picture simply by adjusting the colours. I love taking a great photo and making it look better. Here are a few of examples of my other style of photography, to show you that I don’t just take photos of my family.
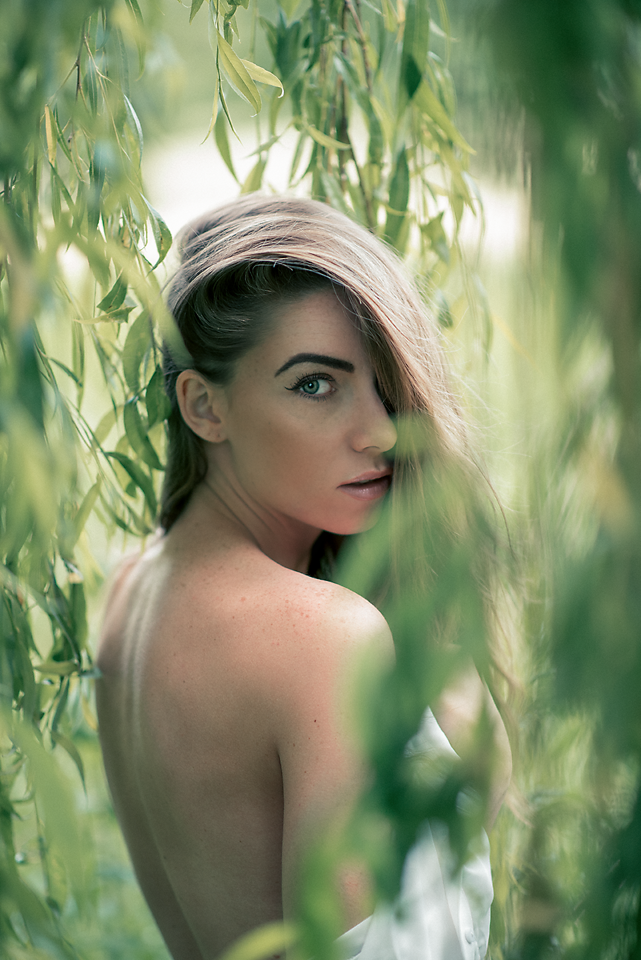
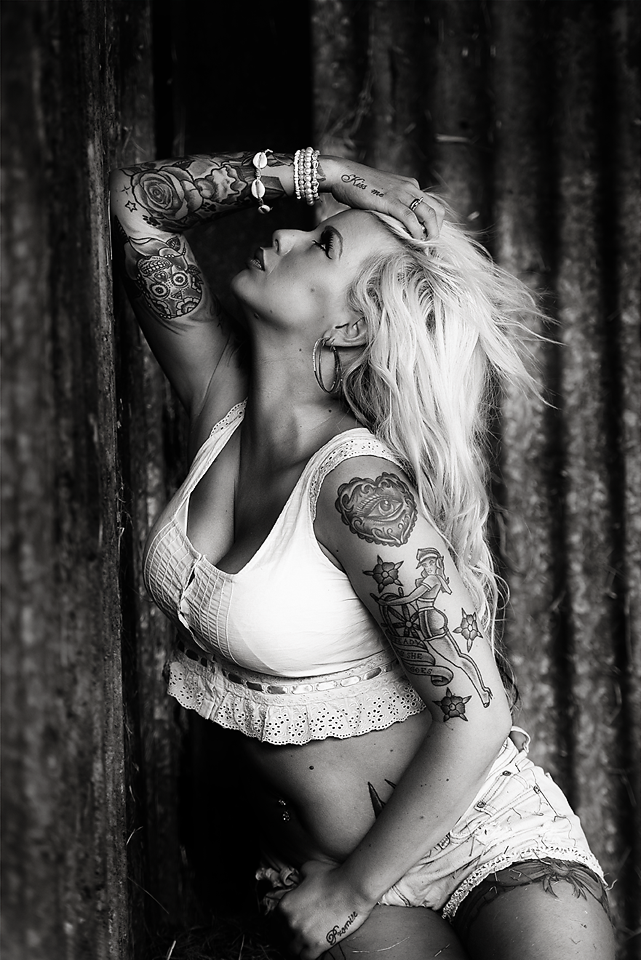
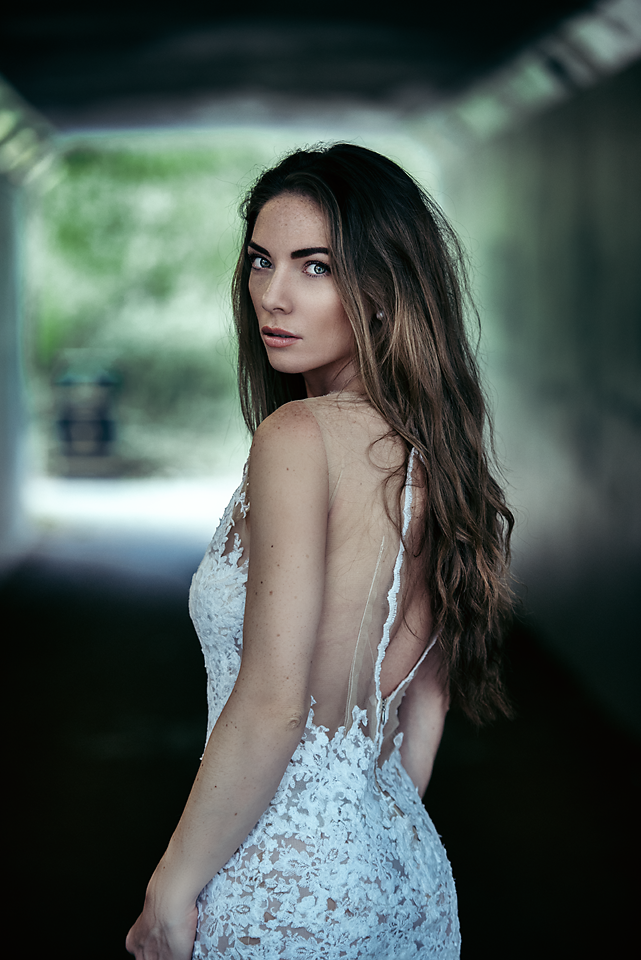
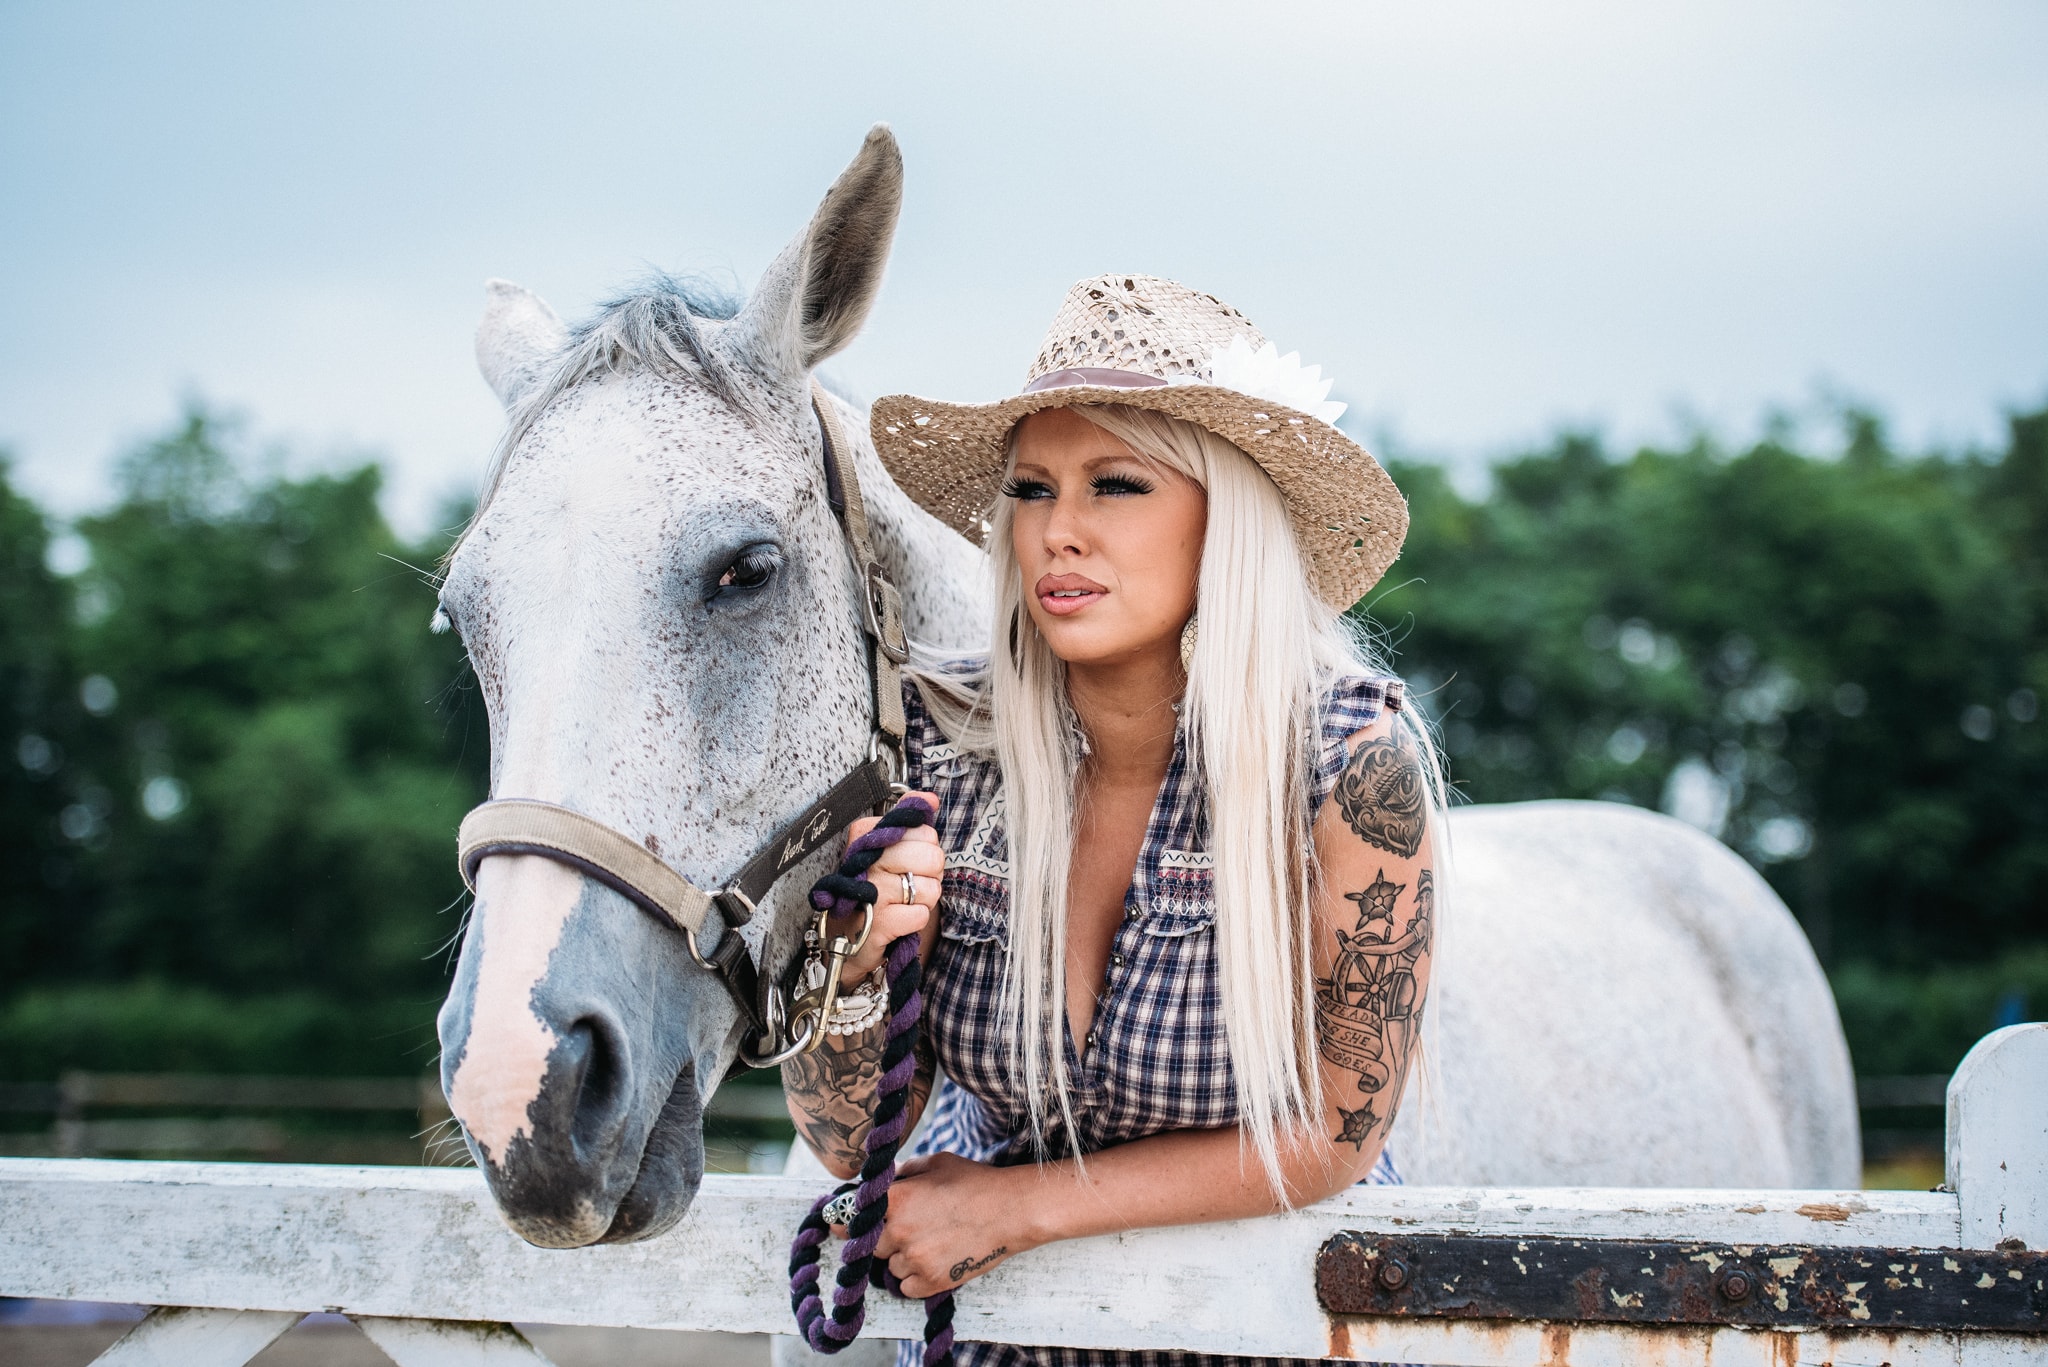

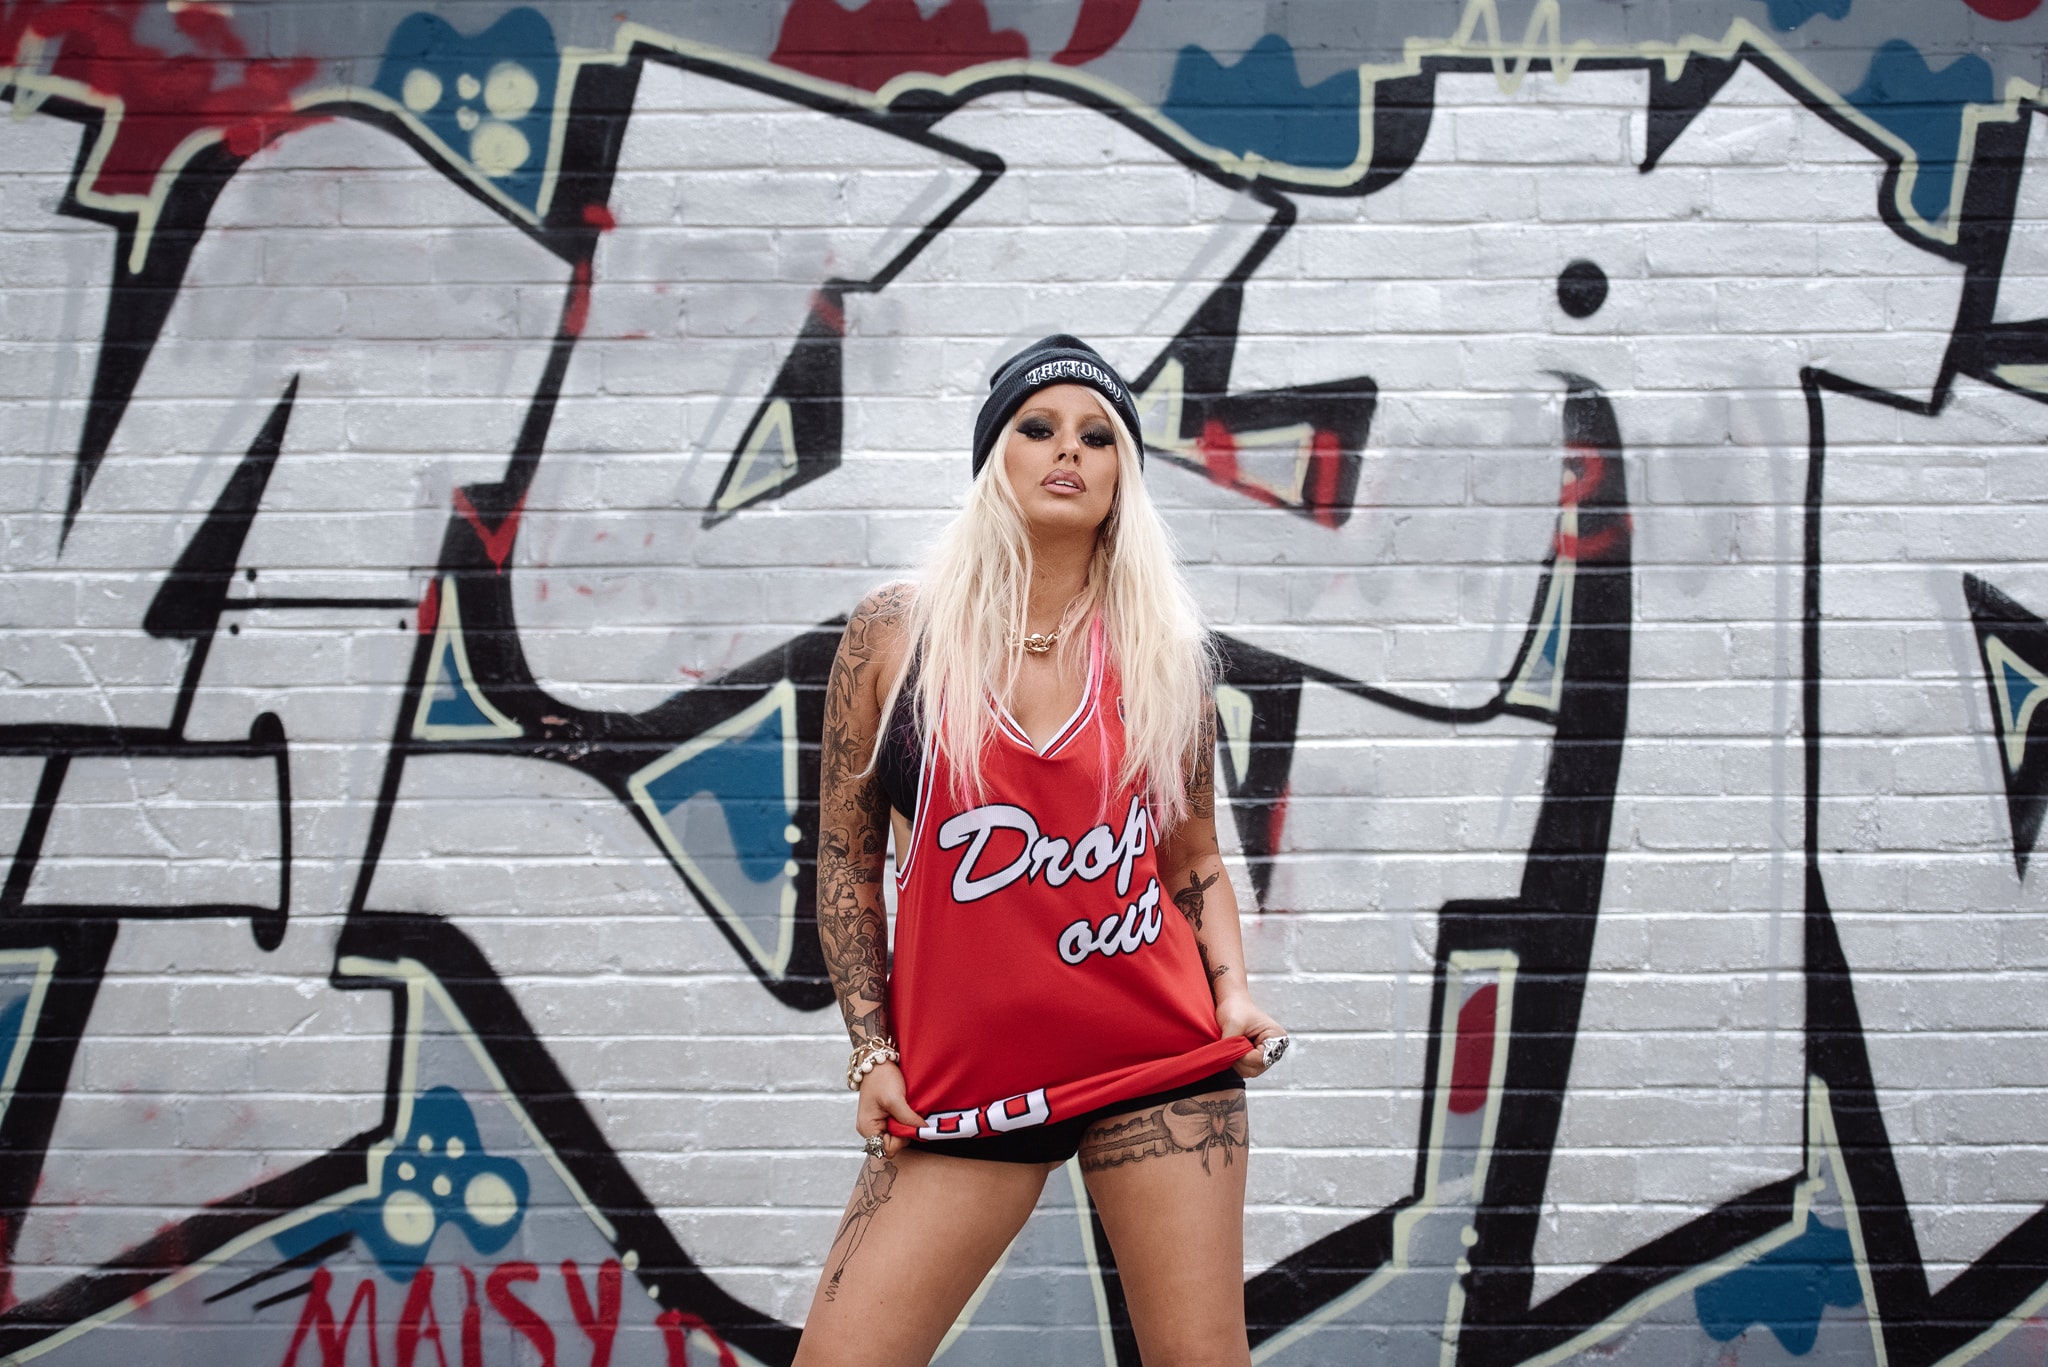

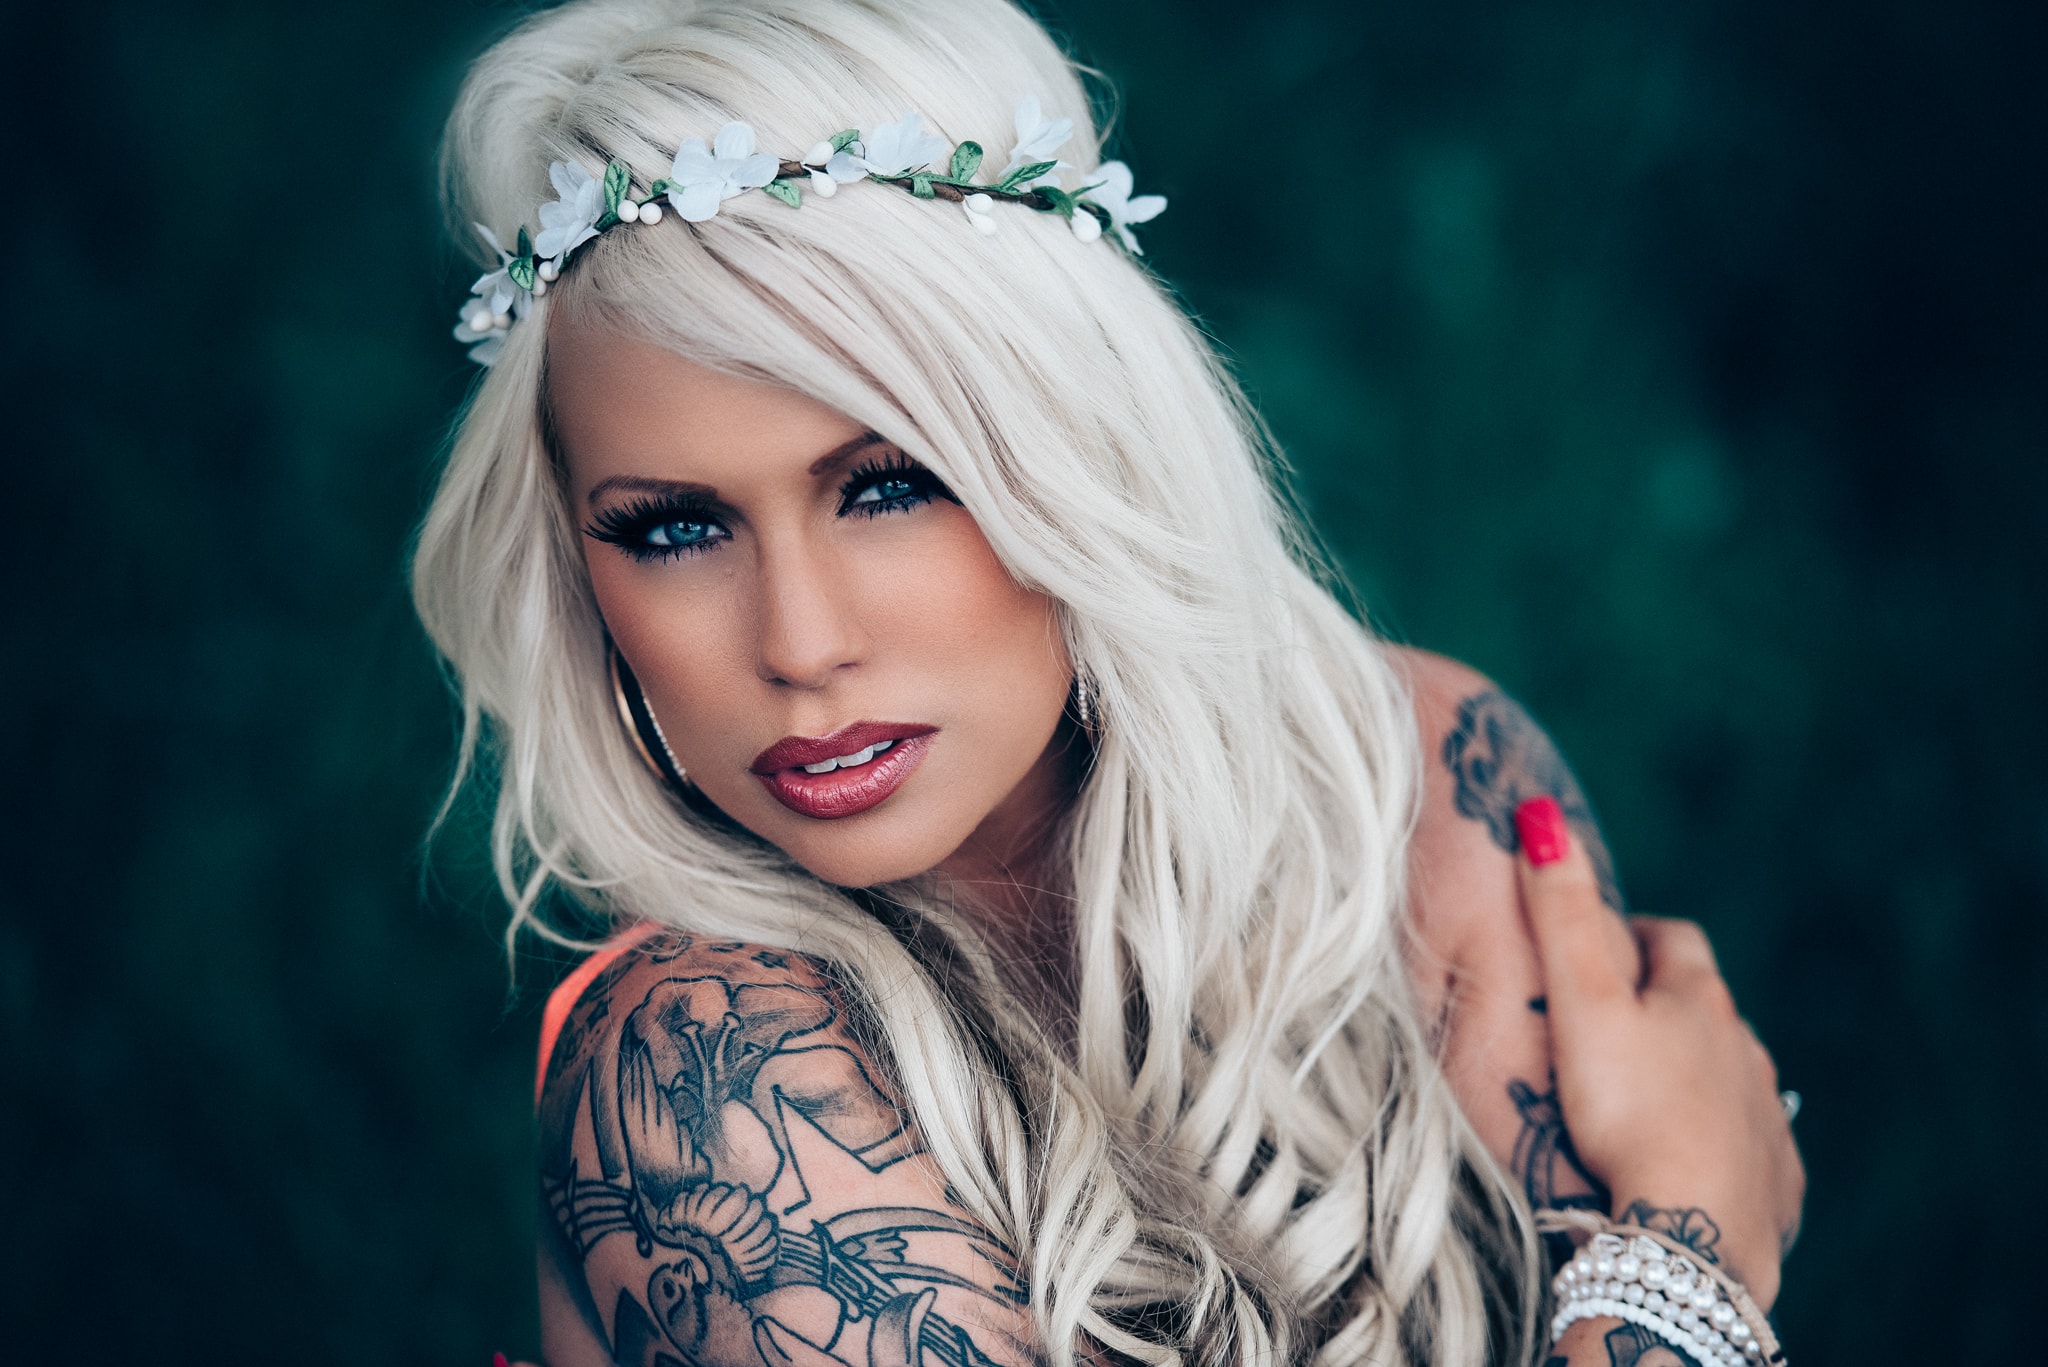
My style of photography has evolved over the years and there are certain things I love photographing and certain things I will avoid. I don’t like landscape photography, I don’t like photographing animals and my confidence has never been high enough to jump in and photograph someones wedding or special event. I don’t like the idea of all that pressure, especially when we weren’t impressed with our wedding photos and I would hate someone to feel that way because of me.
I am also not a big fan of flash/flash guns. Personally I don’t like a big obnoxious flash in the face style of photography. This is just my preference though which everyone has. Obviously there are times when these are needed, but in my opinion the only times I would ever use one is when using it as an off camera fill light or for back lighting. The thing I see all to often is people photographing their kids outside with a flash and it creates this unnatural looking photo.
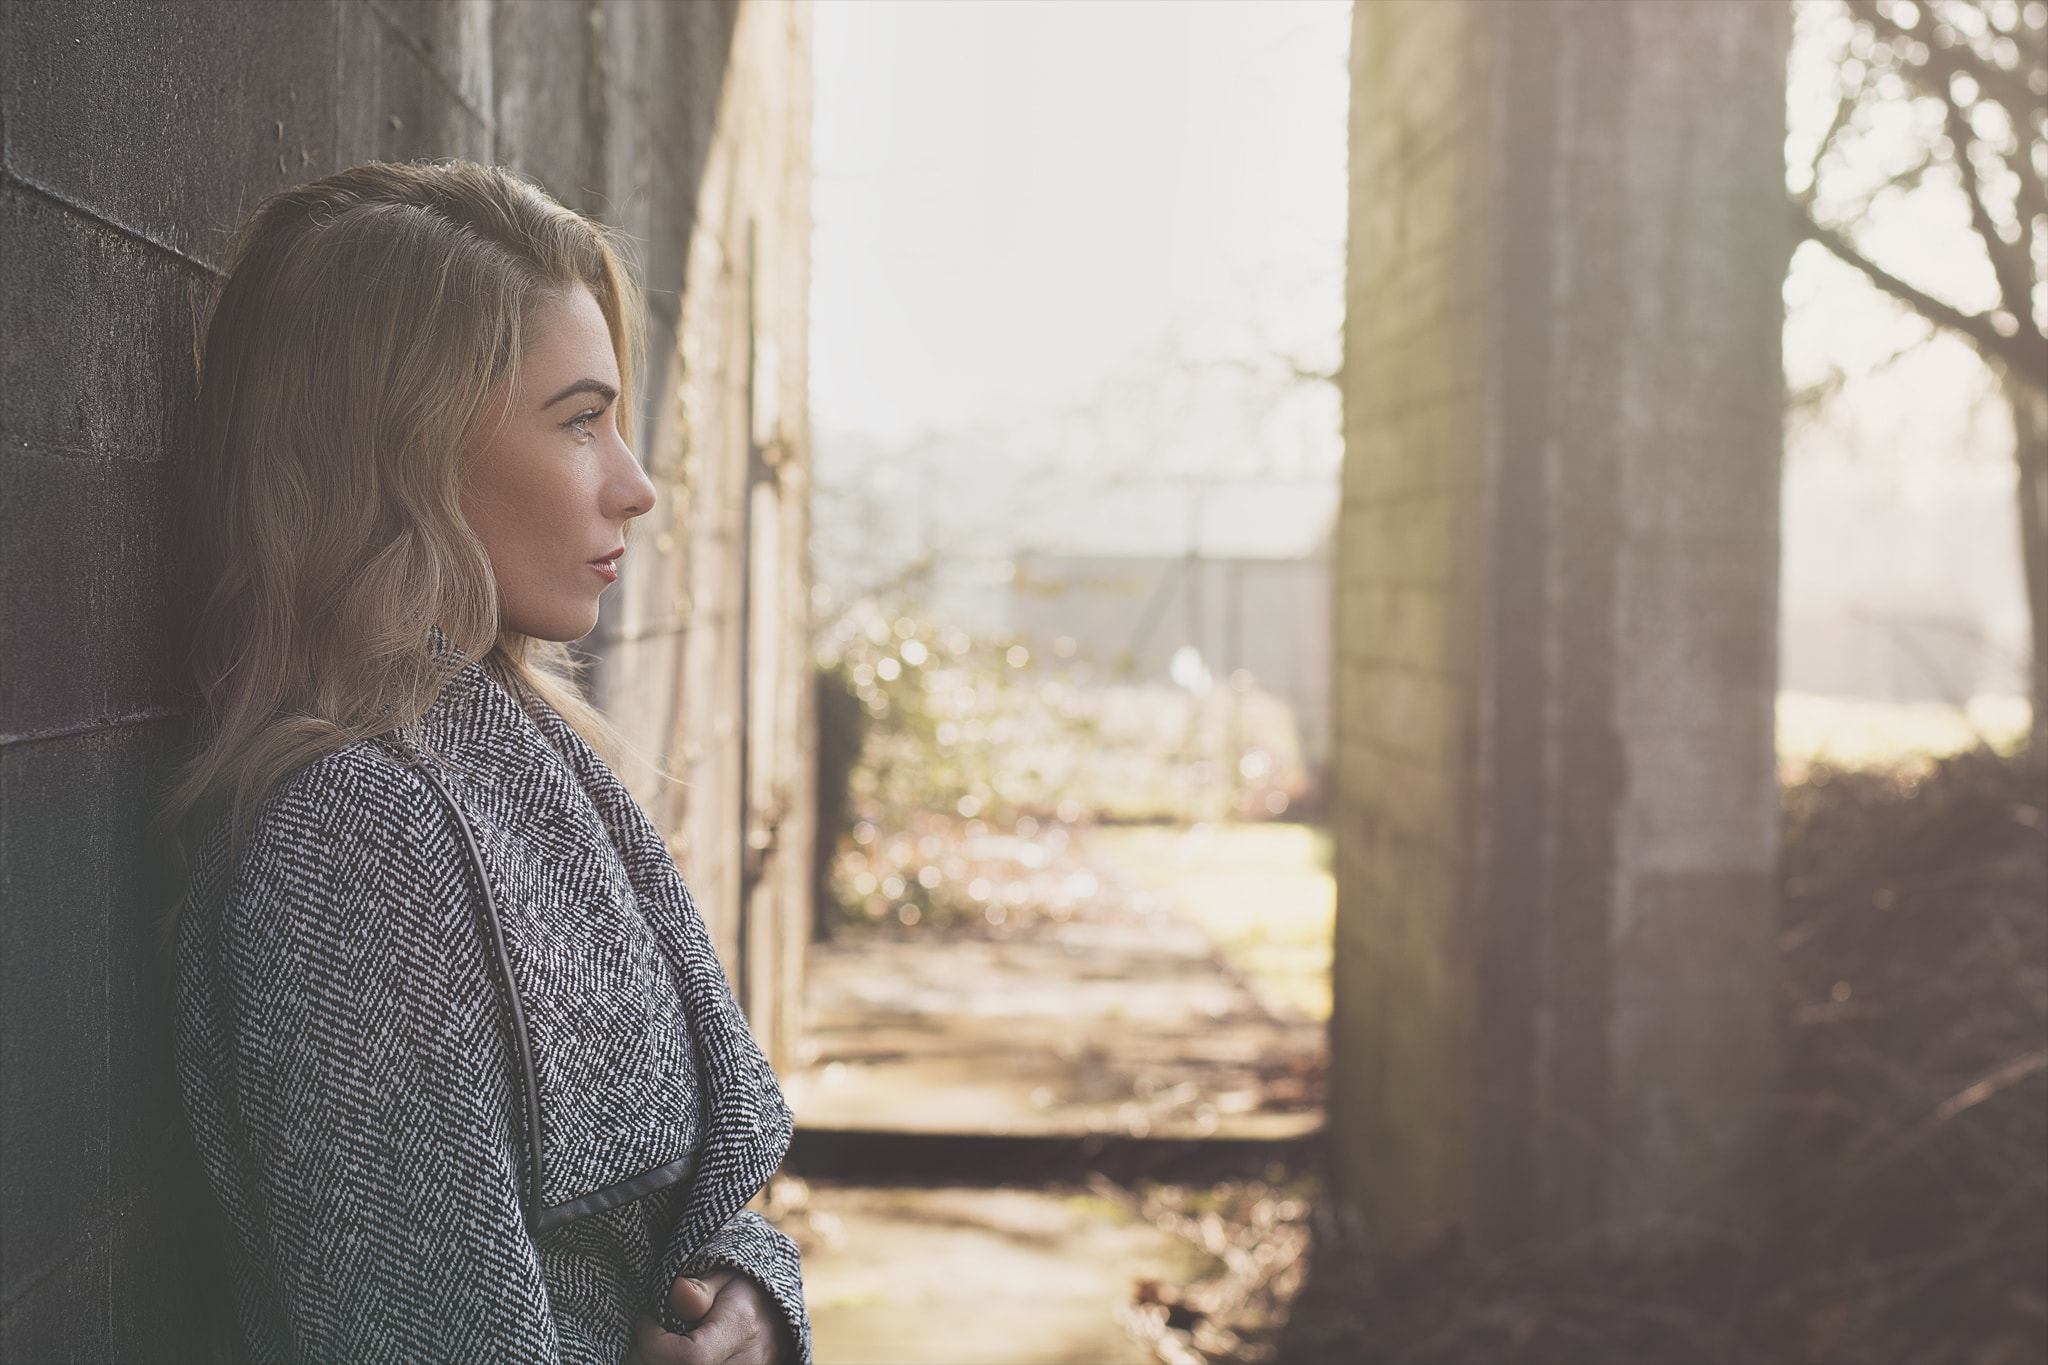
I am a huge fan of natural light, I would much prefer to use this over a flash and thats the style I have tried to evolve with. I have followed the master of natural light photography for a while now, Dani Diamond, the way he uses natural light is inspiring. Check him out for some truly amazing inspiration.
I would rather move my subjects around so that I am utilising natural light, whether it be the sun behind me, or moving to somewhere where there is natural light being reflected. Another great alternative I use is a reflective object for instance a reflector or if you don’t have one of these lying around then any white surface like a piece of paper (the larger the better) or something like that.
Another thing I always do is I always shoot in RAW mode rather than JPEG. I will explain why in Part 2 of this series.
I have learnt the hard way though that photography is not a cheap hobby to have. What can start out as wanting to document your new babies life can sometimes turn into a job for some that go onto doing newborn or portrait photography. Whilst you may start out with an entry level mirrorless or DSLR camera, it soon turns into wanting a new camera with advanced features and then wanting to add to your collection of lenses. The best piece of advice I can give is to try and borrow or rent things you would like to buy. Look on eBay for lenses or look for good second hand deals. Also it helps if you stick with the same brand.
There are a lot of debates over Nikon vs Canon vs Olympus vs Sony vs Panasonic vs Fuji. Also to take into consideration is if the camera you are looking into is a full frame or cropped sensor as this makes a huge difference to what you capture.
Find a brand you love and stick with it, I personally went from a Sony to two different Nikons and then settled with a Canon EOS 5D Mk iii. The 5d mk iii is an absolute beast of a camera and even better is if you are wanting to incorporate video into your workflow, this is one of the best DSLR cameras for filmmaking with the addition of Magic Lanterns software which opens up the mk iii massively.
The last thing I will mention in this part is finding your own style of photography. This is one of the trickier things to do as it is hard when you are first starting out. The more you watch tutorials etc, the more you will find someone else’s style that you like that you will want to try and emulate. Which isn’t a bad thing, as I have found the more you try to emulate someone else’s style you will never get it right, but this in turn will help you to find your own style. However, if you are happy to just shoot in JPEG and let the camera add the sharpness, contrast, vibrancy etc, then in post production simply bump the saturation, then stick with that style.
One thing to remember though is that the correct way of editing people is also a very different process to editing a landscape, which I will show you with my workflow in part 4 of this series. I will also give you some custom actions I have created for free to help you with your editing.
Anyway, I have gone on for long enough, so join me in the next parts of the series where I will show you how I take this photo and turn it into a finished image (move the slider left and right).
[twentytwenty]
 [/twentytwenty]
If you are interested then I am on all social media channels, if you want to pop by and say hello 🙂
INSTAGRAM • TWITTER • FACEBOOK
But if you really want to show me some love and prove that these tutorials are worthwhile, then subscribe to me on YouTube, I only have a few subscribers and that looks rubbish! I will be posting on here regularly from now on and will soon be starting a probably weekly vlog as well as more tips, tutorials and general videos.
One last thing…along with this series, if there is anything specific you would like me to cover or go over, then please leave a comment and I will incorporate it into a tutorial.


Finally a super useful and approachable series of posts (I hope) 🙂
I have a canon eos 60d and have dabbled with the manual settings and have a few cool lenses now but I need to learn how to use it to its full potential.
I love playing with the depth of field and people are my favourite subject matter. So any tips on this would be greatly received!
Thanks Holly. Oh yes, hopefully it will be 🙂 The one thing I struggled finding on the web was a decent guide that was aimed at the complete novice and also for more advanced users if they were interested. I don’t claim to be a pro, but I wanted to share my tips, tricks and advice on what I have learnt so far and help out other people who may be struggling or overwhelmed as to where to start.
Thats a great camera to be getting to grips with everything.
I love that too, my favourite style is people with a very shallow depth of field, but its also the trickiest with nailing focus! Feel free to ask any questions you may have, I will try to cover lots of things, but there is bound to be specifics that I will miss, so ask away if you want to know anything 🙂
Ah I love this series already. Really helpful advice thank you. I am really interested in photography and am soon about to upgrade my dslr (canon 1100d) for something better. I’d love to know what your recommendations for lenses are? I take mostly photos of my family and my little boys. Thank you!
Hey Alex, love your YouTube channel and have only been subscribed for a few hours…. But I especially loved your post ‘Social Anxiety and Having No Mummy-Friends’ something Hannah and me can relate to a lot 🙂
My pleasure, the one thing when I was learning photography was not having anyone there I could bounce ideas off of or ask for advice, so my thinking behind these posts was to be just that. If I can offer advice or help or anything then I will try to. I will also start to do some speed editing videos on my YouTube channel (so you guys can see my exact workflows etc).
Taking photos of my children was exactly the reason I started to get seriously into photography so all the lenses I bought were for these purposes. I go into a bit of detail in part 2 of this series next week about what lenses I use. But the lenses I would always recomend to start with is a Canon ‘nifty fifty’, thats if you are sticking with a Canon body. Its a 50mm f1.8 lens and is an awesome inexpensive lens (under £99) but is perfect for getting those shallow depth of field shots and is a fast lens for capturing kids who never sit still! I never really got on with zoom lenses so my kit mainly comprised of these, I had a 50mm and an 85mm and next on my list is a 35mm. But the prime lenses to suit your camera will be dependant on whether you will be upgrading to a cropped sensor camera or a full frame camera.
Glad you will be following on, but if you have any questions at all then just give me a shout 🙂
Thanks Alex. Actually am pondering a new lens. I don’t have a fortune to spend. I’ve got the 50mm f1.8 lens which is fab for shallow dof but is really zoomed in.
What would be a good lens for shallow dof but more wide angle so the shots aren’t just cropped or head shots?
Thanks
Hey Holly, no worries…. Unfortunately thats the problem with cropped sensor cameras, your 50mm gives you an equivallent focul distance of about 80mm on a full frame camera…. The best bet would be to look into either the Sigma 30mm f1.4 or Canon 28mm f1.8, but these are around £300-£350.
Failing that a zoom lens would be good but depending on your budget the zoom lens can be quite costly unfortunately!
Hope this helps 🙂