We have been posting a few overhead shots lately and so far the comments we have received on them have been really positive. Quite a few people have asked how we manage to achieve them, so we thought it might be helpful to actually show how we do it!
You might have considered these questions too…
Was there another person in the room?
Did you hang your camera from the lightbulb?
Did you hang your camera on the ceiling fan?
The answer is, none of the above.
[envira-gallery id=”9232″]
It’s actually pretty simple, providing you have the necessary equipment. All too often you see tutorials on how to make or create something, and more often than not it involves things you don’t have or equipment you simply don’t happen to have lying around.
So I will start off with our kit list, but please remember there will be lots of others ways of being able to create this look but this is just what we happened to have:
1 x Camera – Any DSLR / Compact / Micro 4/3 will do
1 x Photographic background support system – we bought ours from Amazon here (an alternative that springs to mind is a freestanding clothes rail)
1 x C-Clamp with spring clip holder – we bought ours from Amazon here
1 x Joby GorillaPod Tripod – we bought ours from Amazon here
1 x Wide Angle Lens (this is what we used) – Sigma 19mm f/2.8 DN MFT Fit Lens, which you guessed it, we bought from Amazon here for my Olympus Pen E-PL7
I just wanted to clarify here that we aren’t promoting Amazon or anything like that, nor do we have any loyalty, it’s just we have a prime membership so we thought that we’d put it to good use.

First off I wanted to share the camera settings we always use on these shots which are:
- Shutter speed 1/50 or 1/100
- Aperture 2.8
- ISO 200
If you aren’t comfortable shooting in manual mode or your camera doesn’t have manual mode, using auto will be okay but you just won’t be able to have the same control over the look of the photo. In our case, we like a darker more contrast effect, so we also shoot the same time of the day where the sun (when there is any left) is lower, as this gives nice soft highlights on the people in the photos.
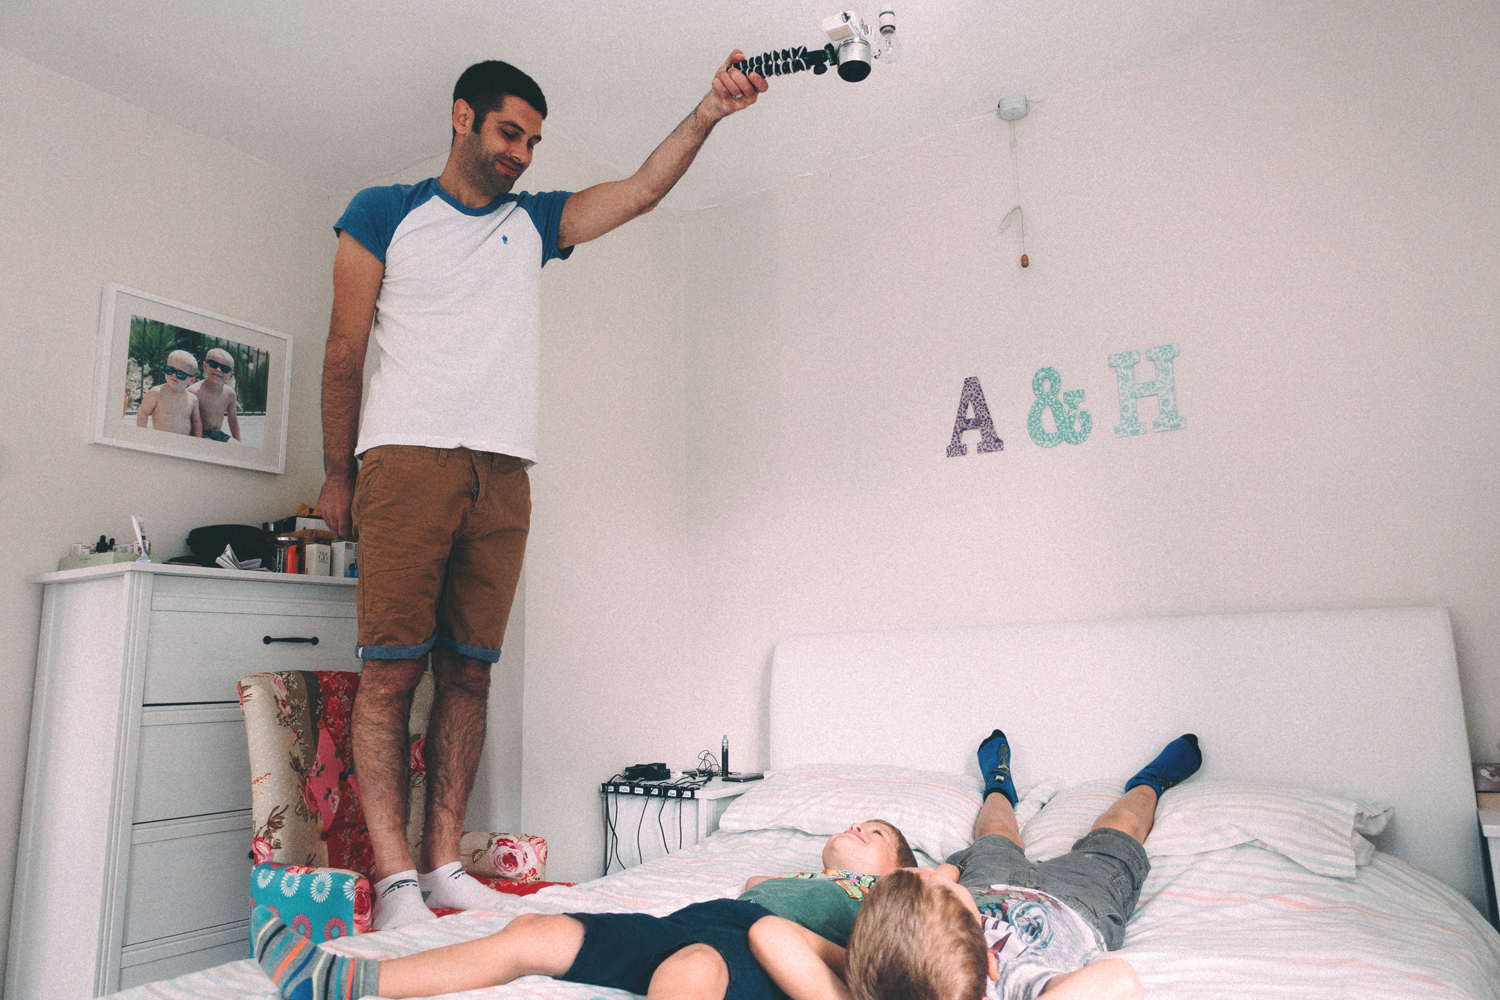
When it comes to the overhead shots that don’t include my husband, he achieves the overhead shot by literally just standing on a chair and hovering over us. He attaches the camera to the GorillaPod, sets the camera to timer (3 – 5 seconds is plenty), focuses the shot by pressing down half way on the shutter and then presses the shutter all the way to start the timer.
Here he is in action!
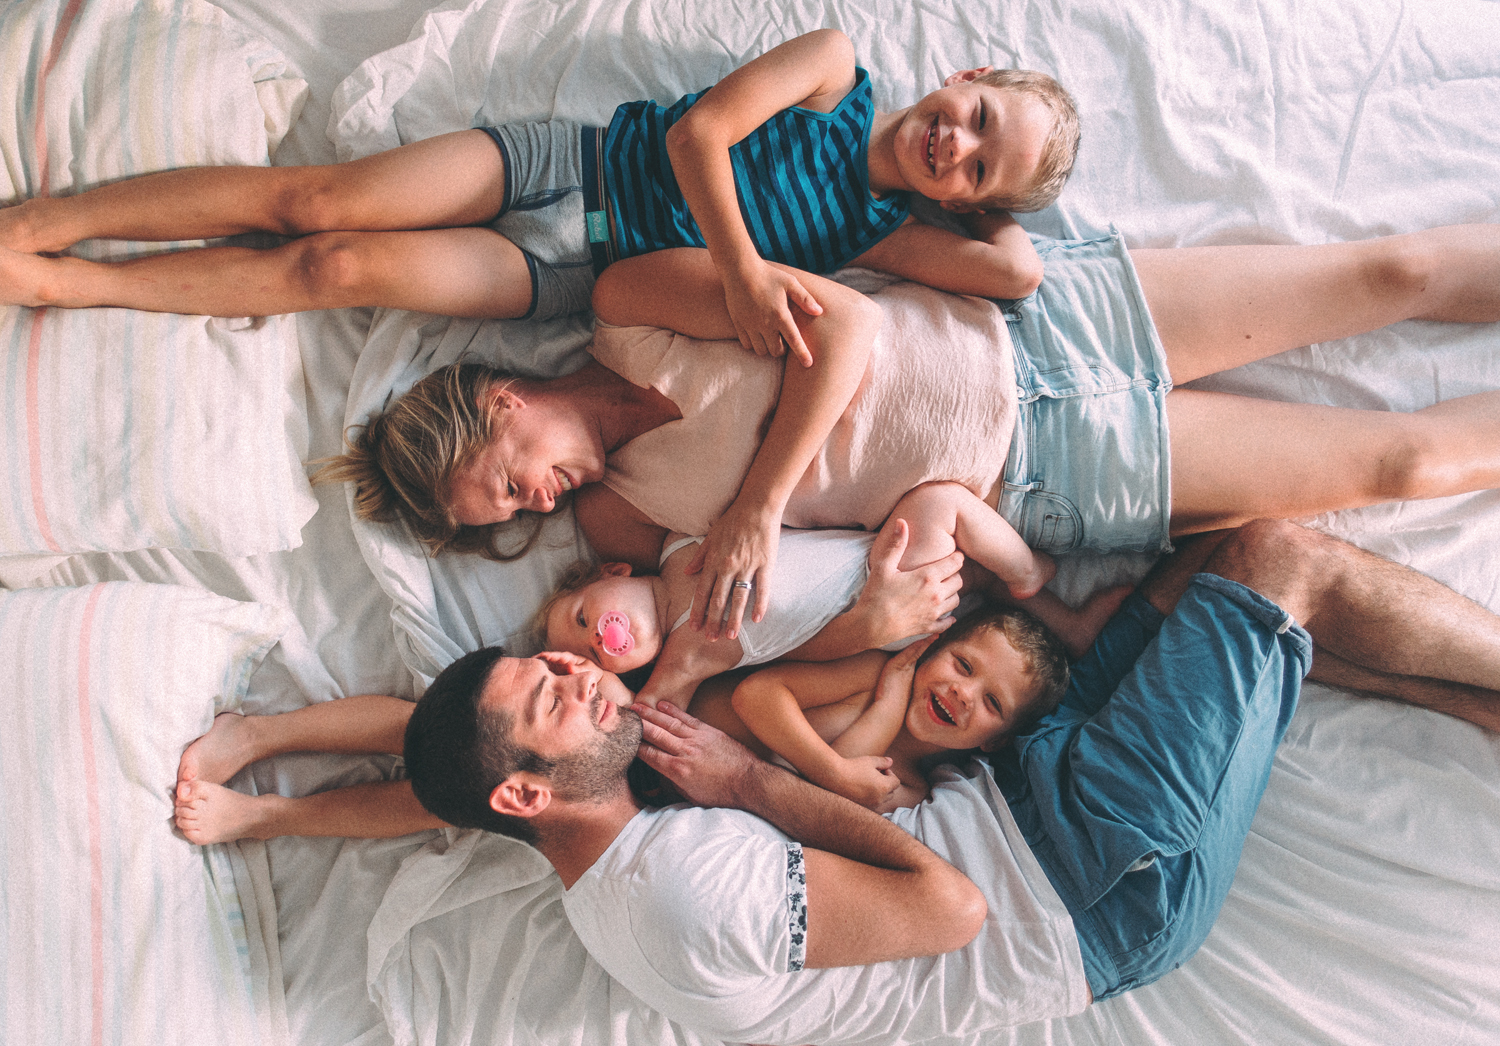
However, when it comes to including all of us in the photo it becomes a little bit more fiddly and it’s thanks to Kara over at Innocent Charms Chat who set us the challenge of including all five of us.
With a group shot, we set up the two tripods either side of the bed and connected them together using the support pole (the photographic background support system has everything included to create the goal posts as shown below).
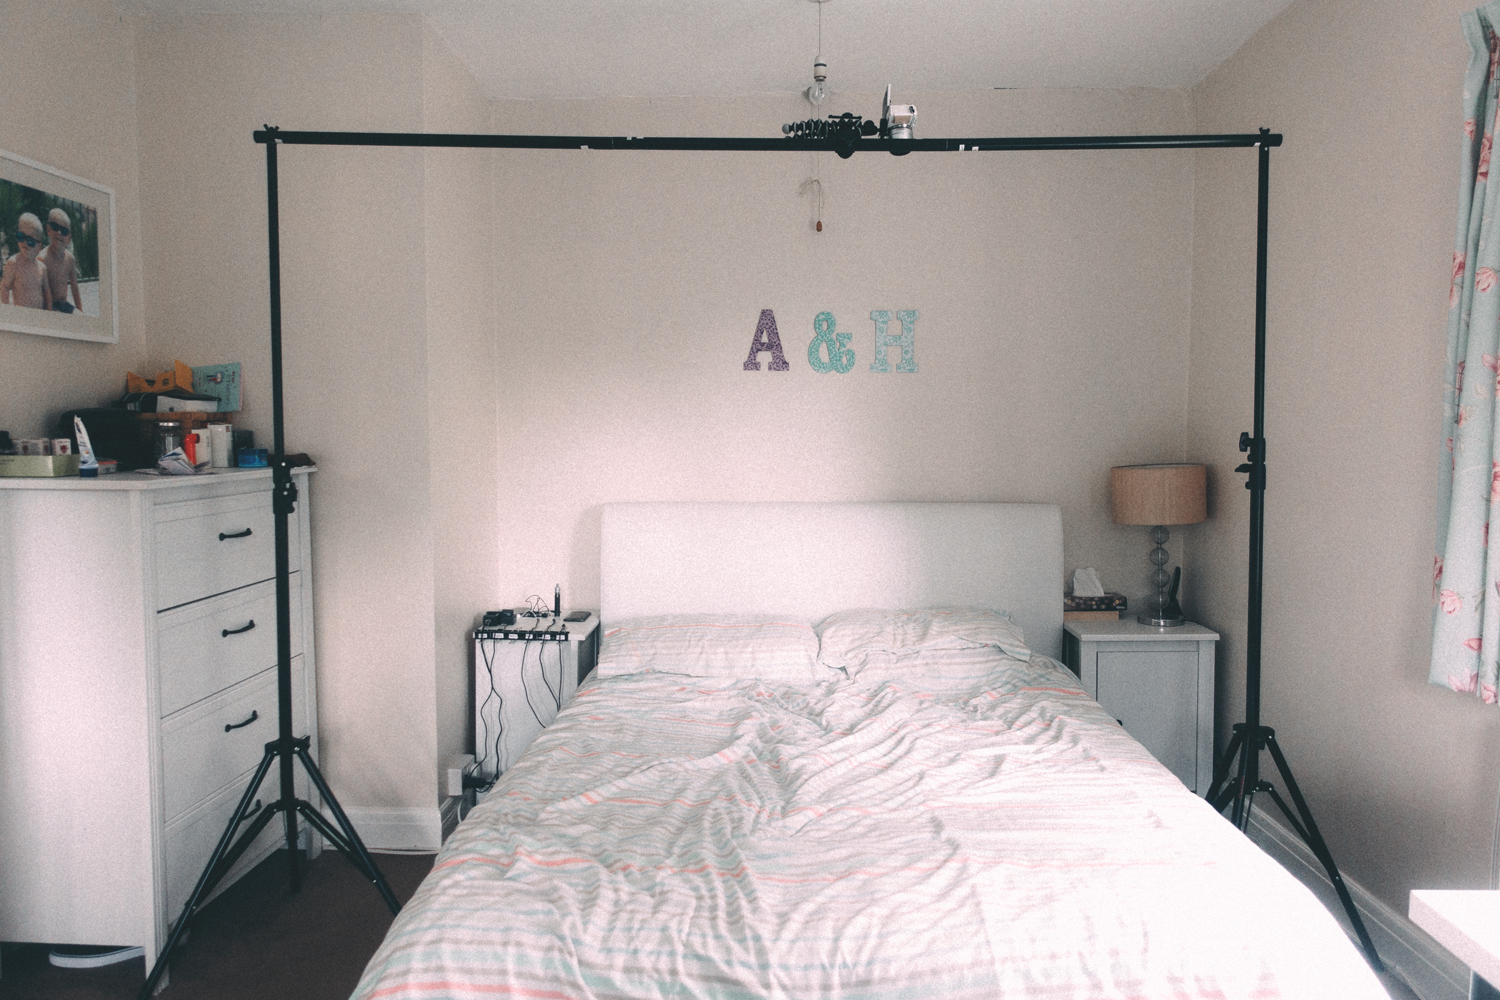
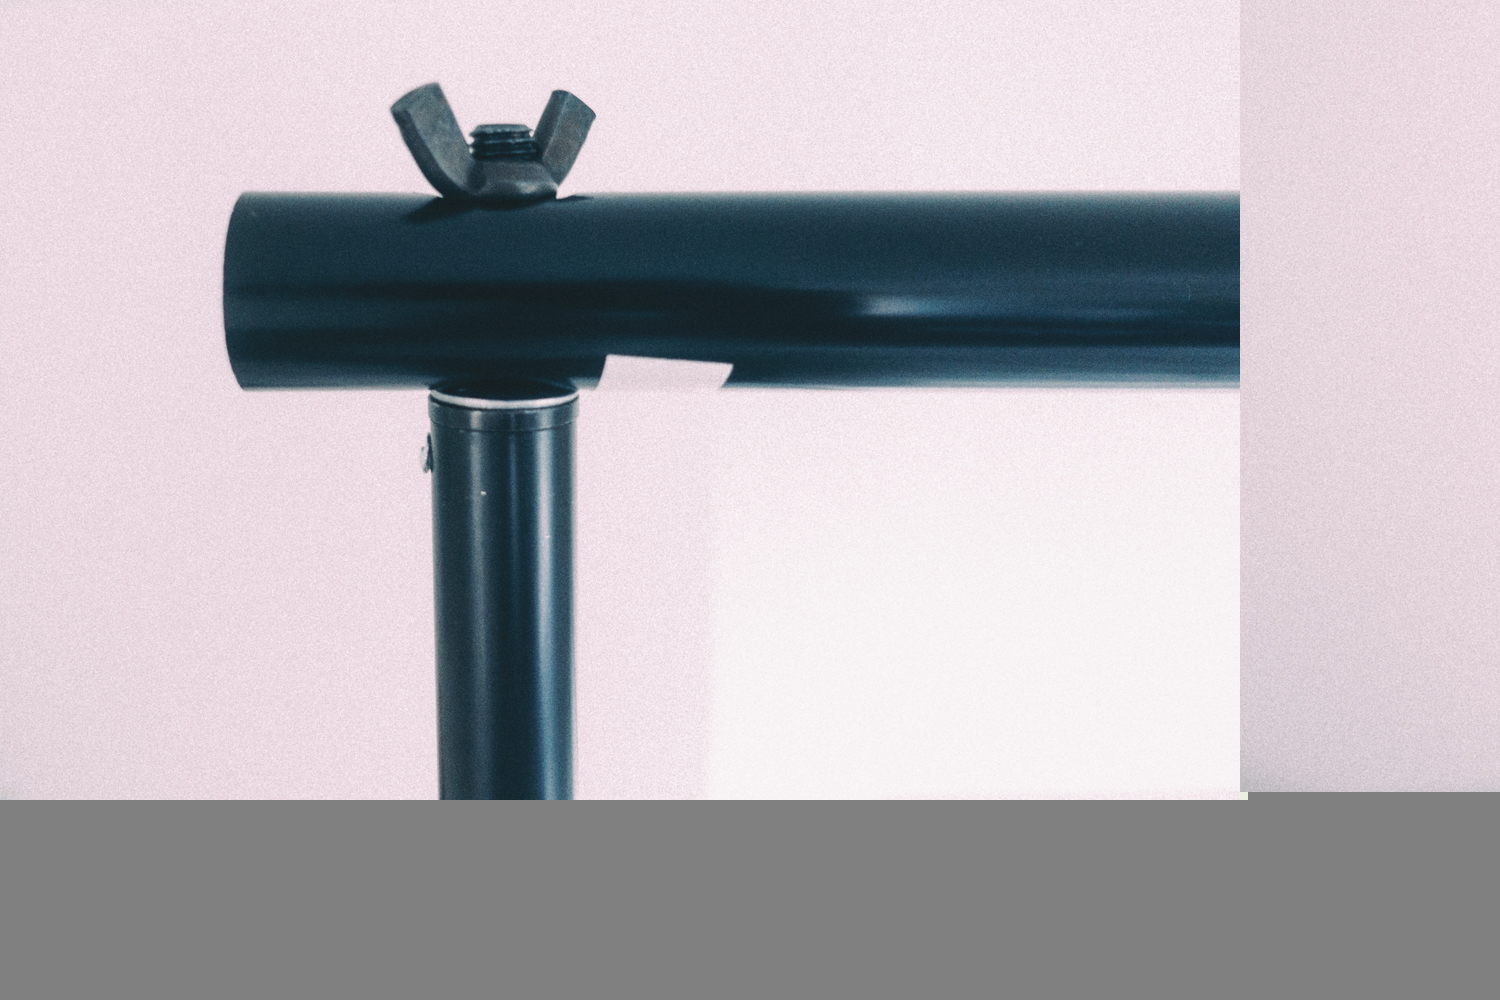
On the support pole we connect the C-Clamp with the spring clip holder in the very centre and then connect the camera to the GorillaPod and place the GorillaPod in the spring clip holder as shown below.

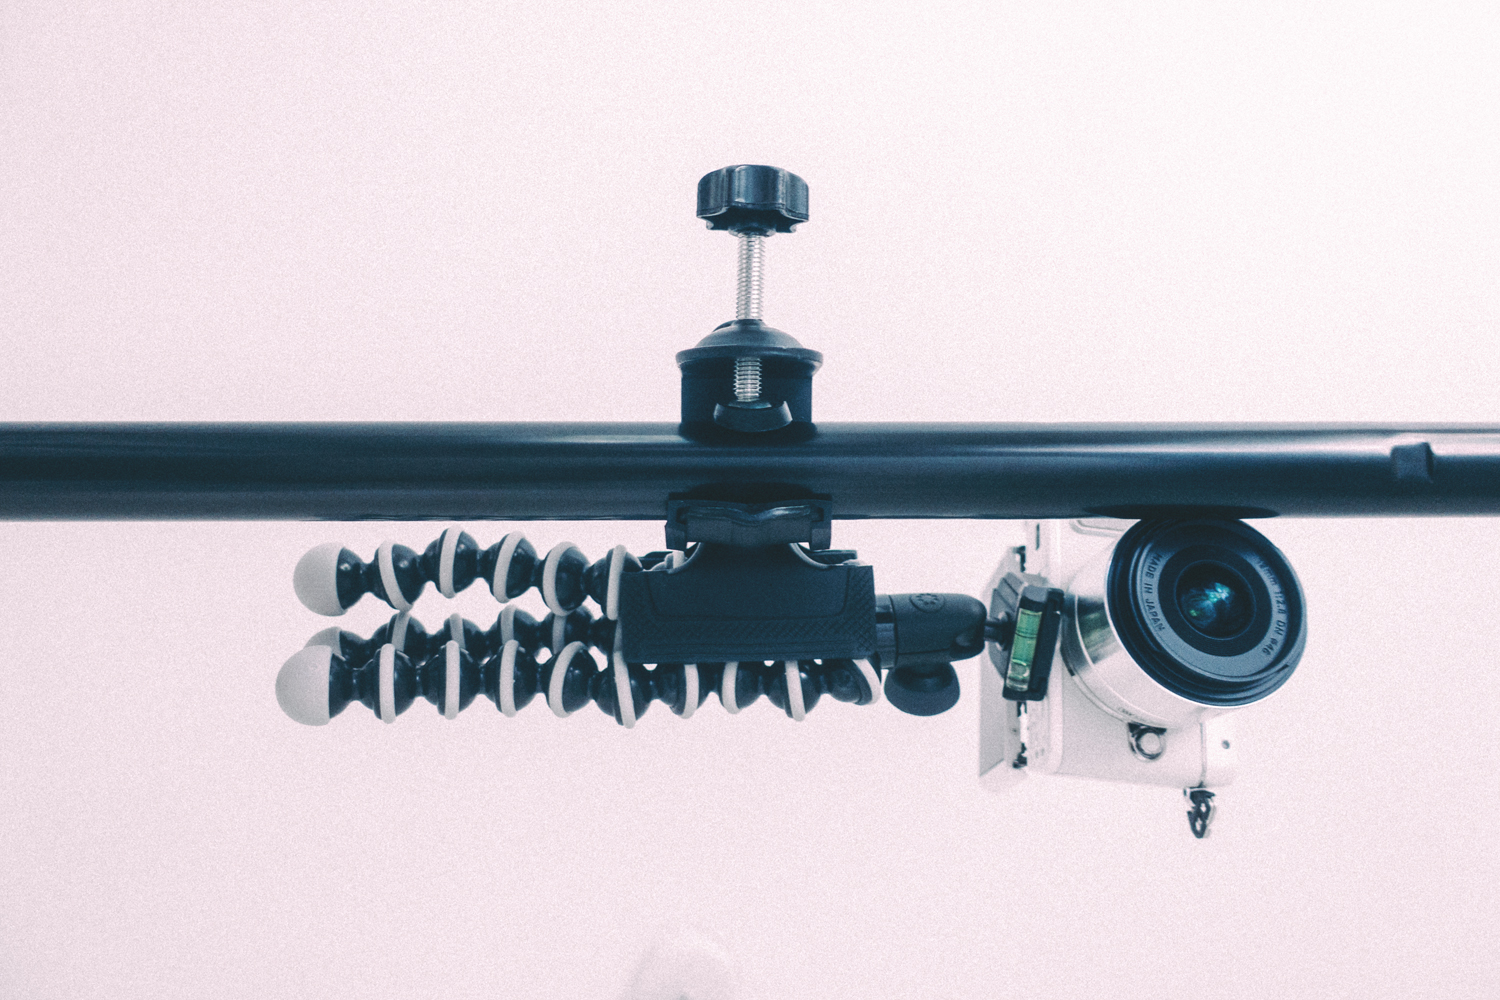
Then as with the shots where my husband takes the photos by leaning over, he will set the camera on timer (10 seconds this time as he needs time to get back down into position), focuses the shot by pressing down half way on the shutter and then presses the shutter all the way to start the timer. If your camera has the functionality, you can always connect it to your phone and use the phone to focus and take the photo which is much easier than constantly getting up and down to take the photo (that way you can move your phone out of view before it takes a shot).
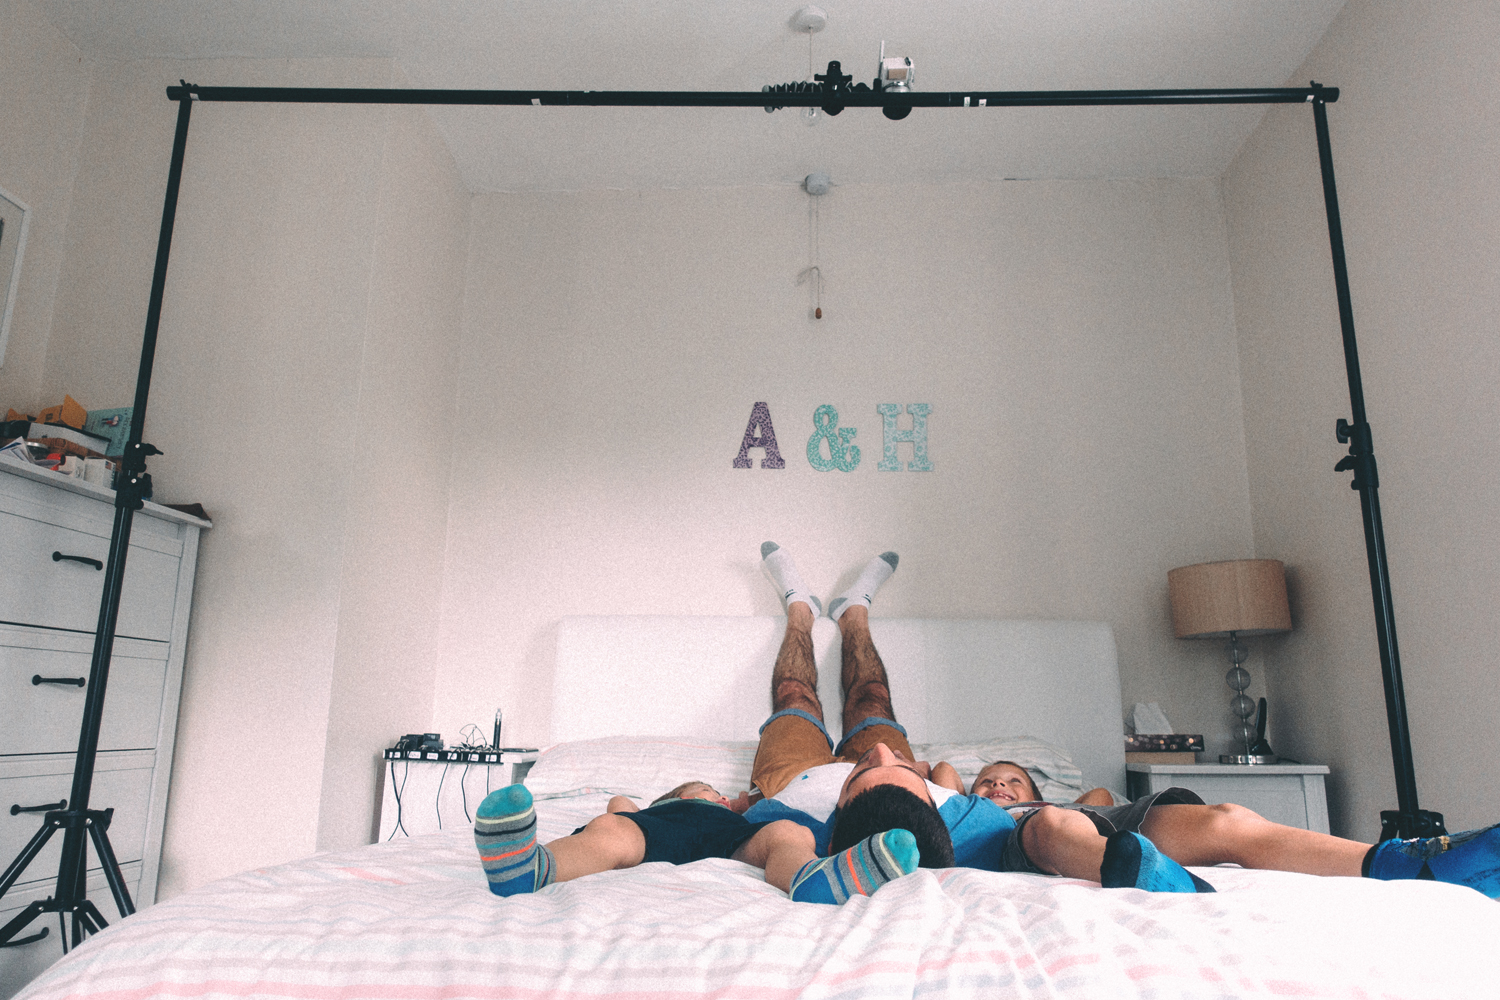
Here are the photos of this particular set up above.
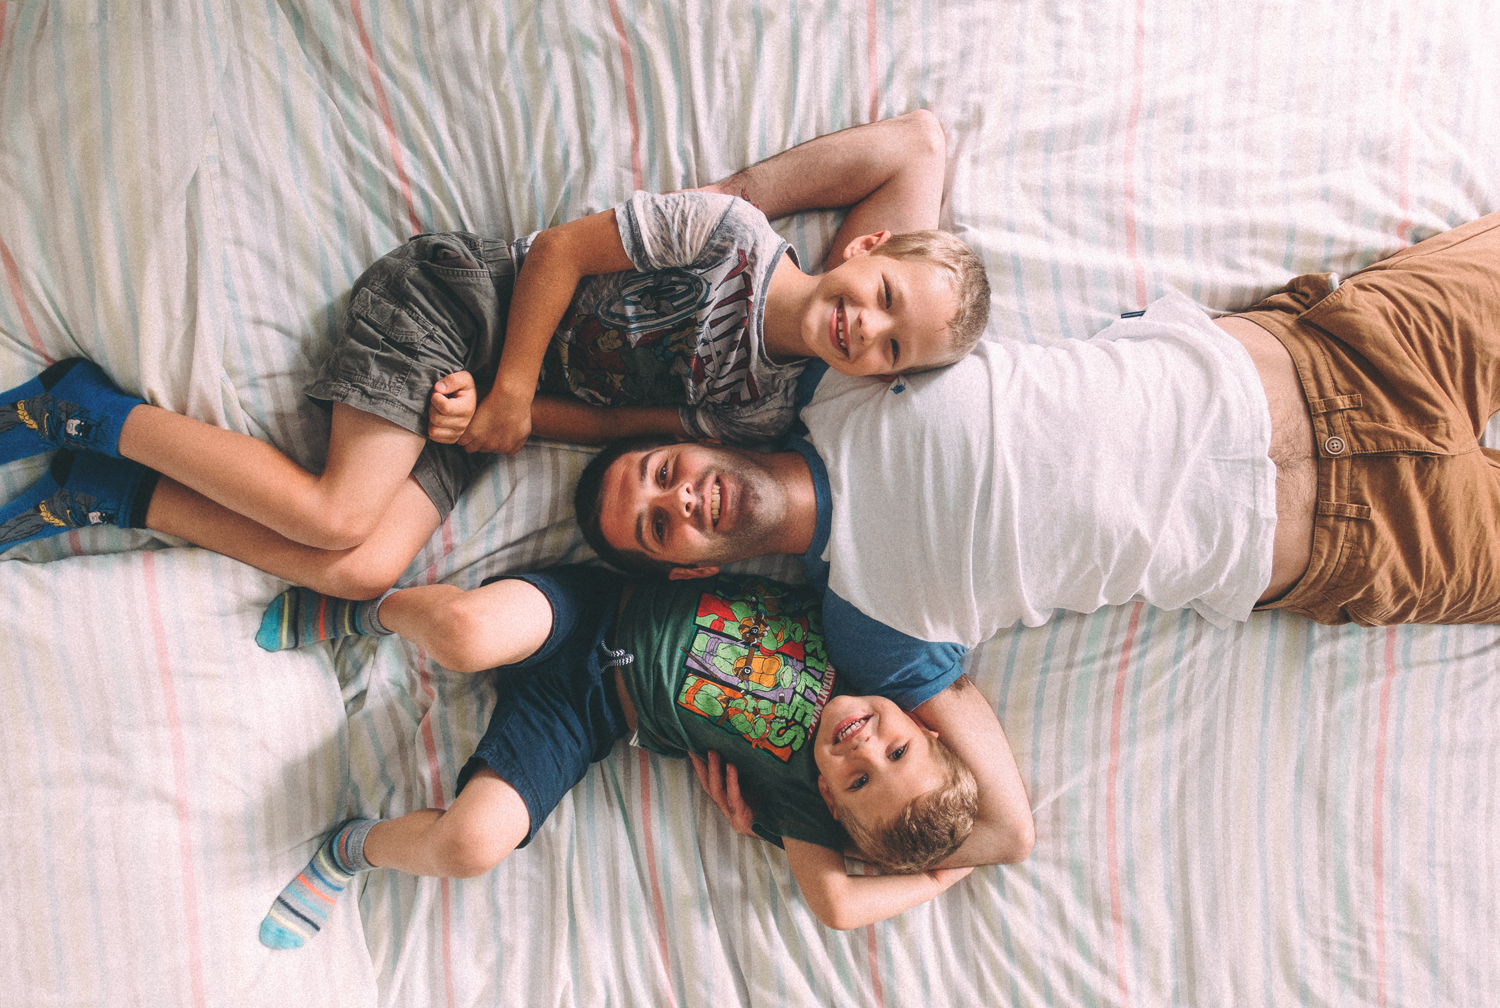
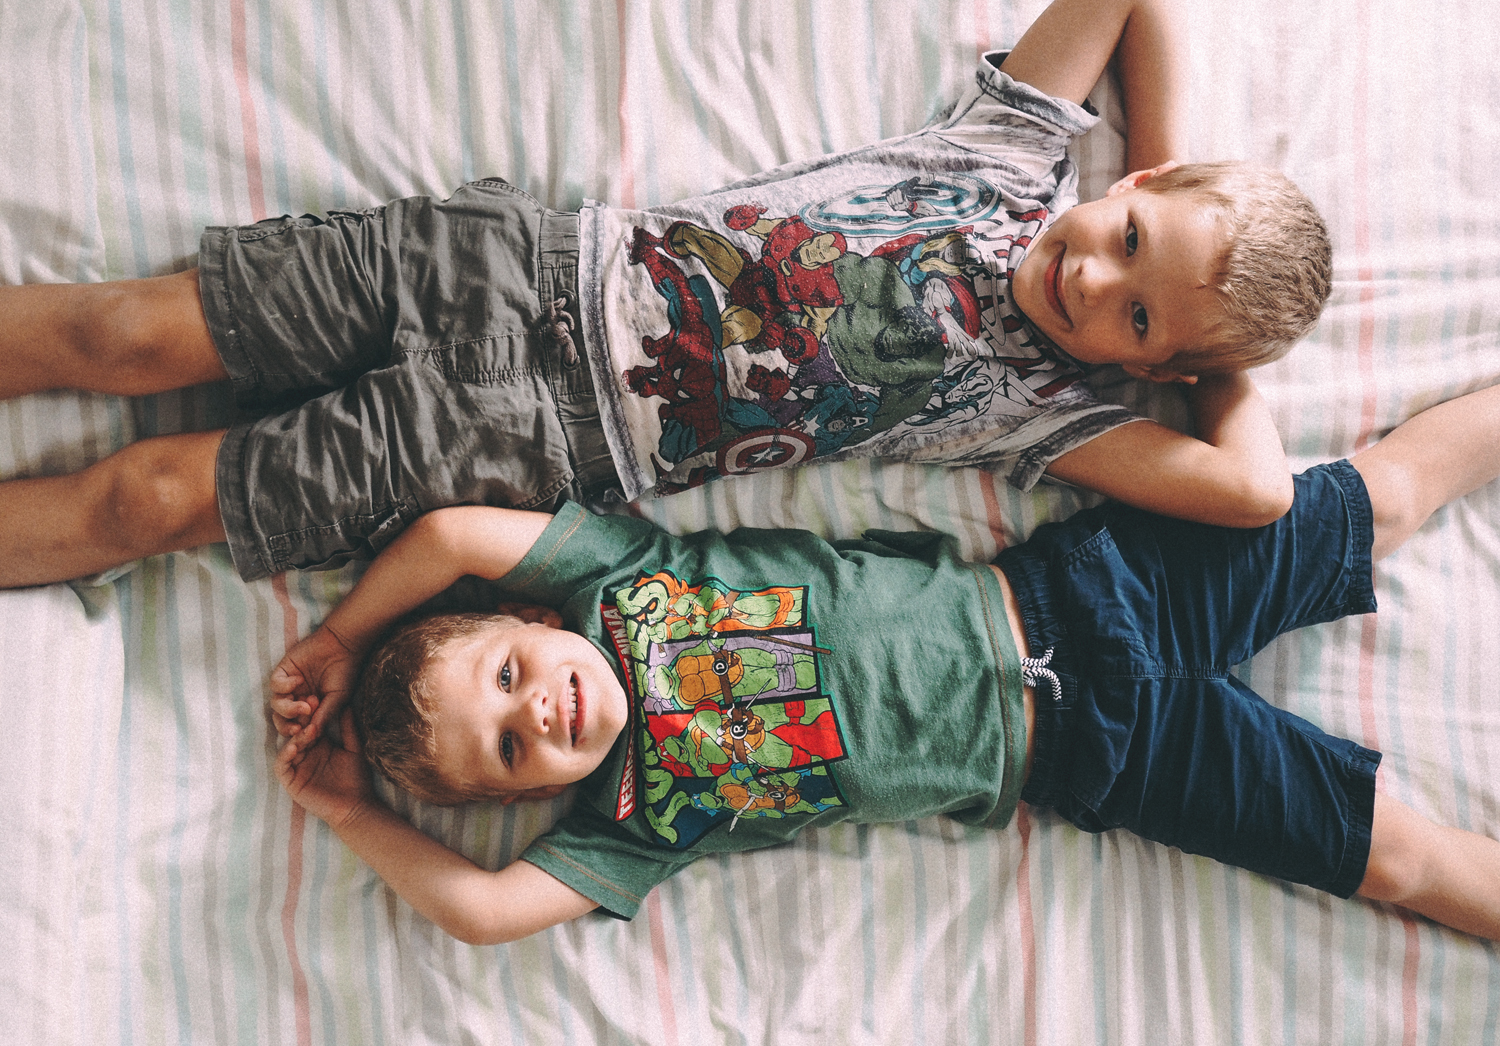
So that’s how we achieve the look in our overhead photos. As you can see, not a lightbulb, ceiling fan or secret other person in sight.
We are looking to take this a step further soon, by getting creative using this set up. So keep your eyes peeled on my Instagram (@whathannahdidnext) and my husband’s Instagram (@whatalexdid) for our new shots.
Also, if you do get involved trying out these overhead style shots then we would love for you to share them with us. We have created our own hashtag on Instagram called #capturesfromabove – so please get involved and we look forward to seeing your overhead shots 🙂
Thanks for reading and we hope you can take something away from this post as coming up over the next few months, we will be sharing more tips and tricks like this, including how to optimise your GoPro’s for video, photos and timelapses.

Ahhh that’s awesome I think I have most of the kit too and the Olympus pen so that is helpful on settings thanks lovely what a great community to create for us all to join in. Can’t wait. Will have to practice a little bit tho first. Lol
That’s great to hear and yes of course you have the pen too! I’m really hoping that a few people manage to do these shots and join in with the hashtag, we just love how they turn out. Thank you, I love your little community you have too and it must be so nice catching up with everyone that has joined in. I’ll look forward to seeing what you come up with! 🙂
So simple, I love it! I think I just need to get my two monsters to sit still long enough to pose for the photo first though haha 🙂 xx
Thanks! Ah that’s half the problem! mine don’t manage to lie still for very long and I got a kick in the face by accident too last time! ha ha x
I love it, will give it a go and let you know how we get on! Thanks for sharing x
Thanks Taryn! I can’t wait to see what you come up with with your gorgeous little ladies 🙂 x
So clever and what an awesome end product!
Thank you! I love the perspective and the kids love doing it too 🙂
I love this idea and this hashtag. Really interesting to see the pull back of how you do it. I wouldn’t have thought of using a backdrop stand but now I will have a little experiment with mine and see what I come up with.
Thanks Chloe and I’m pleased you like the hashtag we have set up. Oh I’m excited to see what you can put together, seeing as you already have the equipment! I’ll look forward to seeing what you end up doing 🙂 x
So glad you shared this because i love your overhead shots and have been wondering how you get them! i have some of this kit at home myself already so totally going to follow your tips and give it a go myself! xx
I’m so glad to hear that Vikki! It sounds like lots of you have bits and pieces to make the set up yourselves, which is fab! Let me know when you give it a go 🙂 xx
Love this such a great way to do shots of all of u and something to try at some point.
Thanks Joanna, it’s a good way to amuse the kids when they are fed up of ‘posing’ for regular photos! 🙂
Thank you for sharing, such beautiful shots, I have been admiring them on your Instagram feeds!
My pleasure Oana and thank you, that’s always lovely to hear 🙂
This is so interesting. I went and showed my hubby part way through reading as he is big on photography. I will be bookmarking this.
Ooh sounds like you probably have some if not all of the kit then. I hope you give it a try too! 🙂
I love how simple this is yet I would never have thought of it! Thanks for sharing x x
Thanks Cass 🙂 I hope that it’s inspired you x
What a lovely idea and such gorgeous shots! x
Thanks Emma! 🙂 x
Hi Hannah, I’ve just come across this post (and hence your blog) via a twitter retweet. These shots are brilliant. You’ve inspired me to get my gear out and try shots like these. Even my hubby is up for it which is something. Looking forward to discovering more on your blog x
Hi Cath, I’m glad you have enjoyed this post and have got your hubby involved! Please do let me know what you come up with too! Thanks for following too 🙂 X
I absolutely love your overhead shots, thanks so much for sharing how you do it. Have you written any other posts on using your Olympus Pen? I have one and love it, but not sure I’m using it to its full potential x
Hi Kate, thank you! Ooh yes I’ve had my Olympus posts on the back burner but I’m going to be posting one soon. I’ll let you know when my next instalment is up. I’m still learning but I hope you can pick up some tips too! X
I will definitely have to try and join in with your hashtag Hannah, we have a backdrop stand from a brief stint of me wanting to try and do photography professionally just after LL was born (I soon decided I wasn’t cut out for it and gave it up as soon as I started!). They are beautiful photos, for me it’s just the effort to get them set up! xx
That would be fab Katie and great to see your little gang in one! I remember your little venture and was surprised when you gave it up – you certainly seemed a natural. However, Alex did a newborn shoot for a friend and it wasn’t the easiest I must say! Agree with the setting up…get Jon to do it, ha ha 😉 xx
Super! I love your photos from above! That is really helpful, I think I might have a go for our next Me and Mine picture!
Great to know how you do it. Must have a go – N would love something like this – but first need to find my gorillapod which went missing months ago. Reckon it’s in the bottom of the under stairs cupboard.
How fab! I love our overhead photos they are so lovely. Thank you for sharing how you do it. They certainly are worth the set up. xx
Love it. Its great when bloggers share their secrets and I always love your overhead shots xx
It’s always nice to be able to show others how to have a go and it’s been good seeing other peoples photos x