My experience with microblading
Getting myself some actual eyebrows, has been on my to do list for a little while now. They’ve been missing in action since the 90’s, when I decided to pluck them too far too thin and I honestly can’t remember what they looked like before I started doing that…
However, it’s only been in recent years that I started to become aware of how I didn’t like the way that mine looked and perhaps it was time to do something about them. That’s where microblading comes in.
I’ve laughed at various eyebrow trends that have been around and especially so at the scouse brow look. Always chuckling to myself about how bloody ridiculous some women look with their painted on eyebrows, only to realise that non existent ones can also look equally as strange!
As I’m fair, I’ve always known that big bushy brows are not the look that I should be aiming for. What I was looking for was some actual shape and definition that would give more structure to my face.
I’d been looking into it for a while when my husband asked what I wanted for my birthday and I knew that this would be the ideal time to get an appointment booked in.
After seeing a demo by Danielle at Daisy Pro Cosmetics some months earlier, I decided to visit her to discuss what shape and colour I wanted to achieve, as well as having a patch test behind my ear. Then not wanting to wait any longer than I needed to, I booked the treatment there and then for a few days later.
So what is microblading?
It’s the process of creating semi permanent eyebrows, so it’s not the same as having your brows tattooed, as it doesn’t penetrate the skin deeply enough. It involves a tiny blade that places dye onto the surface of the skin through a series of strokes. The tiny blades delicately implant pigment in featherweight strokes onto the surface of your skin, much like a paper cut. So it’s very precise in creating realistic looking hairs.
The finished result lasts for 12-18 months and needs to be topped up from there on after. Unless of course you don’t want to do that anymore, then they’ll simply fade away over time.
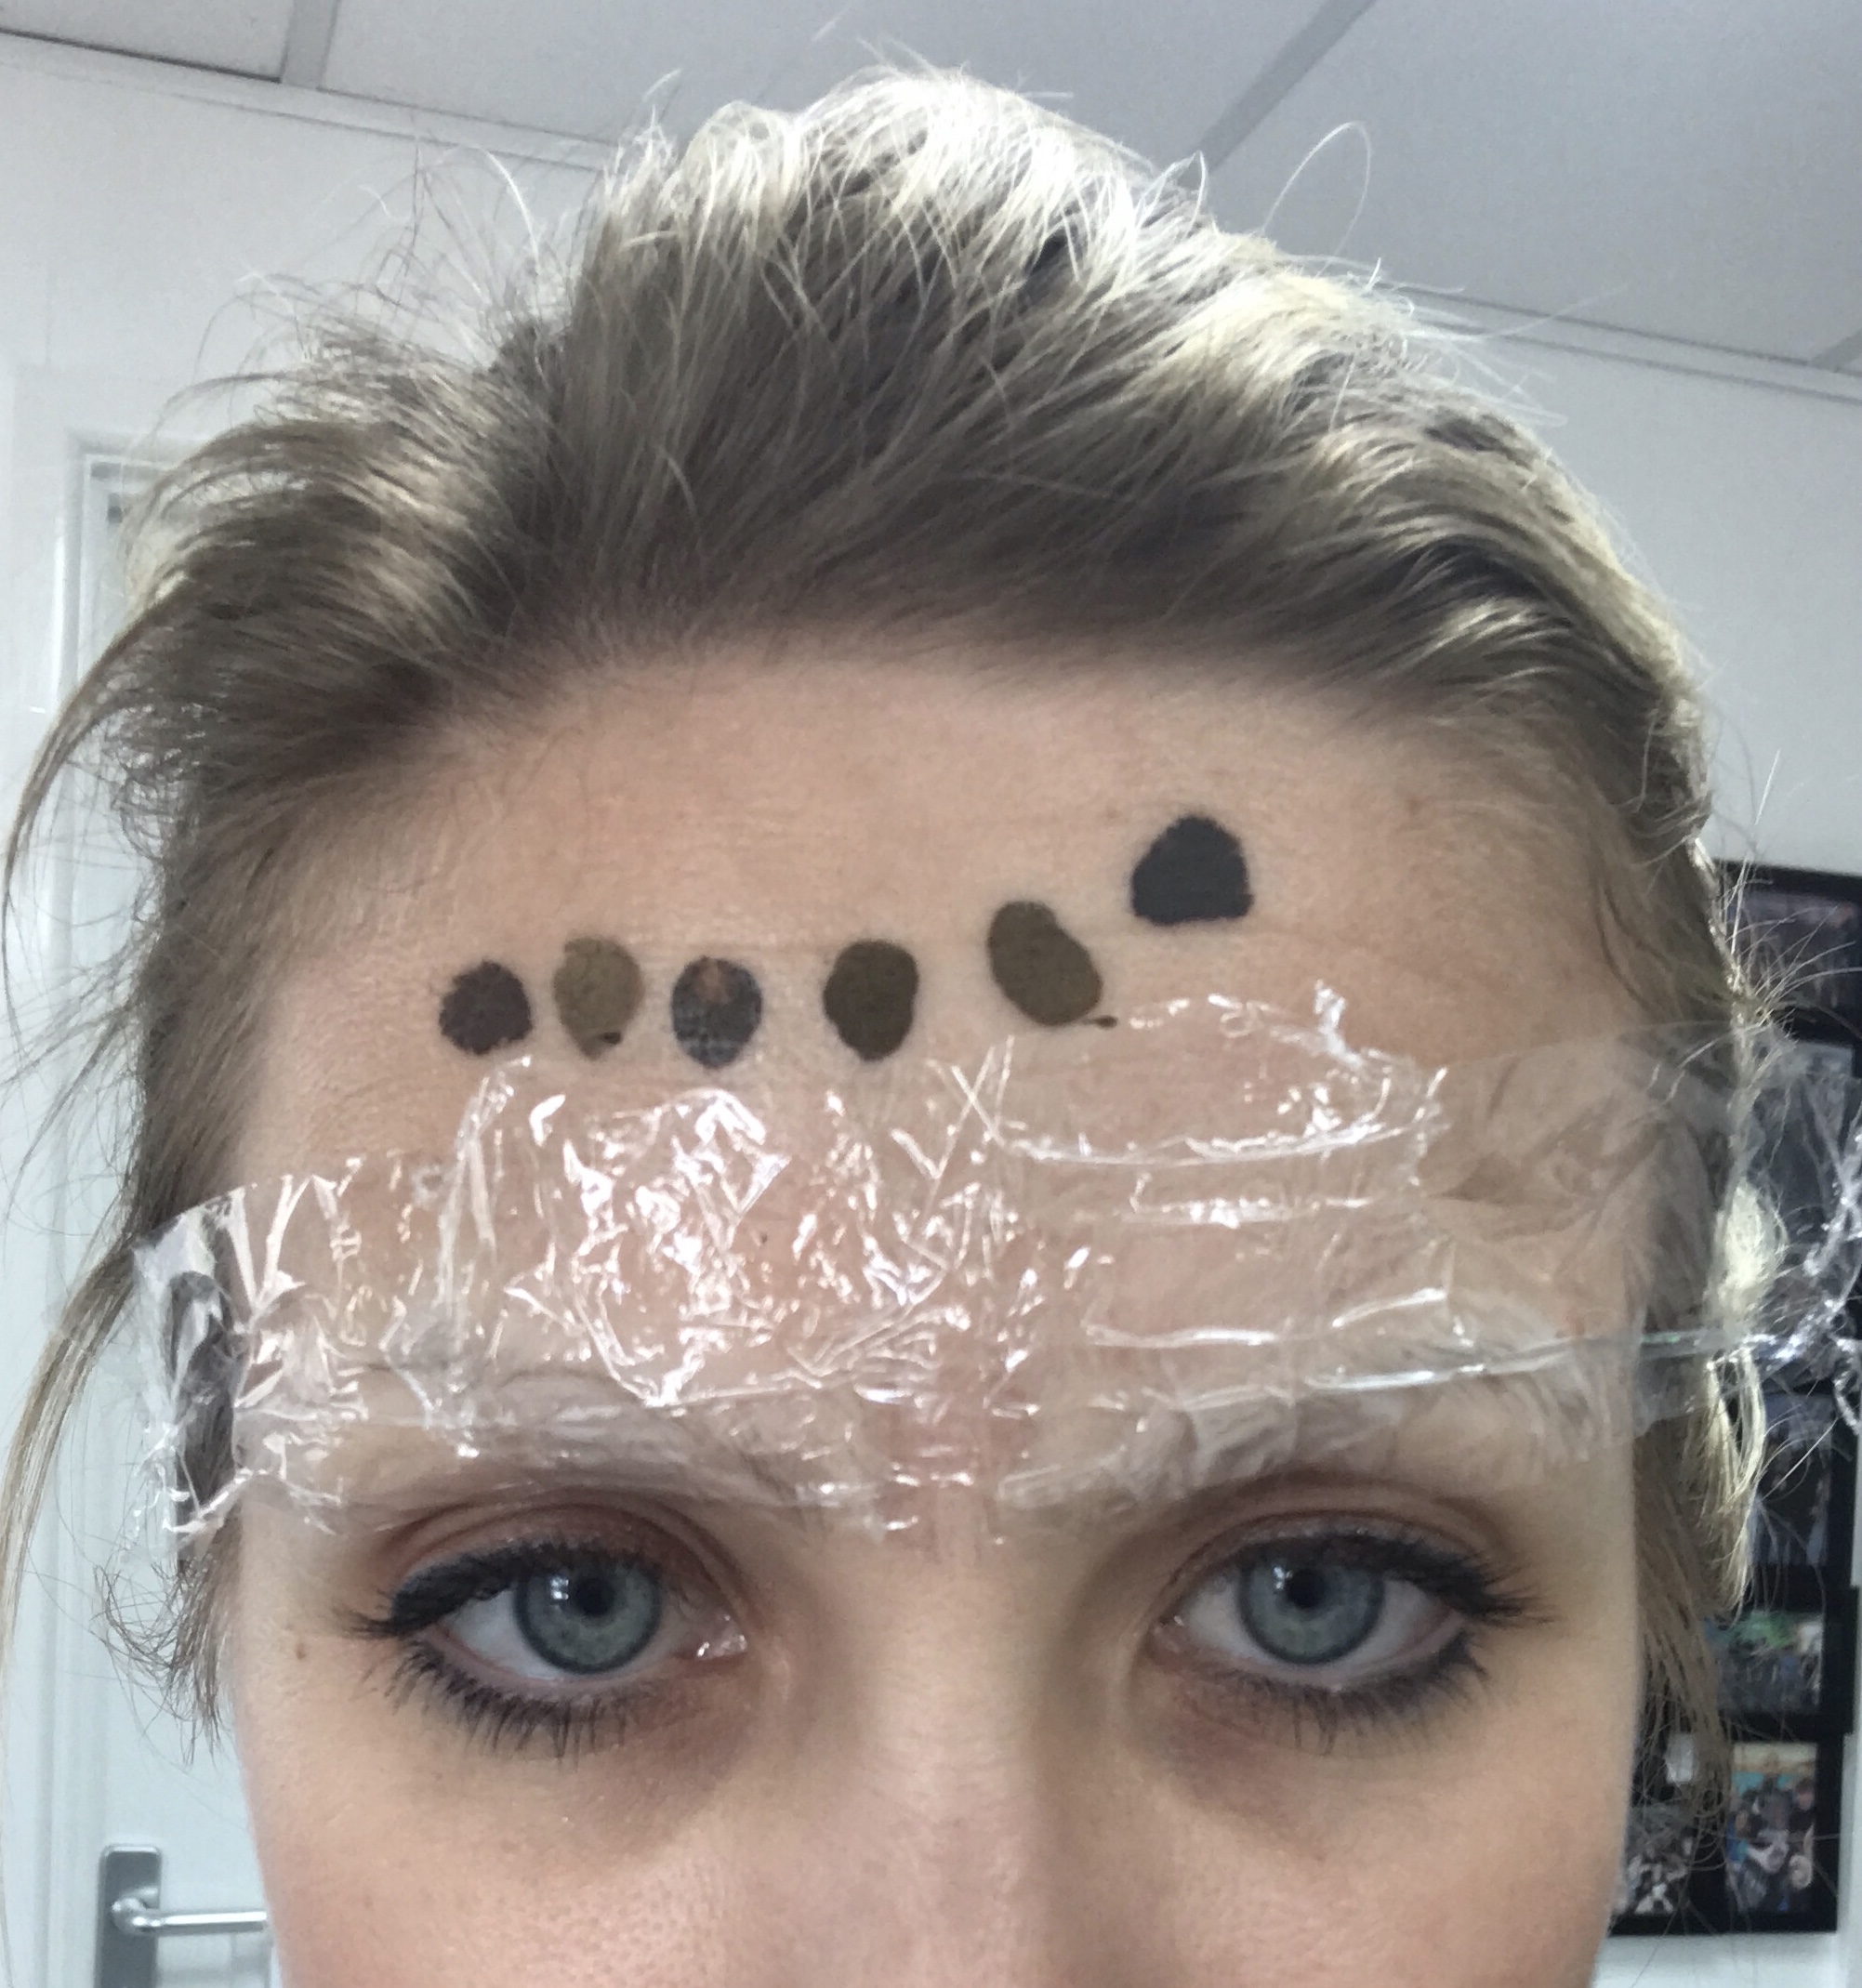
We looked through photographs of various different types of eyebrow shapes and colours and Danielle gave me her opinion on what she thought would suit my face. Between my patch test and treatment, I spent some time browsing eyebrow shapes online, to help me really find the shape that I wanted to go with and what I felt was more suitable for me.
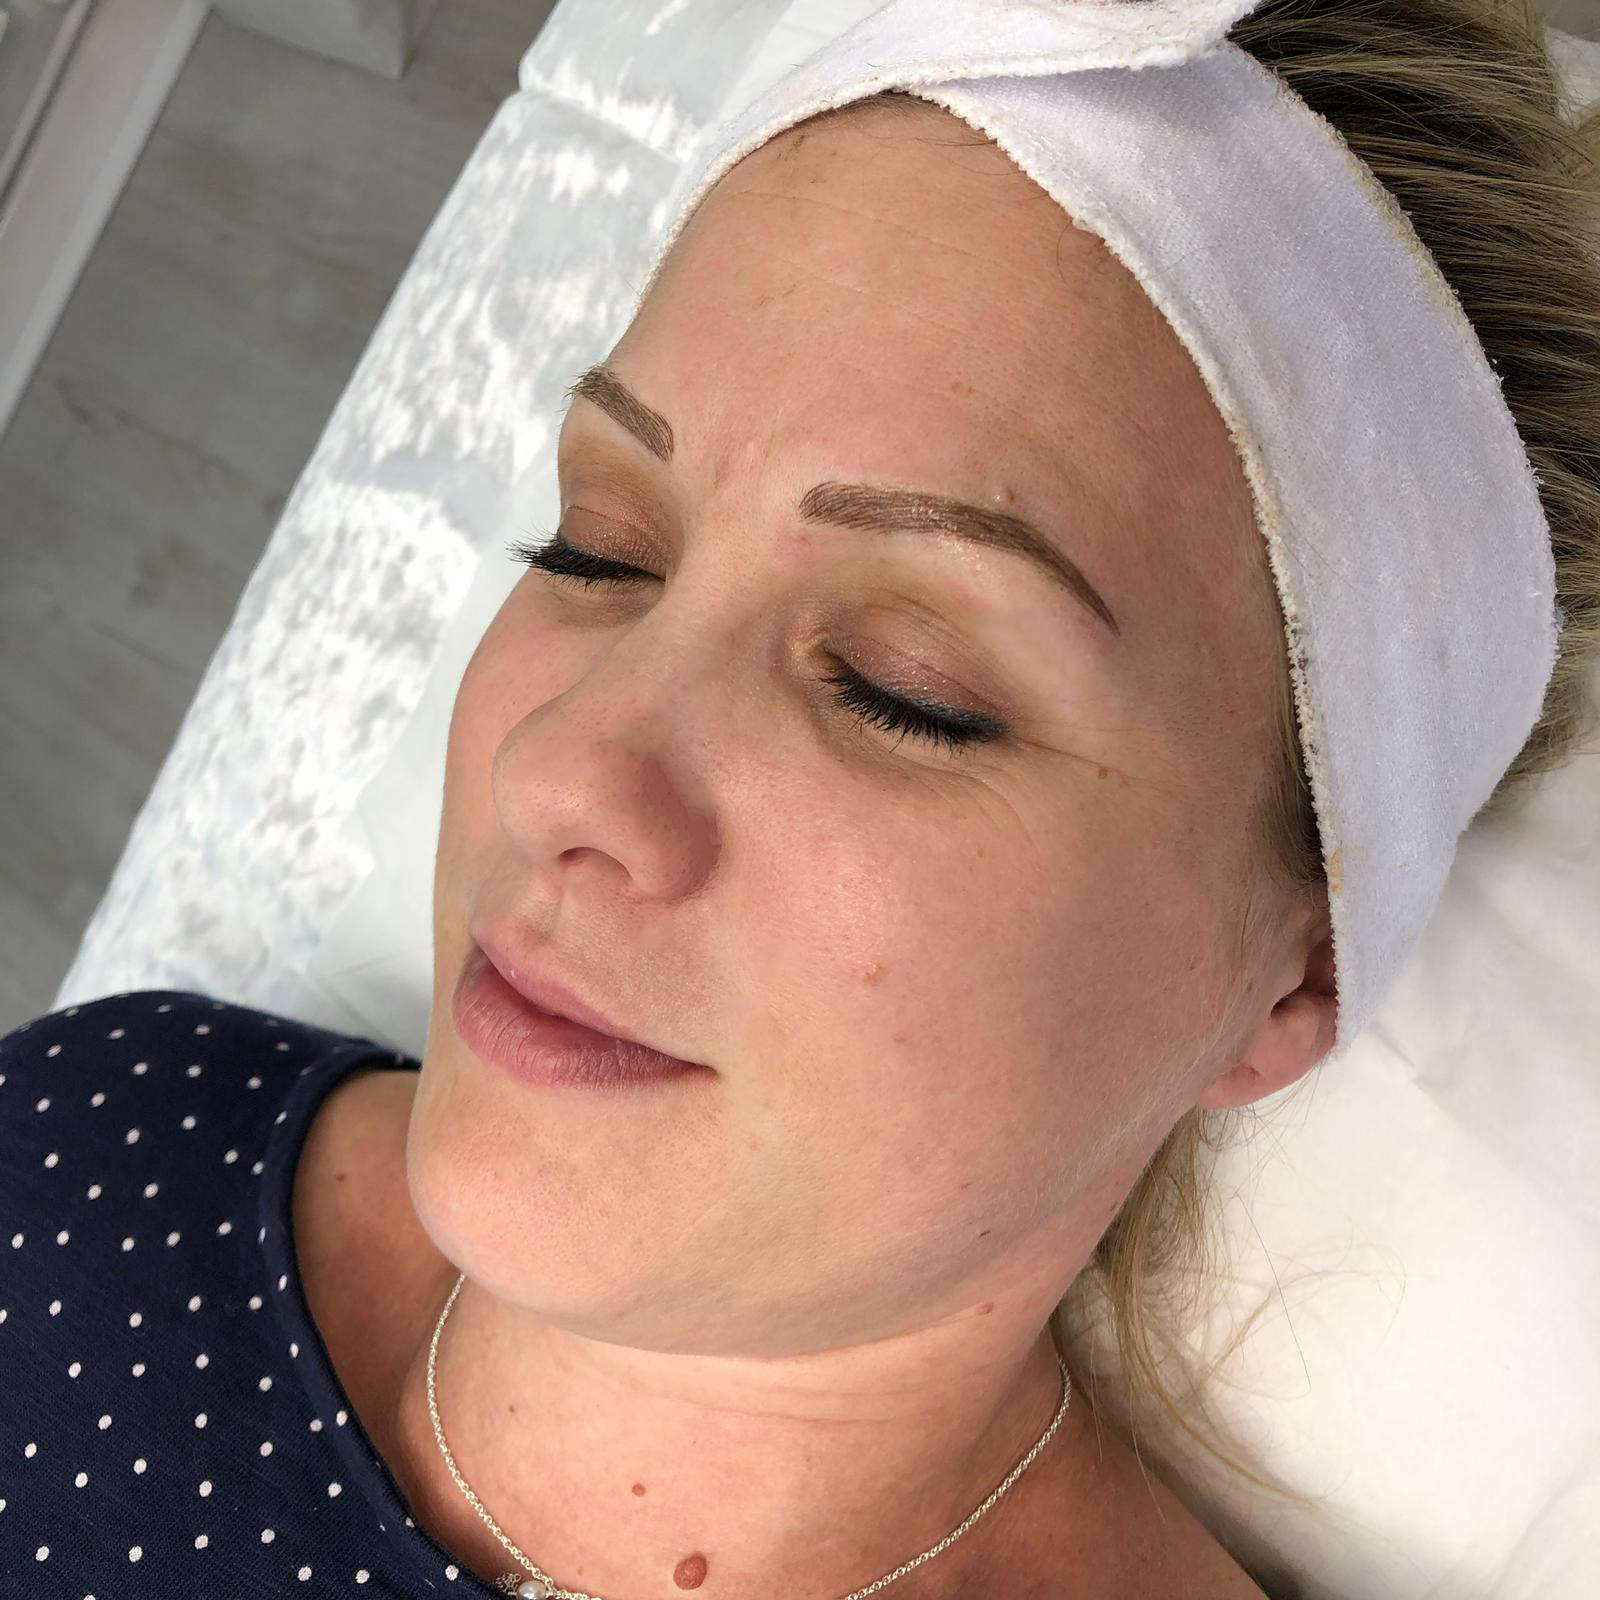
When I arrived a few days later, Danielle applied some numbing cream to my eyebrows to ensure the treatment would be as comfortable as possible. In the meantime we then sat down and discussed which colours we would test on my forehead, while waiting for the cream to take effect.
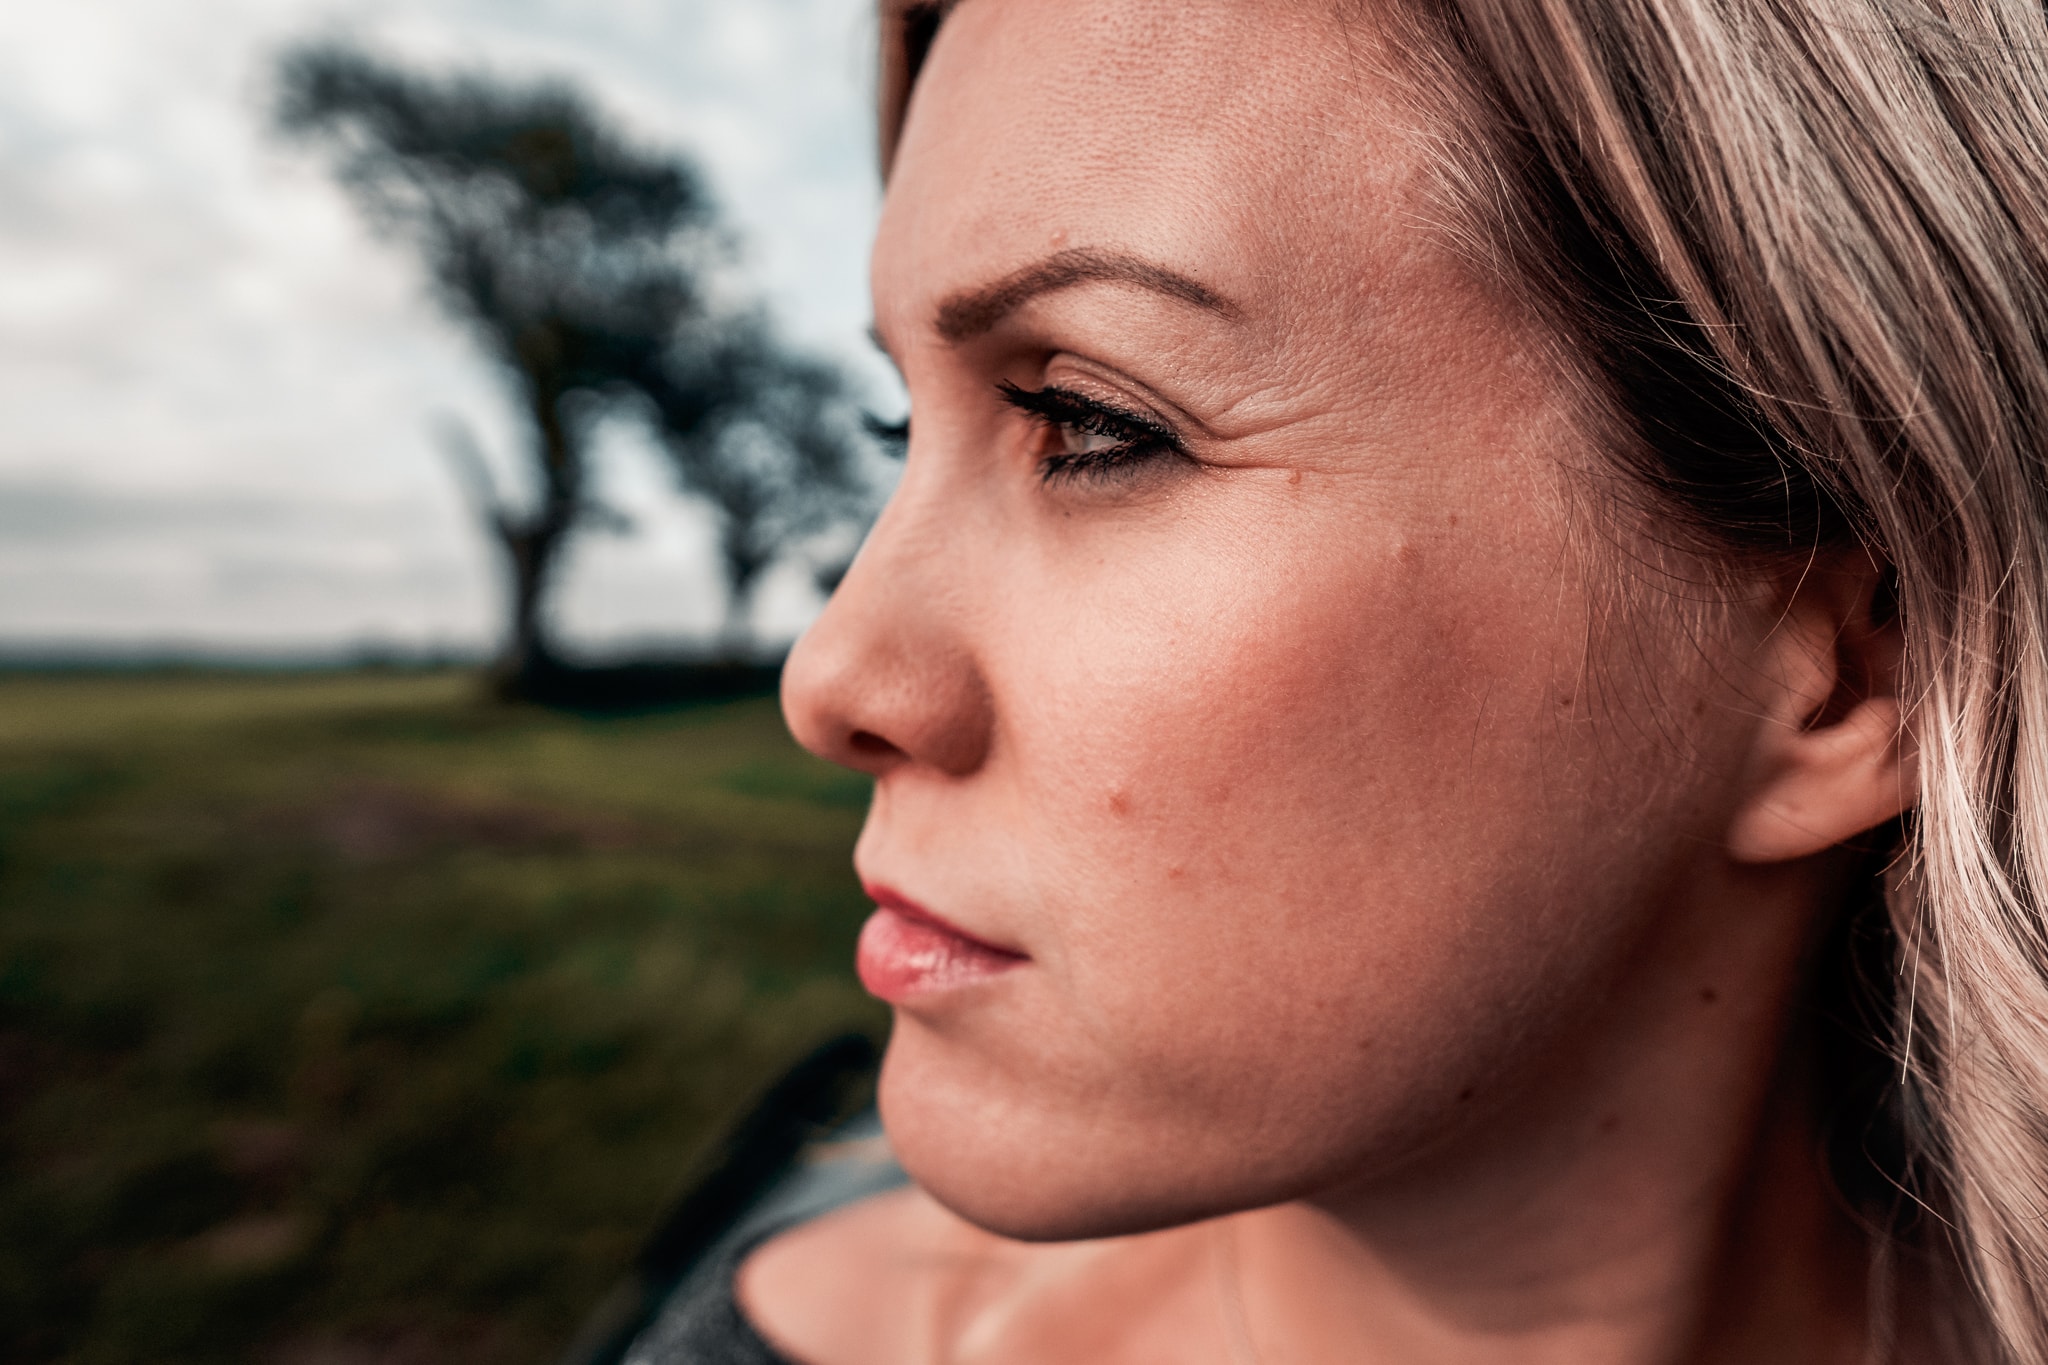
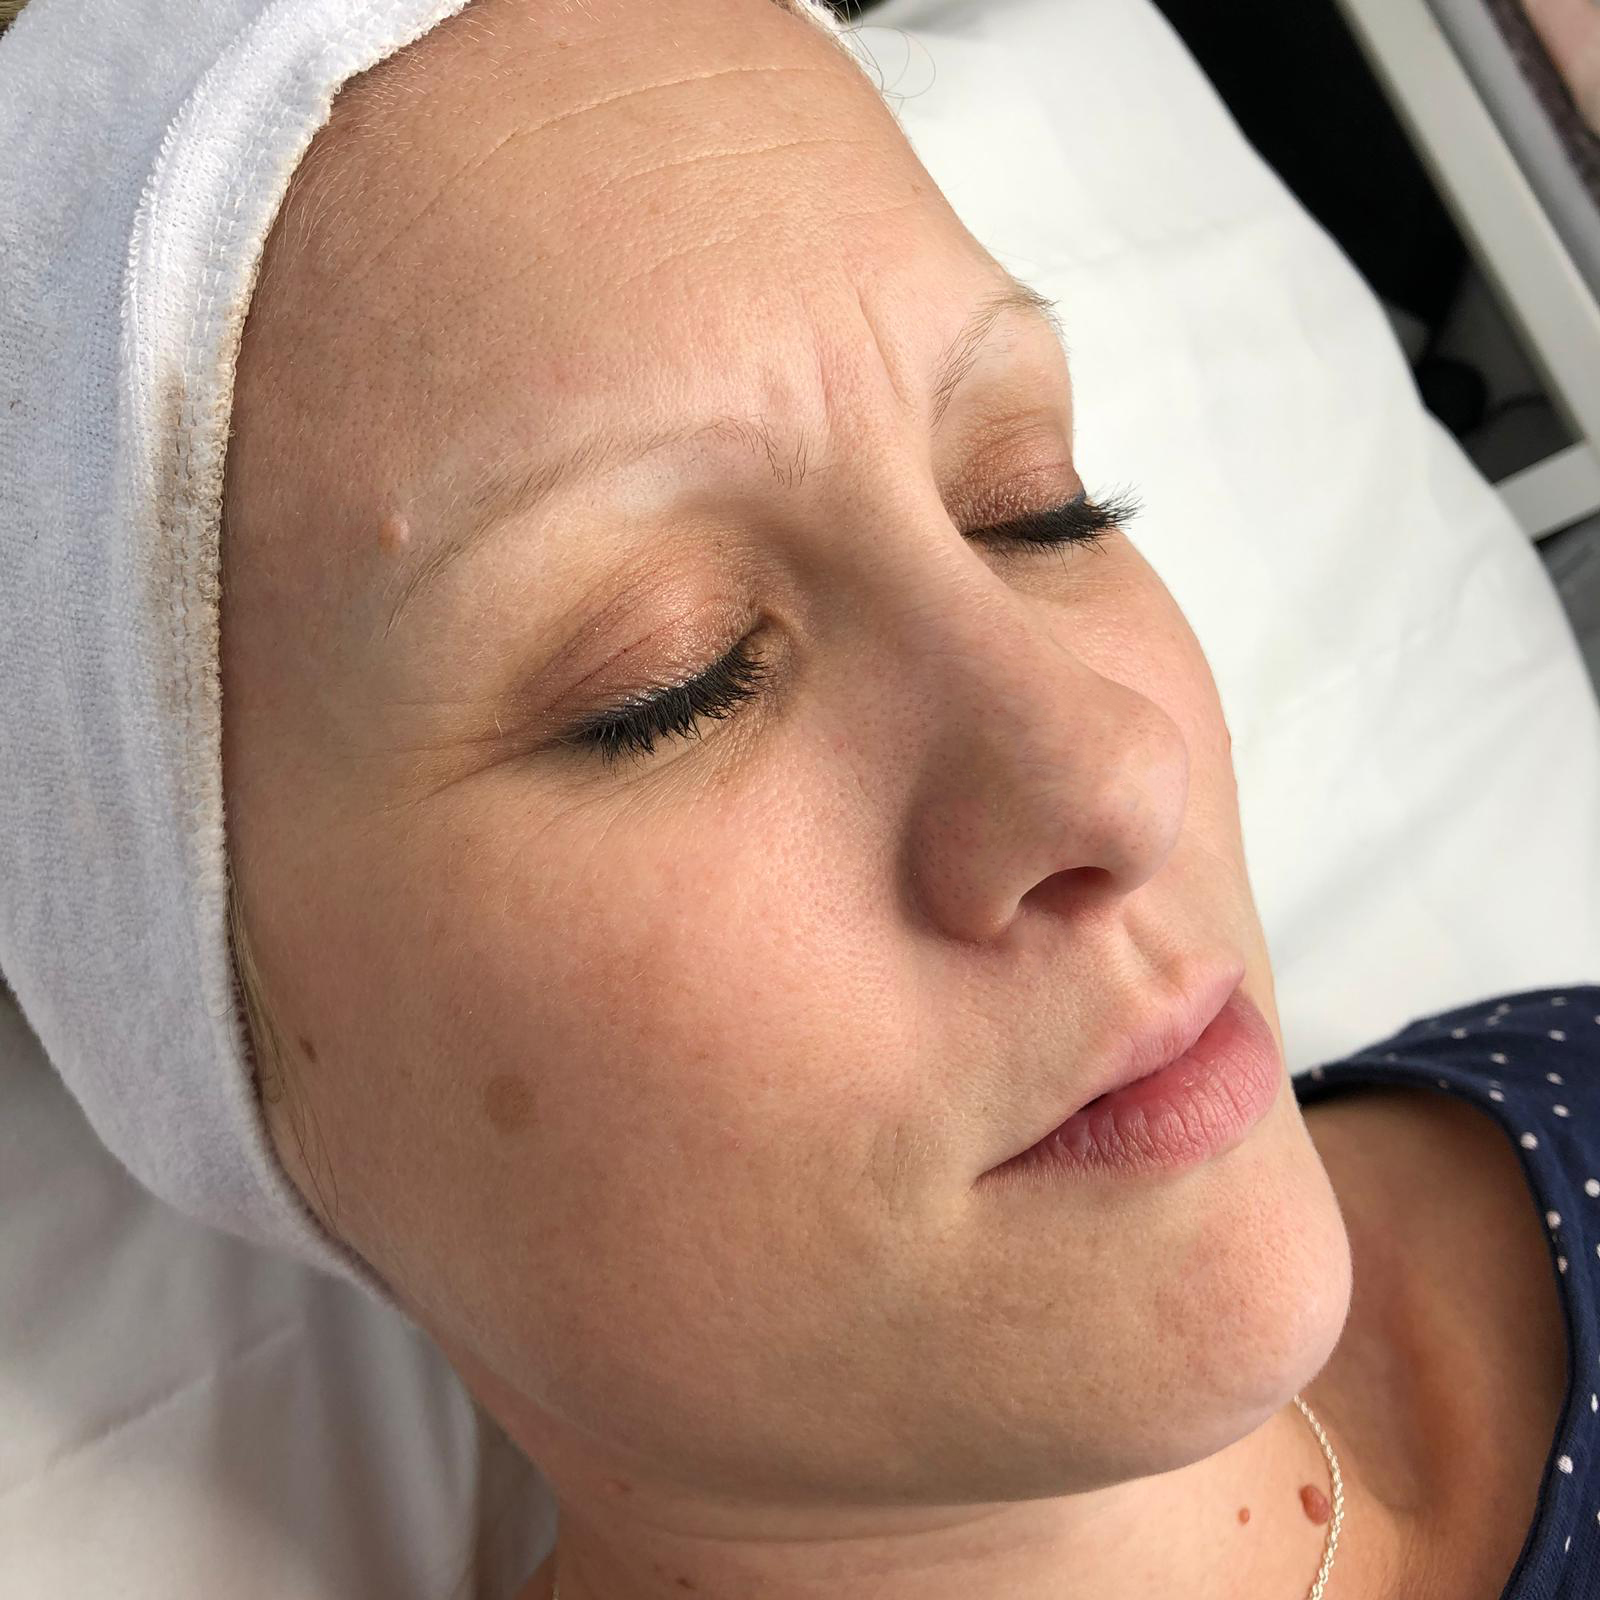
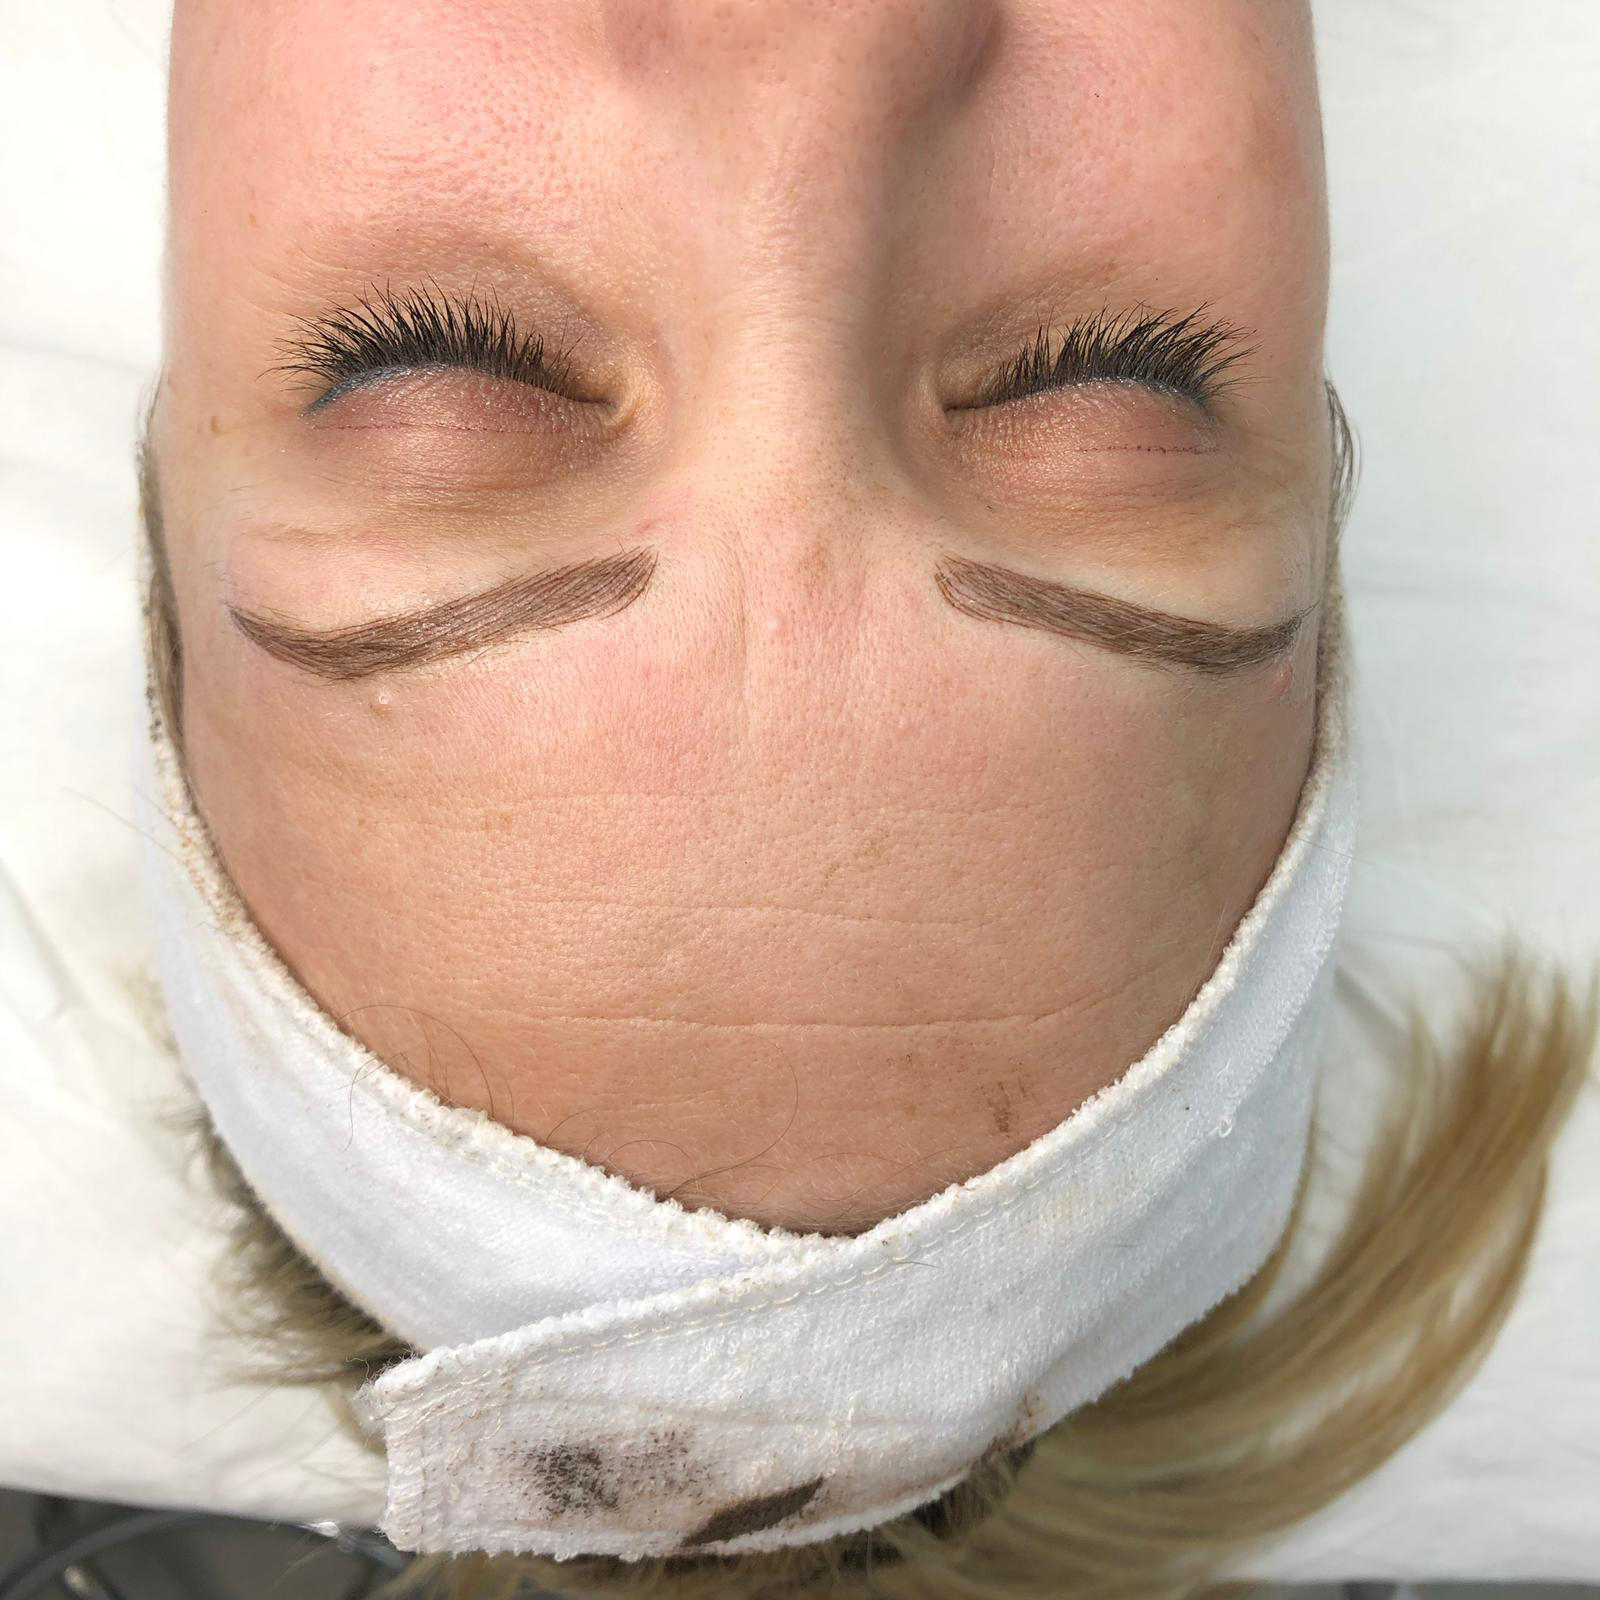
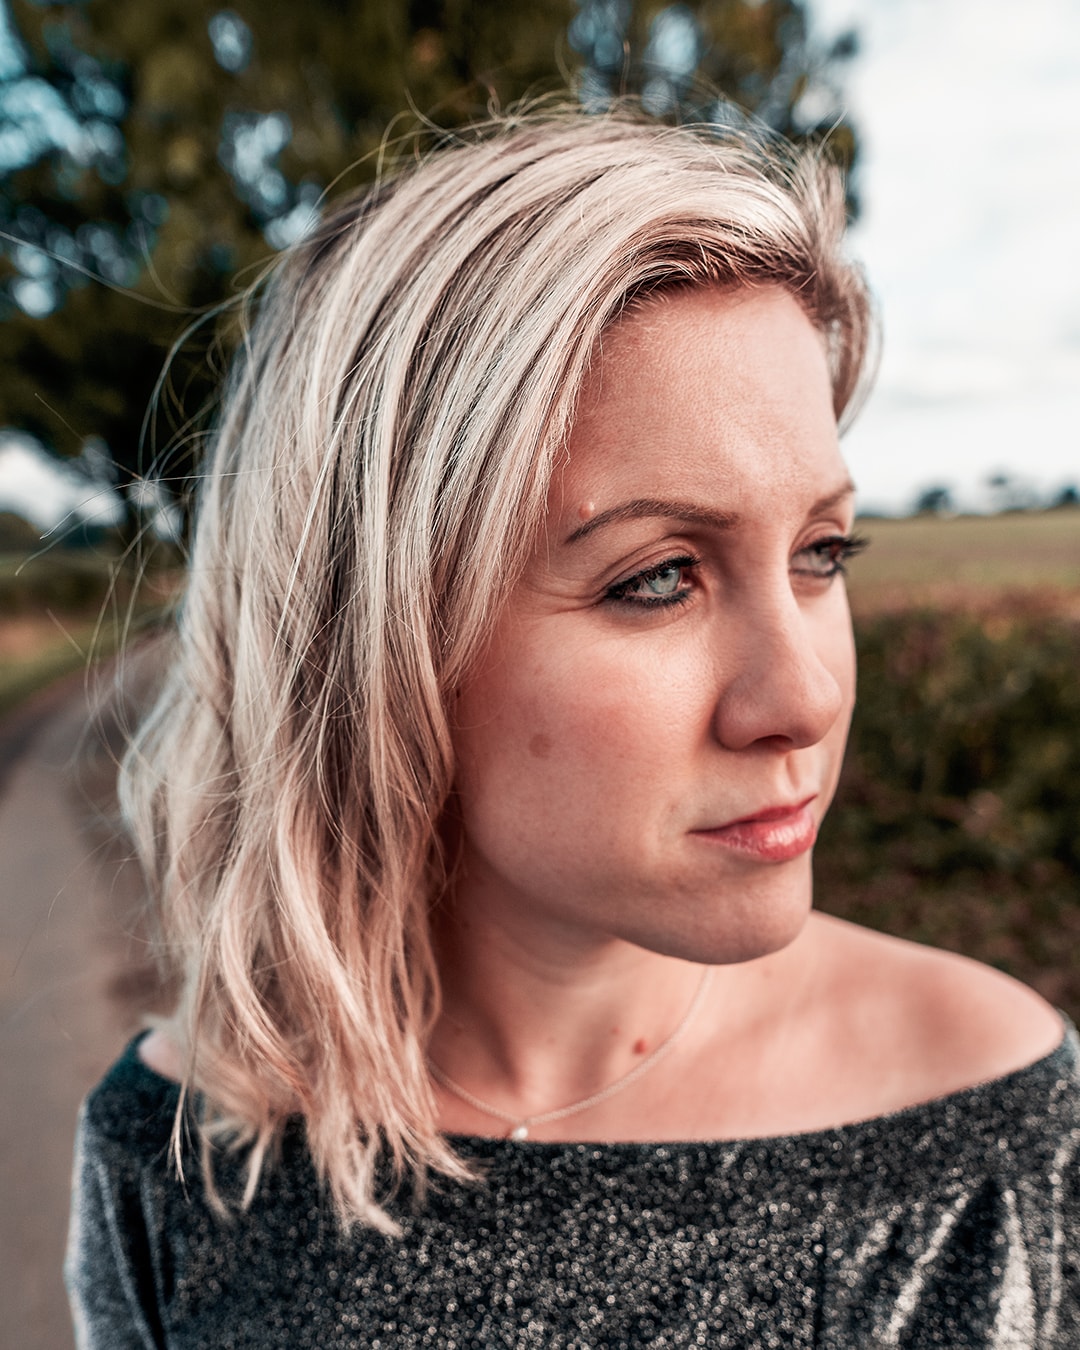
Here are my eyebrows before treatment. Sparse and very thin…
The are quite a few shades available to go for as well as considering warm and cool shades. Together we chose 6 different shades to try on my skin and once dried, we could tell which shades suited my skin tone more. Some ended up looking really green and it was obvious which pigments were right for me and which weren’t suitable.
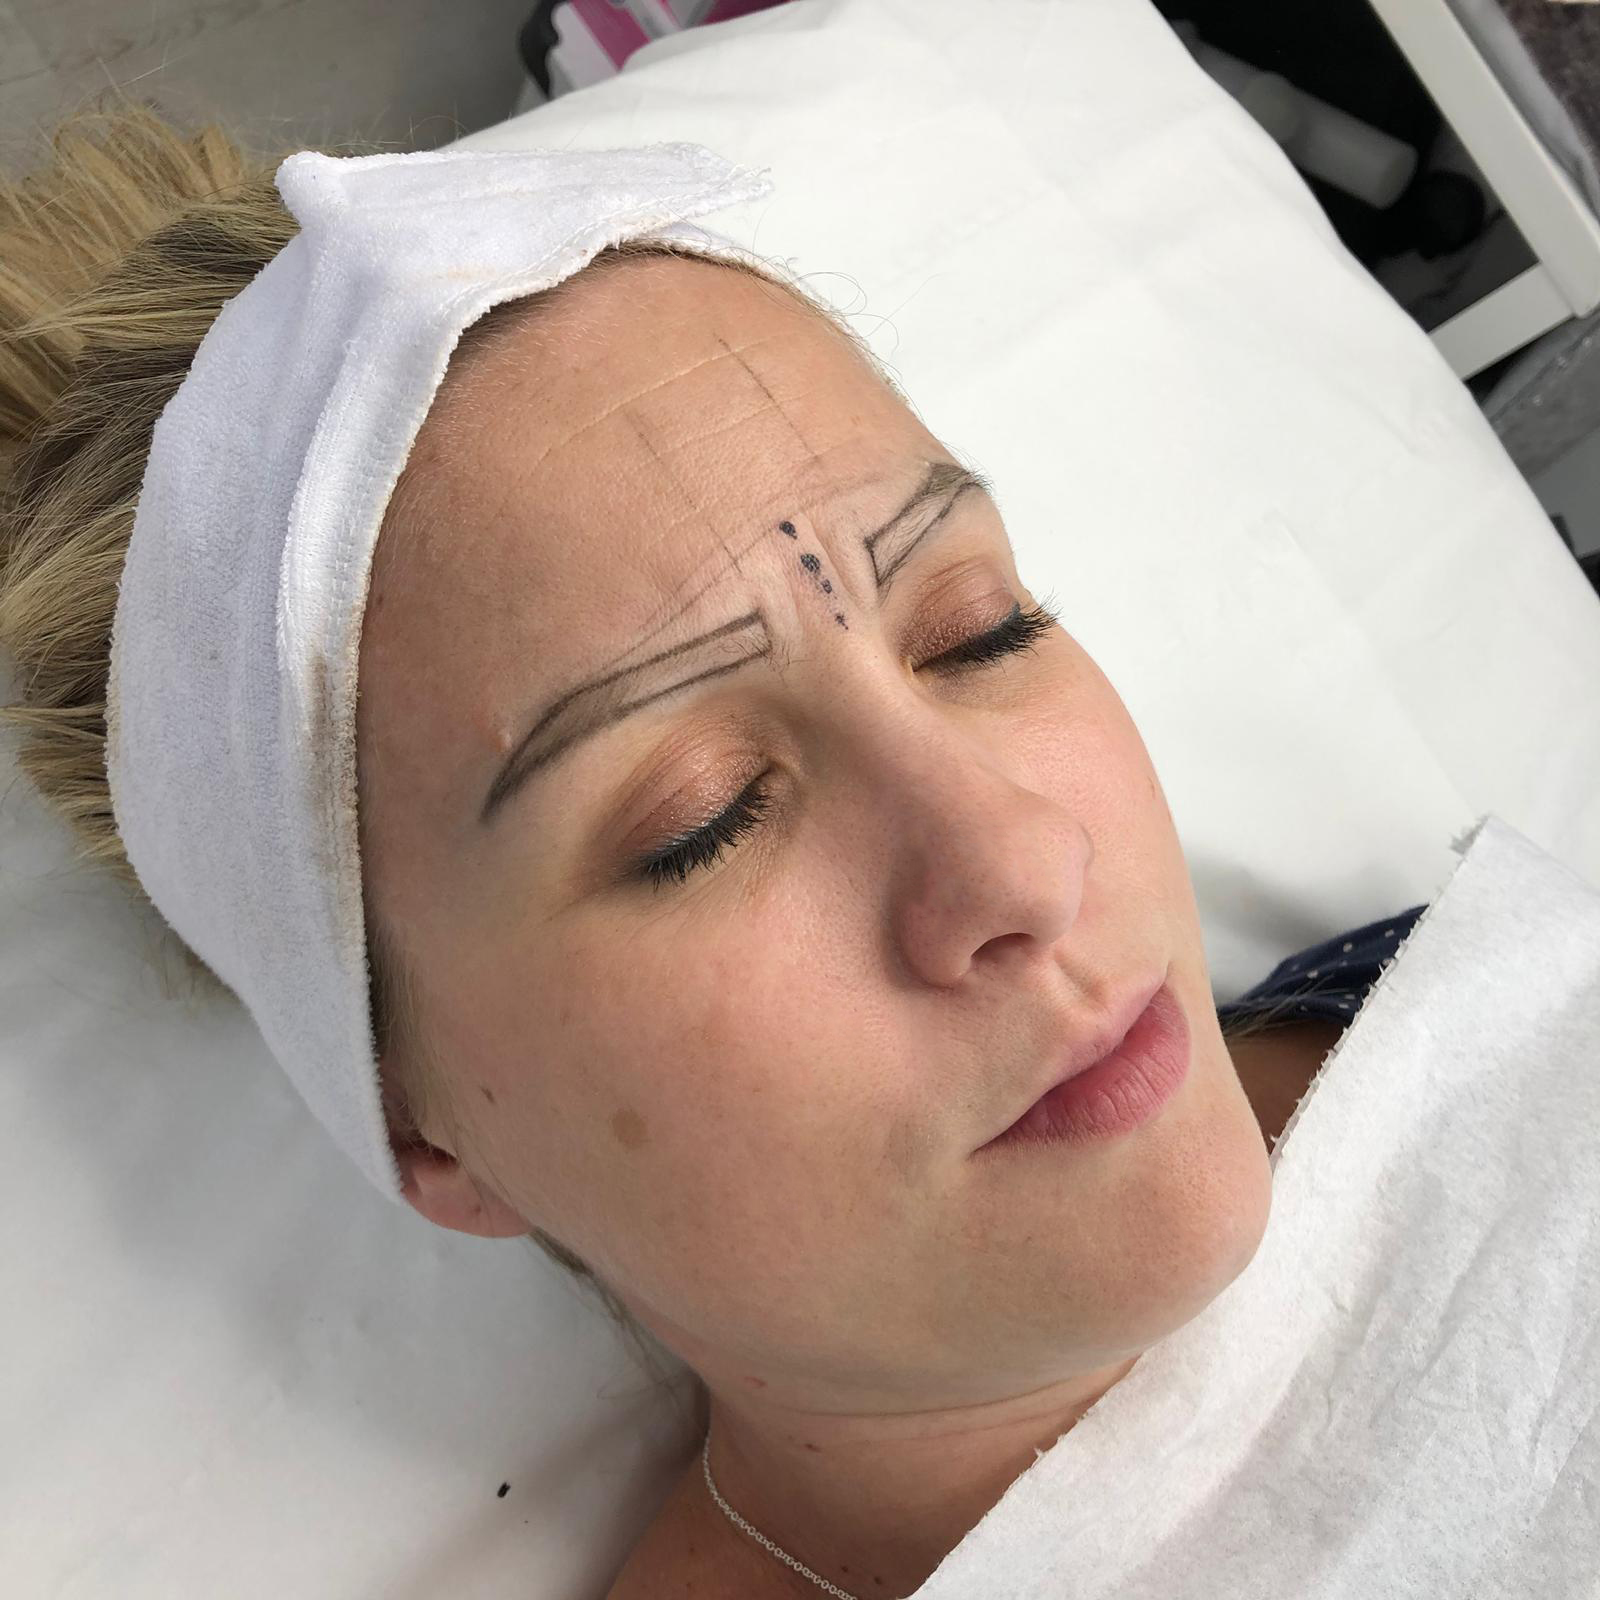
Once we’d agreed on the shape and colour, Danielle then set about making lots of careful measurements to ensure that my eyebrows would turn out even and aligned. We then agreed on how far they should taper out to the sides and also that they would need to be brought out a little from the sides of my nose.
At this stage it’s good to know that you don’t need to make any extreme decisions with the shape and style, as this can be built upon at the top up stage a few weeks down the line.
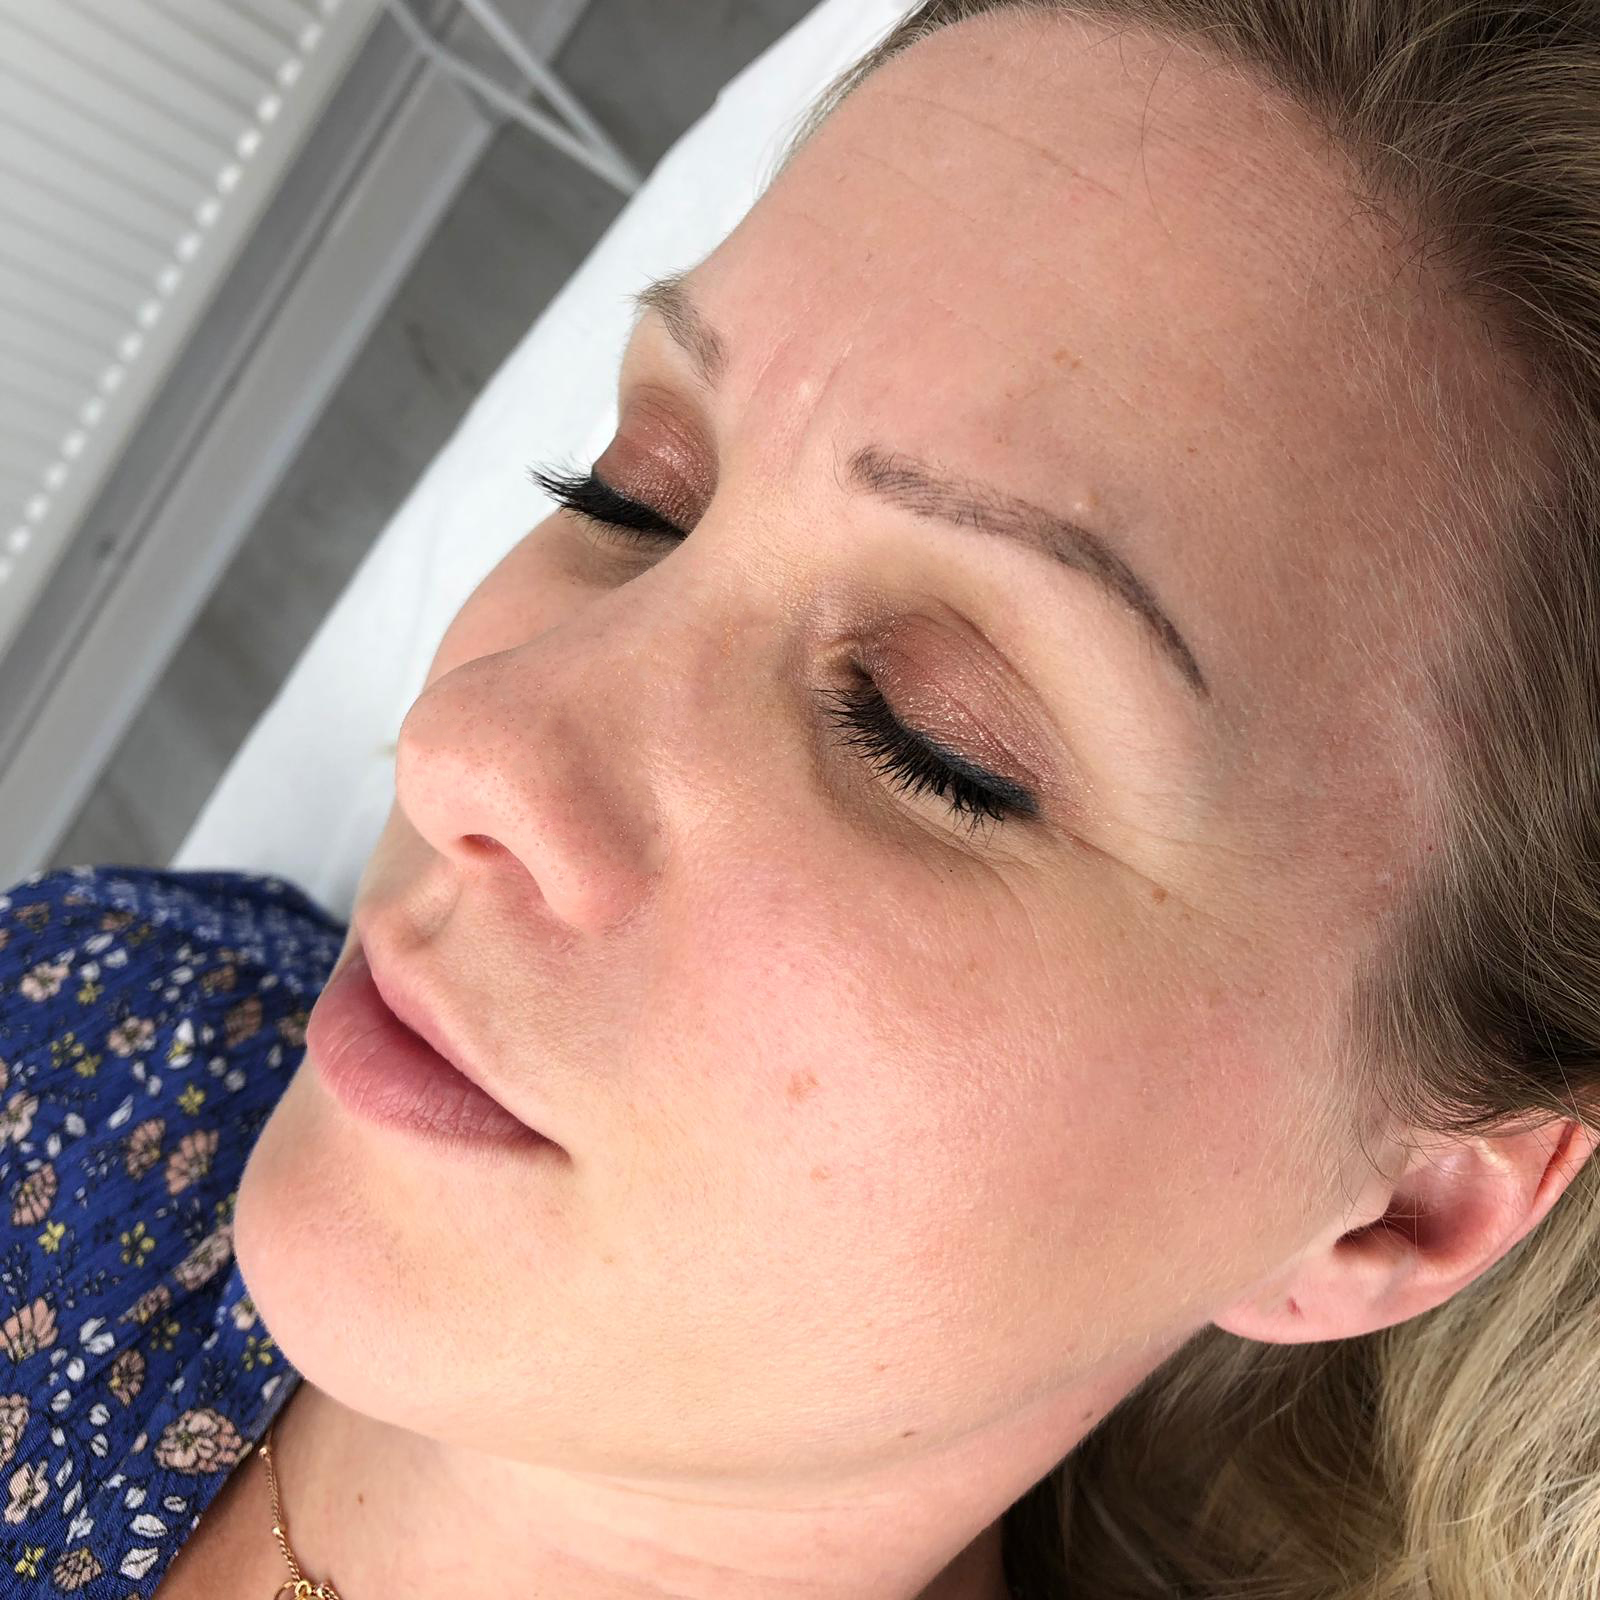
You can see how neat the strokes are and how natural they look.
Does the procedure hurt?
Not for me it didn’t. I could feel a scratching and pulling sensation at times, but it didn’t ever hurt. It did feel a little bit tender afterwards though but this wasn’t anything that bothered me at all.
What happens once they’re done?
The most crucial part about having your eyebrows micro bladed is the aftercare part. It’s essential that you follow the instructions you’re given carefully so that you get the optimum results.
The hardest part for me was not being able to wet my eyebrows for a few days, so that made hair washing interesting to say the least! You basically don’t want to be getting them wet during the ‘scabbing’ stage, as you want the scabs to be coming away naturally once they’re ready to. I had to apply Vaseline to them several times a day to aid with the healing process and this actually felt really soothing and helped ease away the tiny scabs when they were ready to fall off.
The prospect of this all sounded a bit grim but I think I was quite lucky that mine didn’t look crusty – as I was worried they would. Within the first few days my eyebrows darkened a little and this made me slightly more conscious of the dramatic change to my face – but I soon got used to the difference.
A month later I then returned to have my top up treatment, which was to basically tidy them up and fill in any areas where the colour might not have taken so well. This is when they come out looking exactly as you want them to!
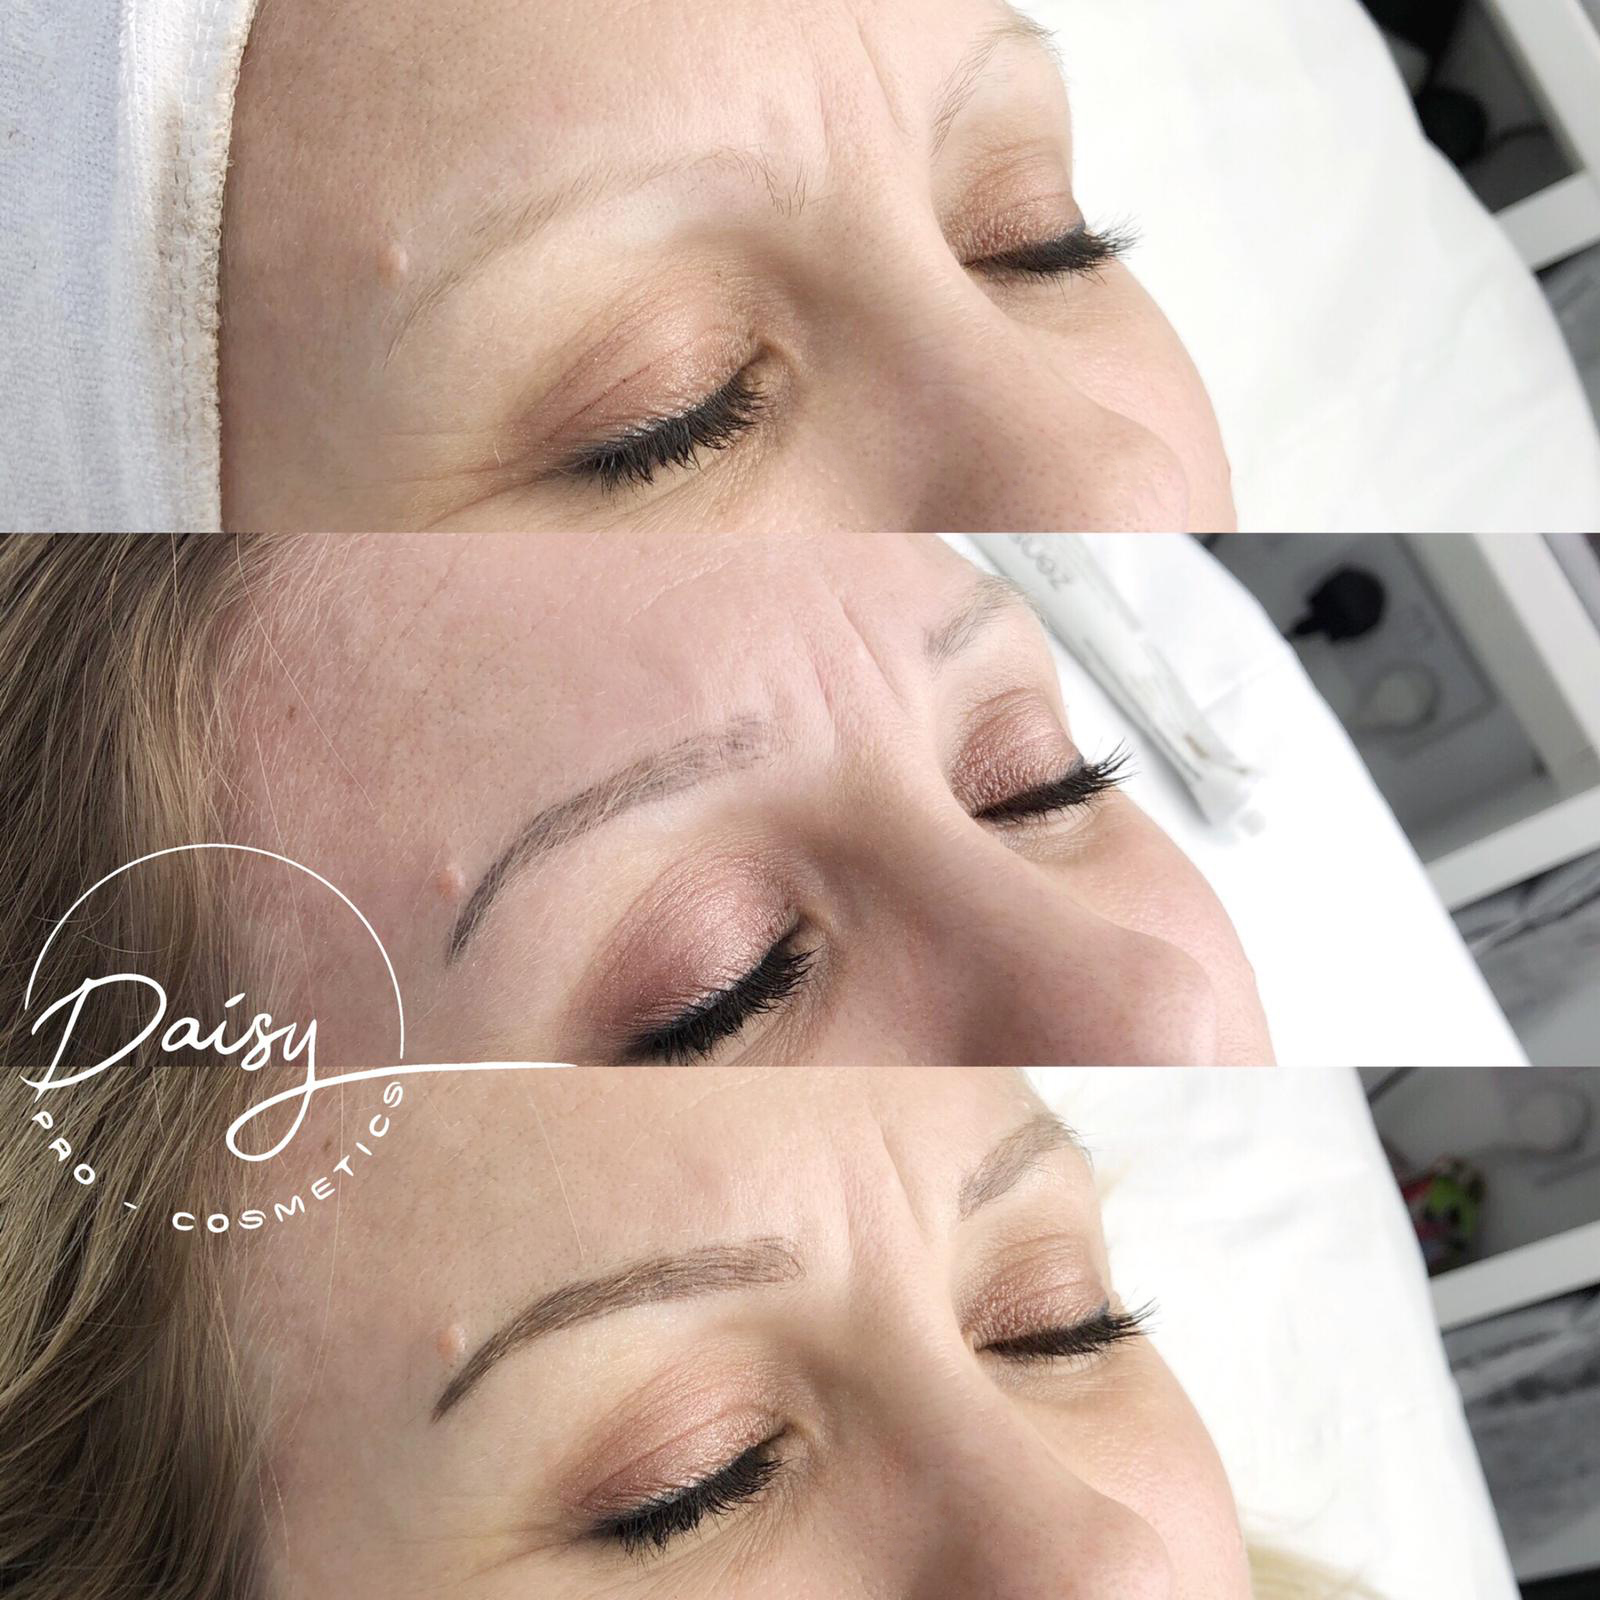
Here is a picture before my top up, so you can see how they have become a little patchy around where the brow gets fuller – which was the part that needed focusing on the most.
Pre treatment, before top up and after treatment shots
Now that I’ve had them done, I can’t believe that I put up with my old eyebrows for so long. I now look at old photographs and instantly see my lack of eyebrows!
I no longer feel really bare faced when I wake up in the morning, as my eyebrows are already in place. I can leave them as they are, but I always colour them in a little with an eyebrow pencil (I use a benefit one) as it makes them look a bit more ‘done’. This literally takes me no time at all and I’m still amazed with what a difference they make to my face.
Nb. Danielle provided me with a 20% discount on my treatment in return for some social shares, however I also wanted to post about my experience on my blog in more detail for anyone interested.


Leave a Comment