Photography and editing – Part 2
Hopefully most of you will have seen part 1 of this series.
In part 1 I mentioned that if your camera is capable of shooting in RAW mode then always do this over and above shooting in JPEG. There may be times when shooting in JPEG is ok such as journalism or when you won’t have much time to edit, however if you have the time to and access to software that will work with RAW files such as Photoshop or Lightroom, then I would always recommend shooting in RAW and here is why.
Shooting in JPEG is fine, but it leads to less possibilities if you plan on editing your images after you have shot them. I will cut out the boring bits, but the main point being is that if you shoot in JPEG your camera will have taken the photo and automatically added sharpness, contrast and vibrancy, compressed the file and made it into something that you can share on the web. RAW files gives you a flat looking lossless image that you can then edit individual parts i.e. sharpness, contrast, vibrancy, blemishes, easier to recover highlights and shadows.
Basically you have tons more possibilities editing a RAW vs editing a JPEG however, this is a topic as hotly contested as which is better Canon or a Nikon!
For the purposes of this post, I shoot RAW 100% of the time and on a Canon EOS 5D mk iiii.
After my part 1 post I was asked a couple of questions about lenses and depth of field, so I will try to cover it a little now. The two main lenses I use the majority of the time are a cheap Canon 50mm f1.8 (you can pick these up new for under £99), otherwise known as a nifty fifty (in my opinion everyone should own this lens who has a Canon DSLR). I also use a Sigma 85mm f1.4 lens, this is a little more expensive than the nifty fifty but is well worth the money. On a full frame camera both the 50mm and 85mm lenses are awesome, the only thing I would add to my bag at this stage is a 35mm lens as I tend to prefer to move myself rather than using zoom lenses, I almost only buy prime lenses.
However if you are shooting on a cropped sensor camera you have to bear in mind, that a 50mm lens on a cropped sensor camera will give you the equivalent focul distance of around 80mm. So with this in mind, the two lenses that I would recommend for a cropped sensor camera would be a 28mm/30mm and a 50mm and on a full frame camera a 50mm and a 85mm to start with. When it comes to lenses I have found that whilst own brand lenses are great if you can afford them, 3rd party manufacturers make lenses that are just as good, if not better than the camera branded ones. Sigma make some amazing lenses, so this is something else to remember when buying your next lens.
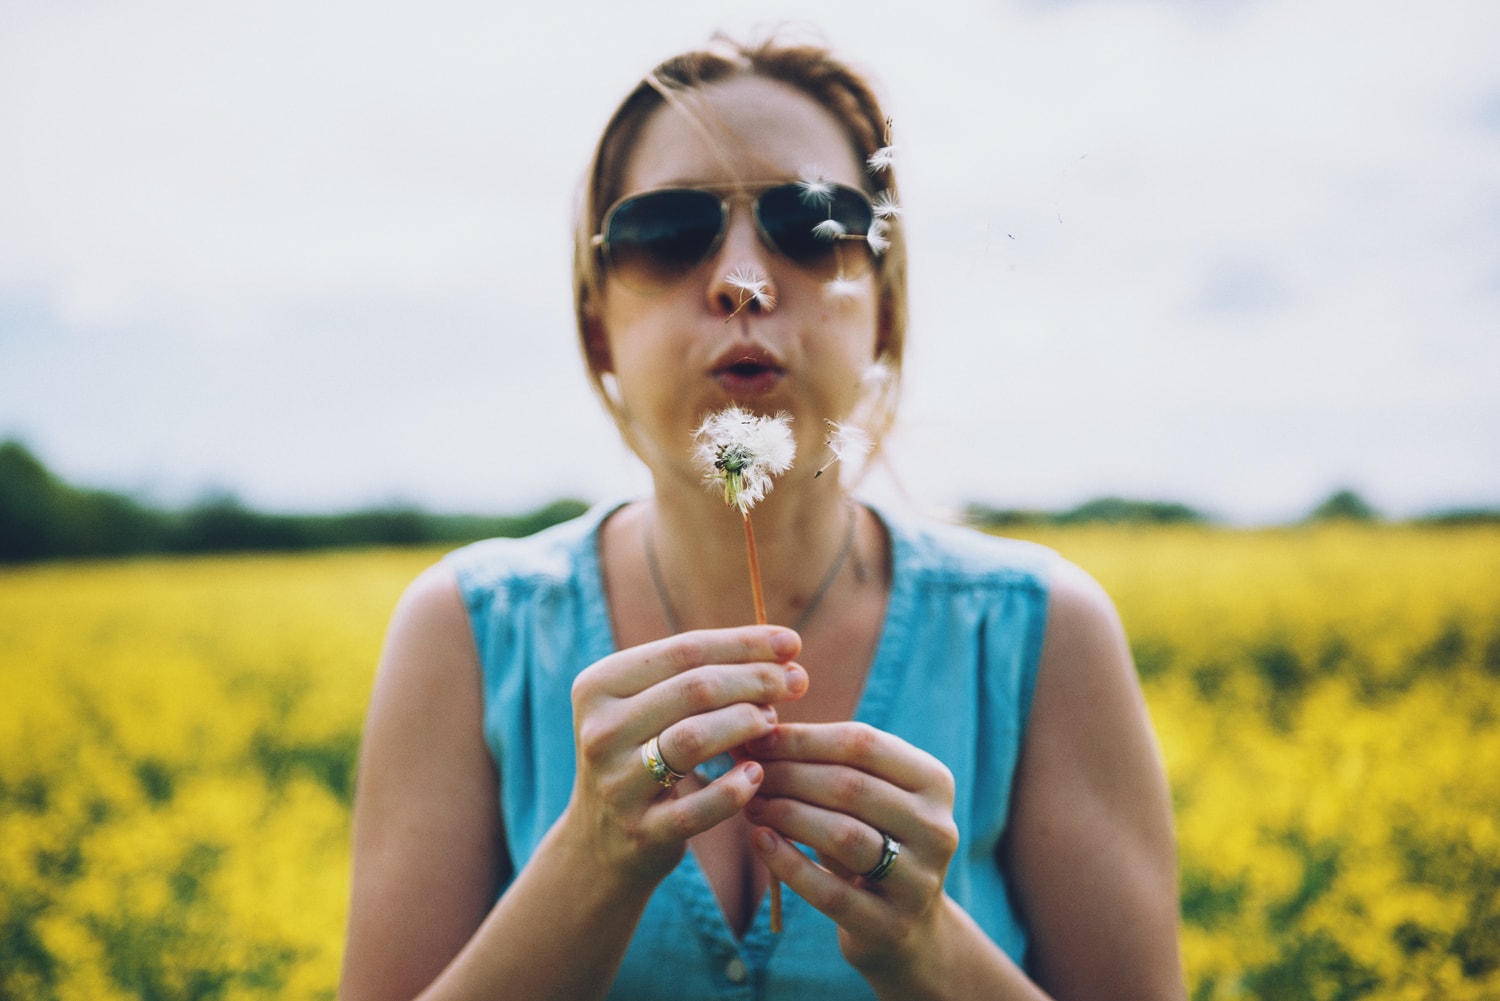
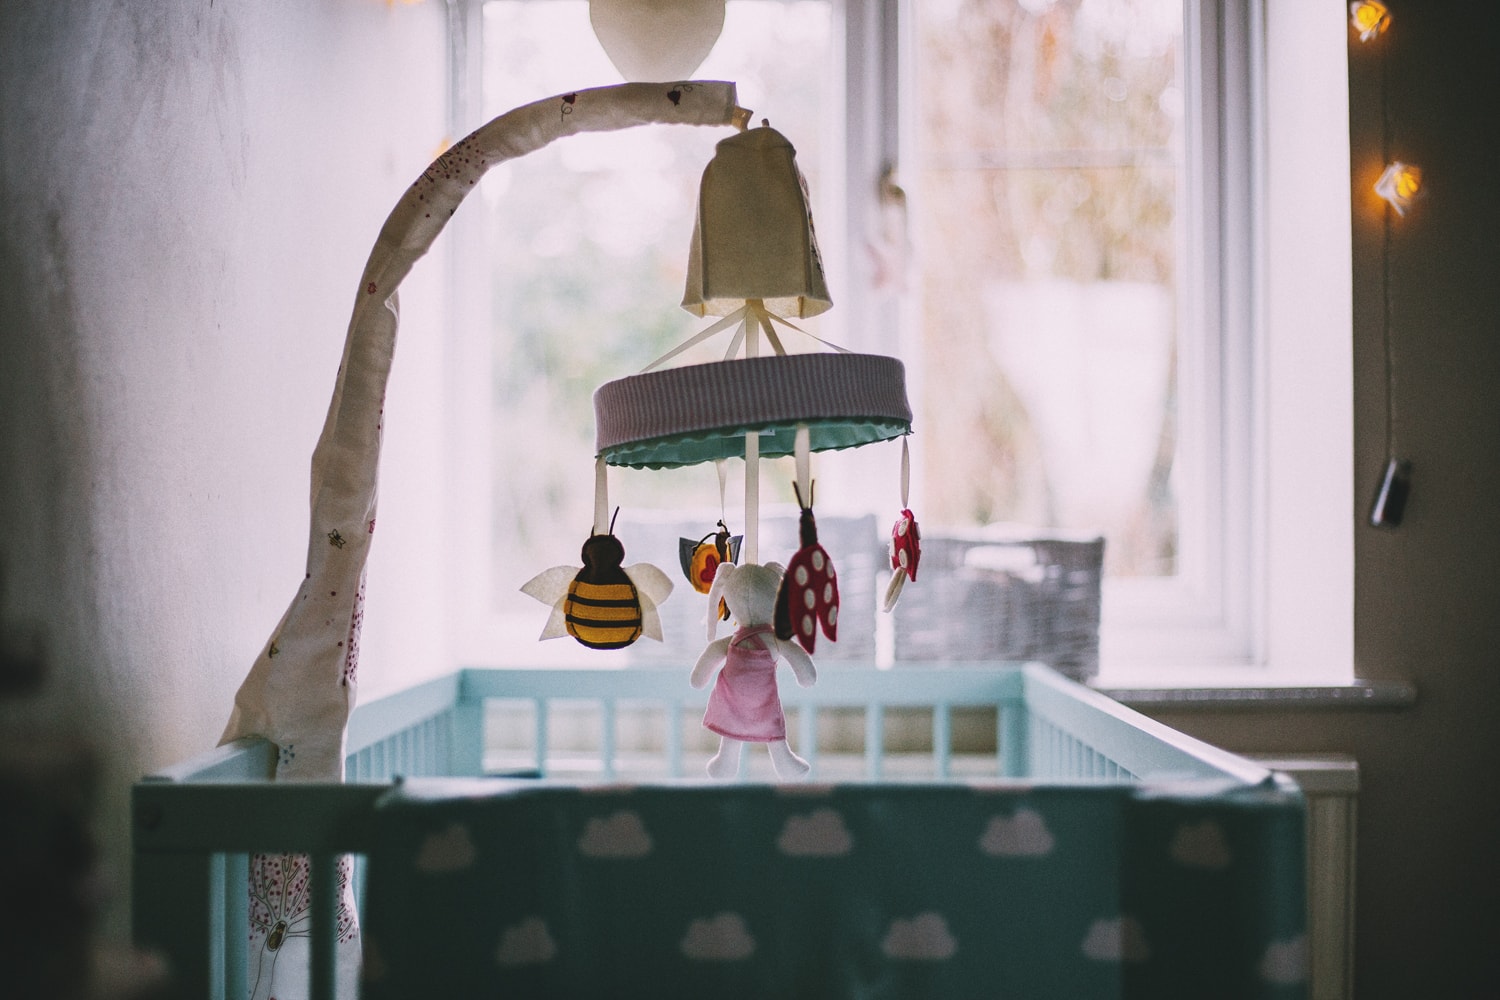
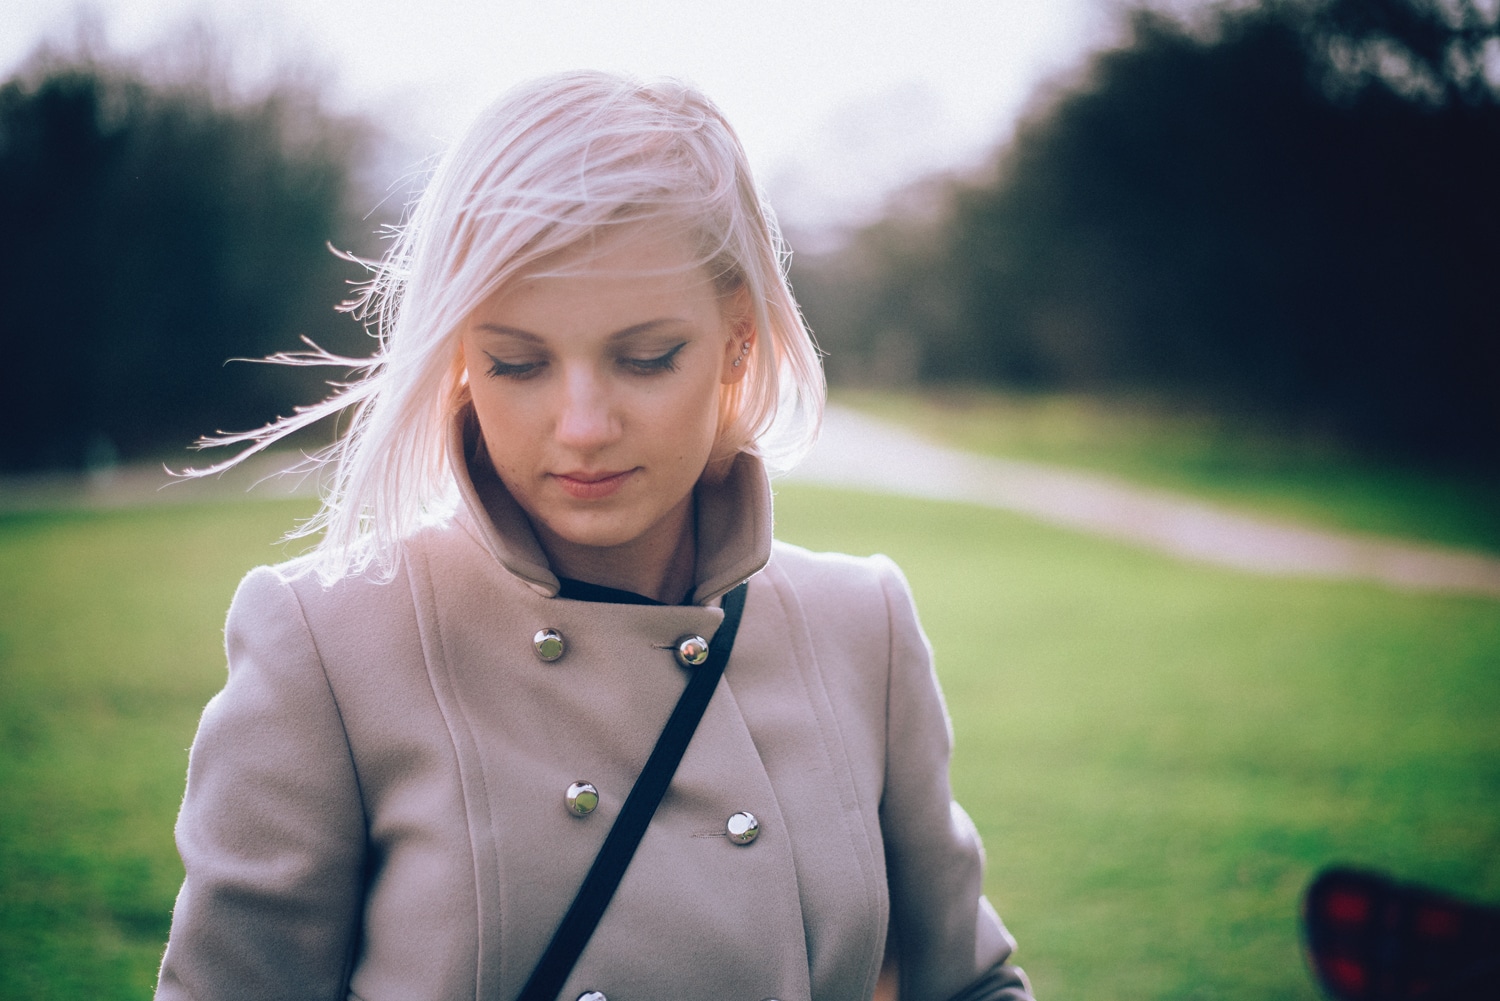
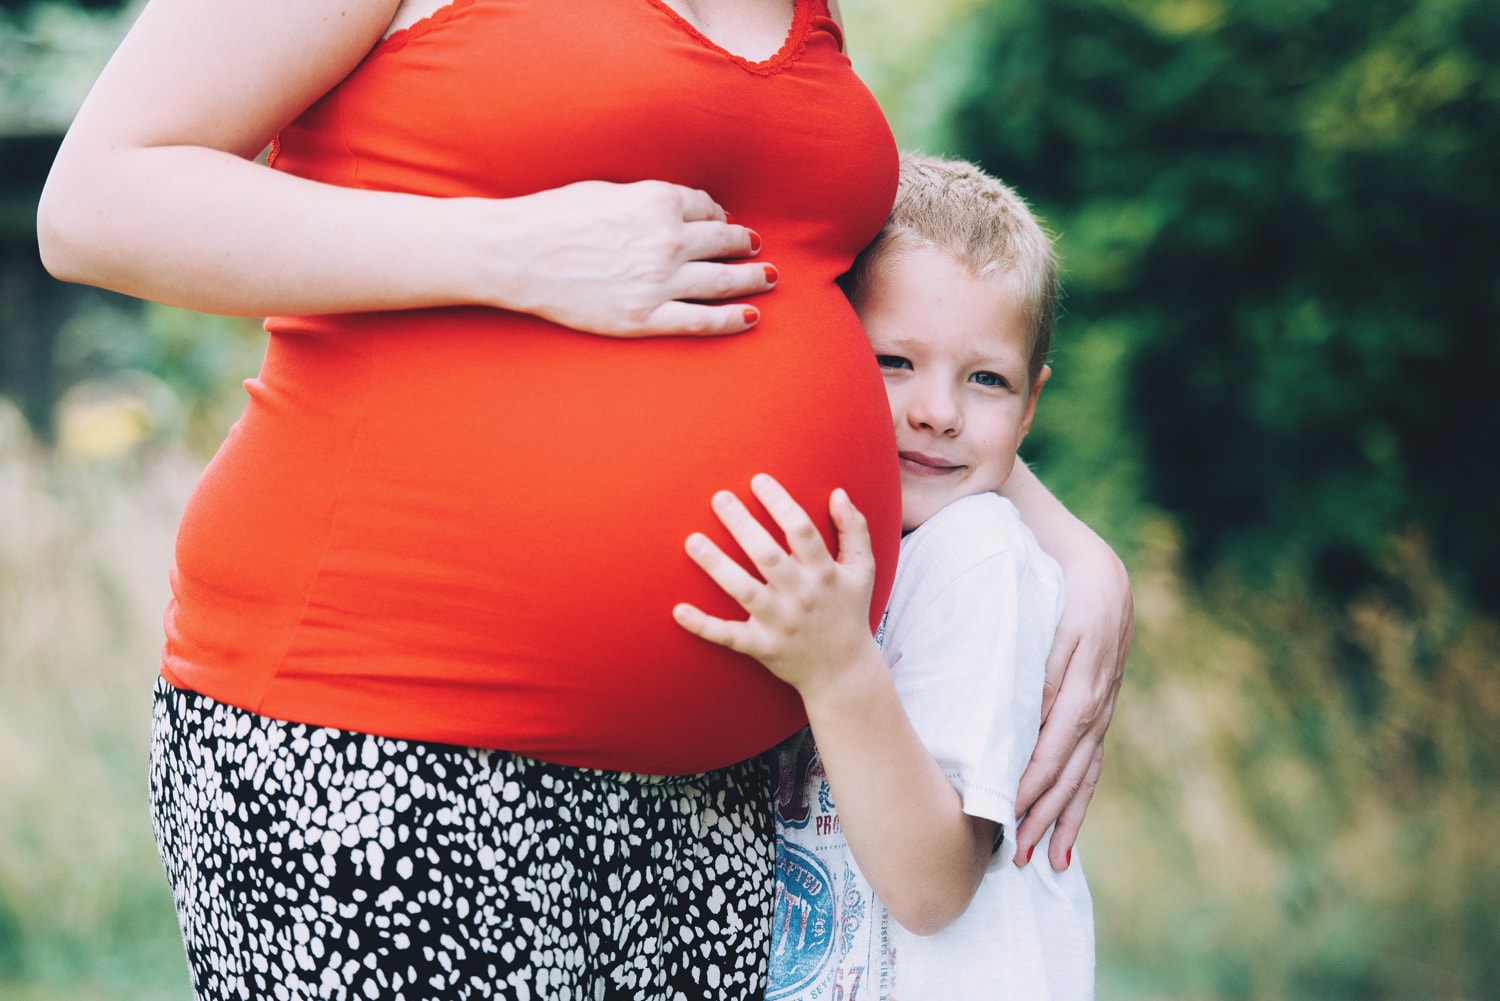
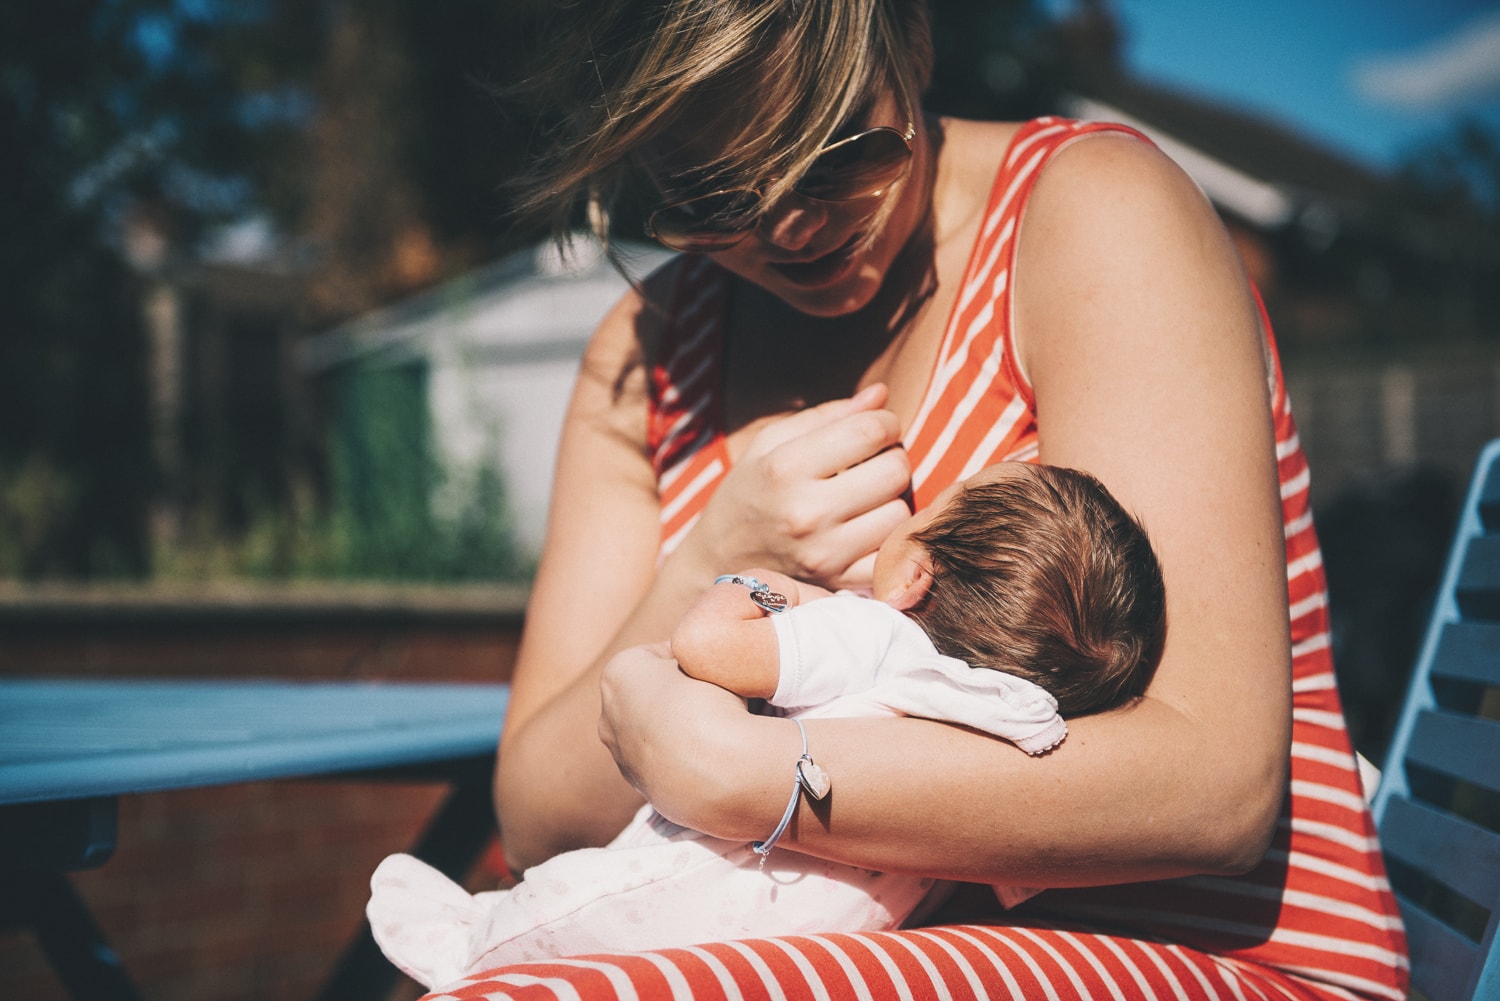
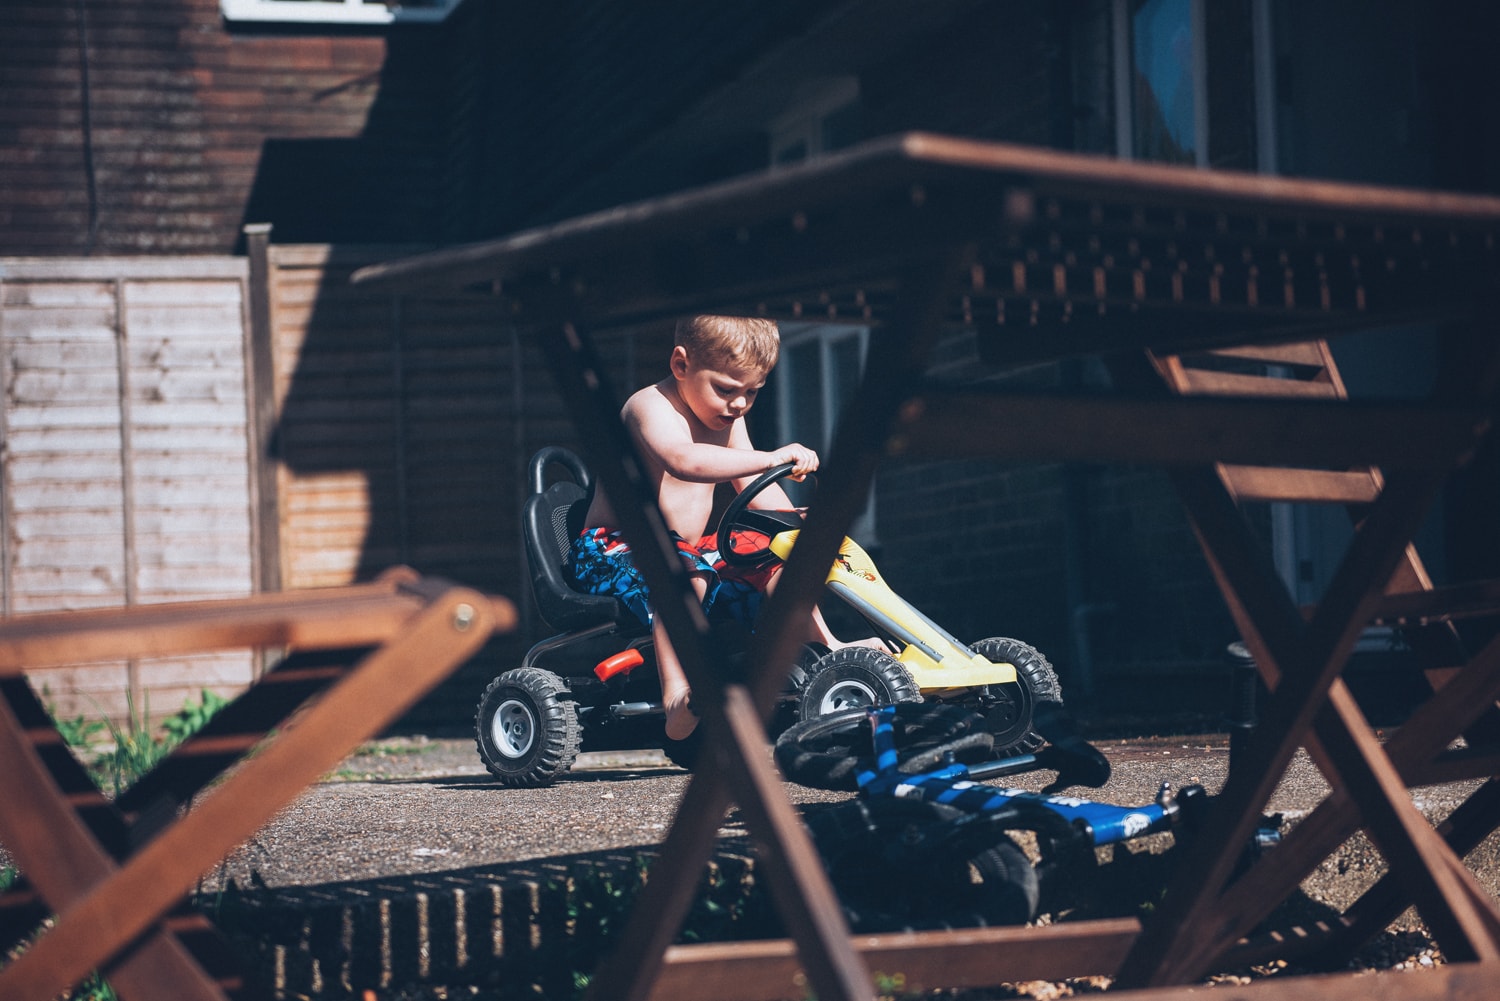
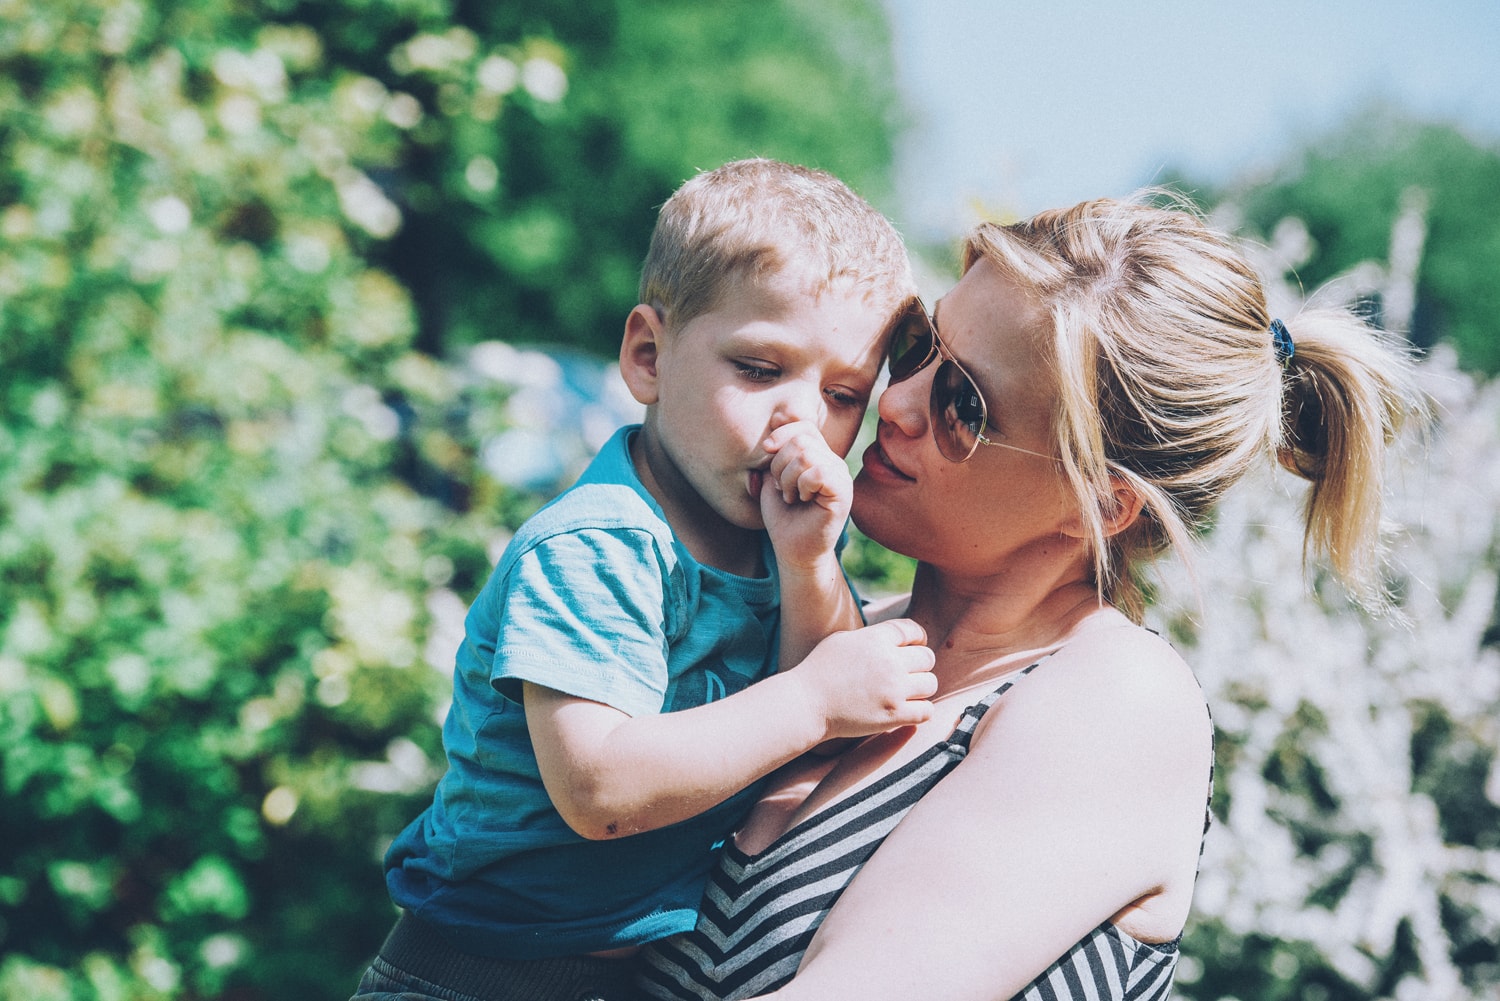
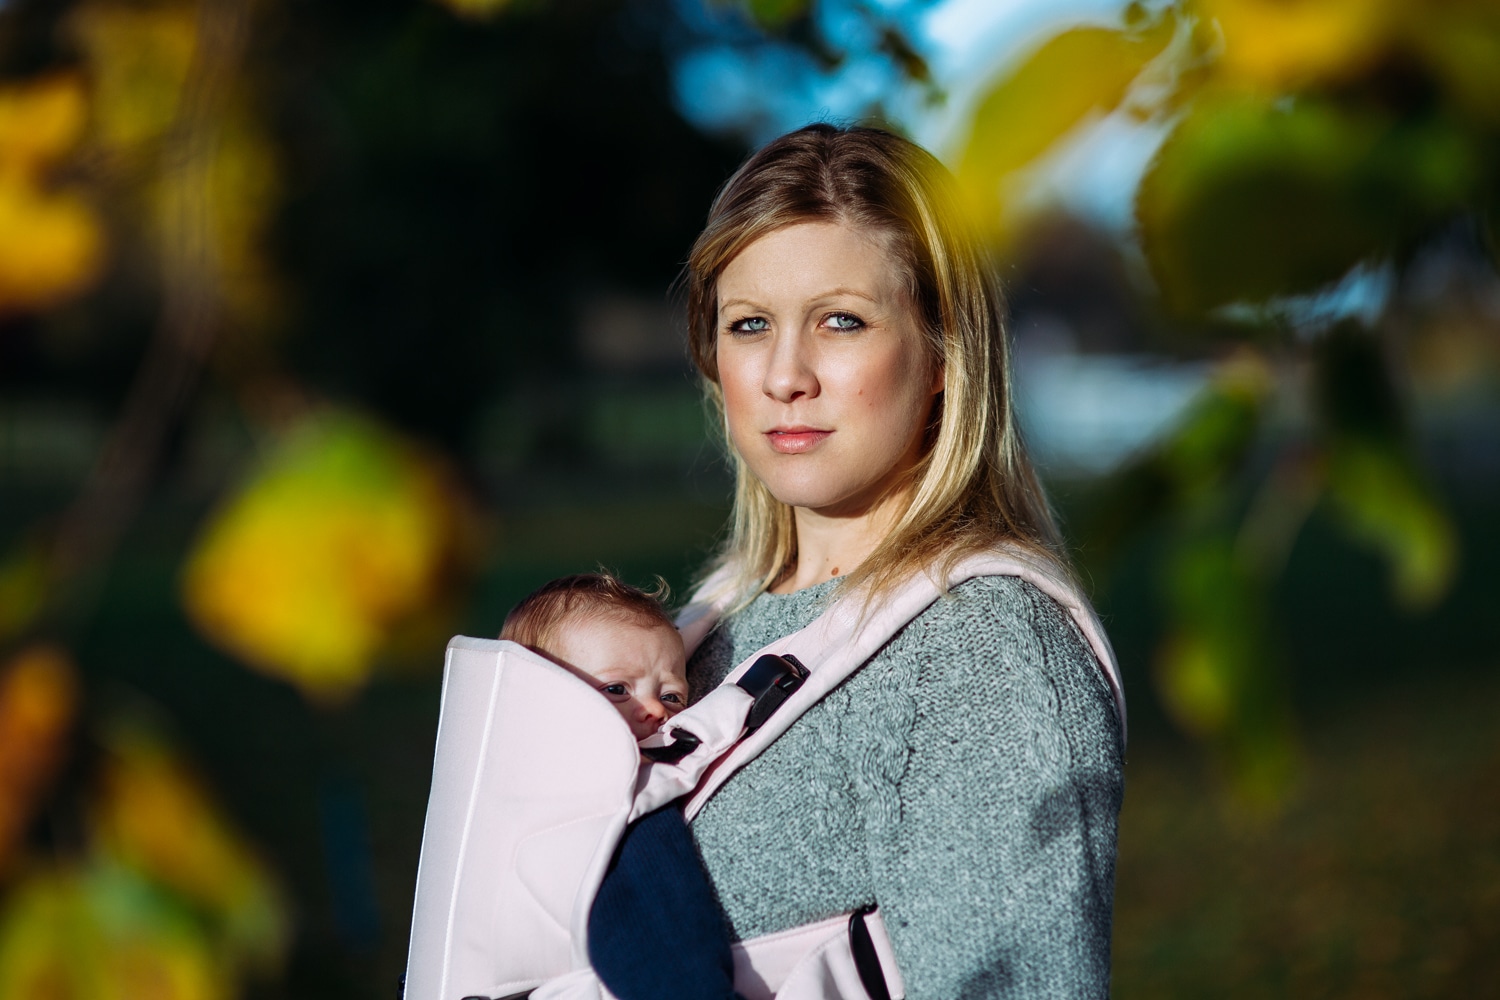
The reason I started to take my photography seriously (I did it at college many many years ago and had the pleasure of actually developing my photos in a dark room!) was because I wanted to capture the moments of when my first child was born and then it progressed. The main thing I wanted to do was get the photos you all too often see, of a baby/child in focus with a nice creamy blurry background (bokeh). To achieve this effect you need lenses capable of shooting at a large aperture (I have found anywhere between f1.4 – f2.8 is perfect, but this will be dependent on what lenses you have). If you go above f2.8 it will be harder to achive that nice blury background. If your camera has an option for shooting in aperture priority mode I would recomend doing this (turn your dial to Av on Canon cameras and A on Nikons).
One thing to note with shooting on an aperture that open, is that you will find that you can easily miss focus, whilst it may look great on the back of the camera, when you upload it to your computer you can often see you focused on an ear, or a button on a top, which is soooooo frustrating!
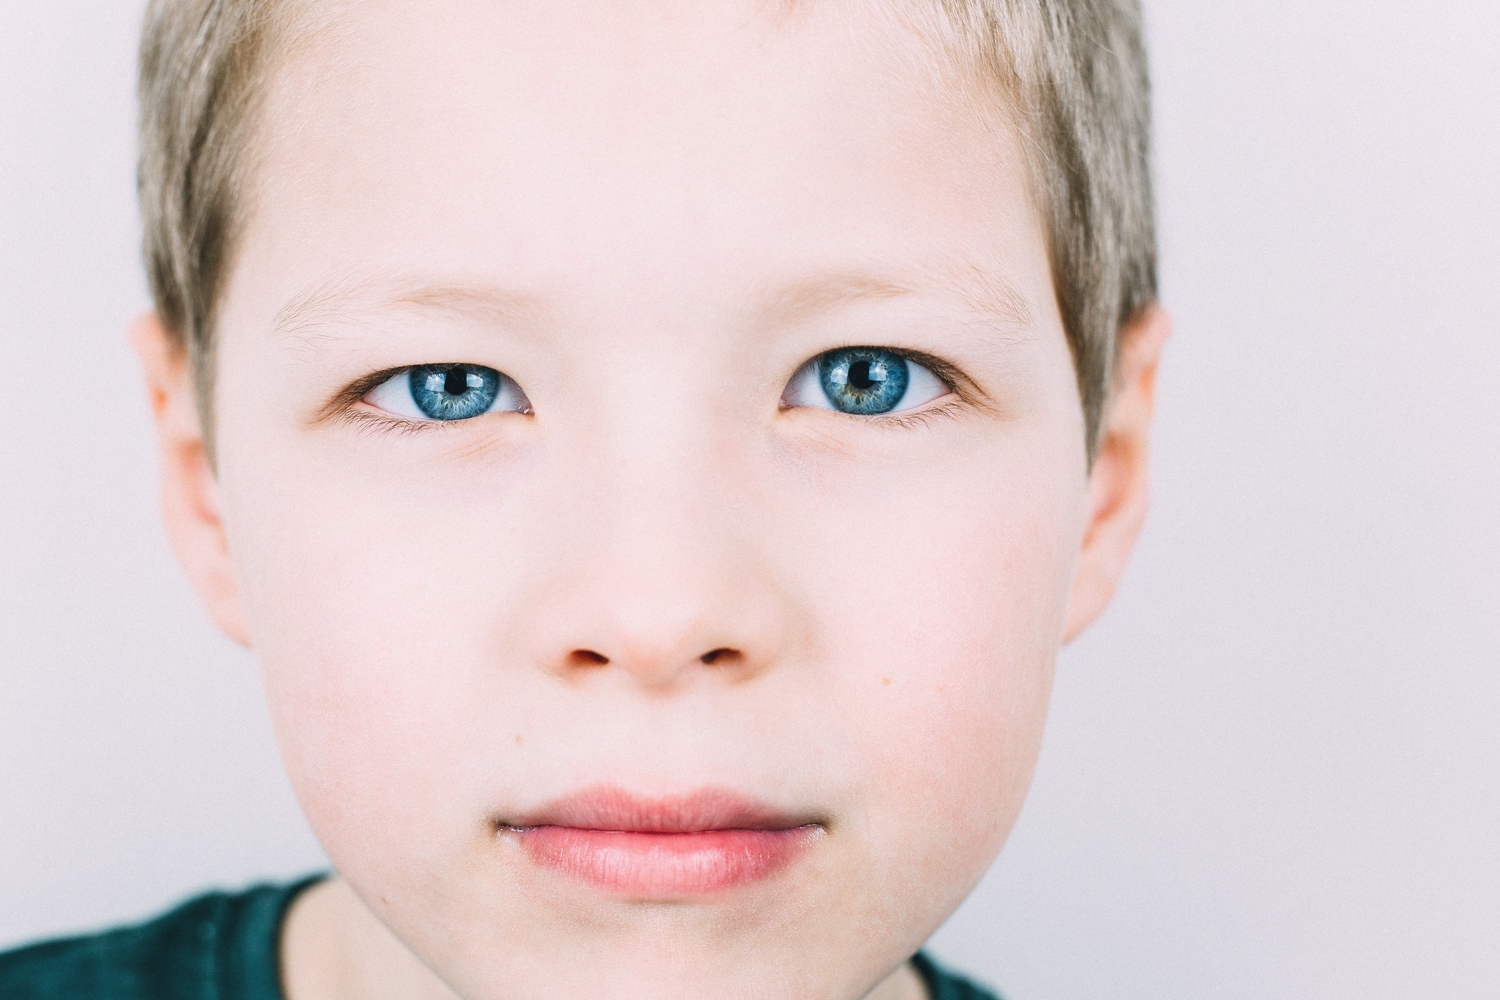
When trying to achieve this effect, always try to focus on the eye that is closest to the camera and if you can always try to minimise the distance between you and your subject and try to create as larger distance between your subject and background as you can.
Next up is another fiercely contested debate, is Lightroom or Adobe Camera buy cialis 10mg australia RAW/Photoshop better? When I first started out editing photos I always used to start off in Lightroom and then finish my image off in Photoshop. The main benefit I found to Lightroom is that it has a history panel much like in Photoshop but not a feature of ACR, that was my main reason to using Lightroom. Now I never touch Lightroom, I personally much prefer the ACR/Photoshop route as it means I no longer have to edit out of one piece of software to then transfer over to another, with Photoshop, you edit in ACR and then it opens up to Photoshop (if you shoot JPEG you can open your image in Photoshop and then use ACR within Photoshop).
When it comes to editing, the one thing I will recommend that you do is when you are editing a photo, always try to stay in the same physical surroundings as when you start. If you start editing an image on your laptop with the sun beating down in the room, then decide to finish that image off in another room where the light is less harsh, you will end up re-editing the picture from the start as it will look different, the colours will be off.
To contradict what I have just told you to always do, the one thing I ALWAYS ALWAYS do is when I am at a stage of near completion I will leave the room for five minutes (go and make a cuppa or grab a snack). Come back and look at your image, as you may notice certain colours need altering, your image may look slightly redder than you remember.
Before I get into showing you my workflow and helping you with yours, I want to tell you what I use to edit my pictures, so as to give you a chance to buy these should you wish before the next part of this tutorial.
To go along with my tutorial, I will be providing you in part 3 with some FREE actions that will help you with your workflow. All of the actions I will provide you are actions I use on every single one of my images. I will be providing you with some time saving actions such as:
- Saving images for social media
- Toning fixes
- Skin smoothing (which I used when I first started out but don’t use anymore)
- My new skin correction method (when I say my new it’s not my invention, just the new processes I use which I will cover in part 4)
- Dodging and Burning action (which I will cover in part 4)
- Action to touch up eyes
- Finishing touches to your images actions
- Plus many many more
But to compliment my actions, I use film emulation presets for Adobe Camera Raw that will need to be purchased before part 3 tutorial if you wanted to follow along. You don’t have to get these, you can just follow along if you like.
Personally I use presets from VSCO , in particular I use variations of AGFA Vista 100 and 400 (pack 5 from VSCO) on 95% of my images, the other 5% are a mixture of other VSCO presets. I have been using VSCO for over a year now and wouldn’t use anything else. You can also get other film emulation presets from Mastin Labs and Totally Rads Replichrome. I personally haven’t used Mastin Labs or Replichrome, but I would imagine you could achieve similar results, my workflow carries across different presets.
If you go to Totally Rads site here they have a few free presets from the Replichrome set to try, so you could use them to follow along my tutorial.
Finally I also use some free curves to finish off my images from Digital Film Actions. If you download them I will show you in part 3 how to install them to use.
So they are my top tips for what format to shoot in, what my gear is and what I use to edit my images.
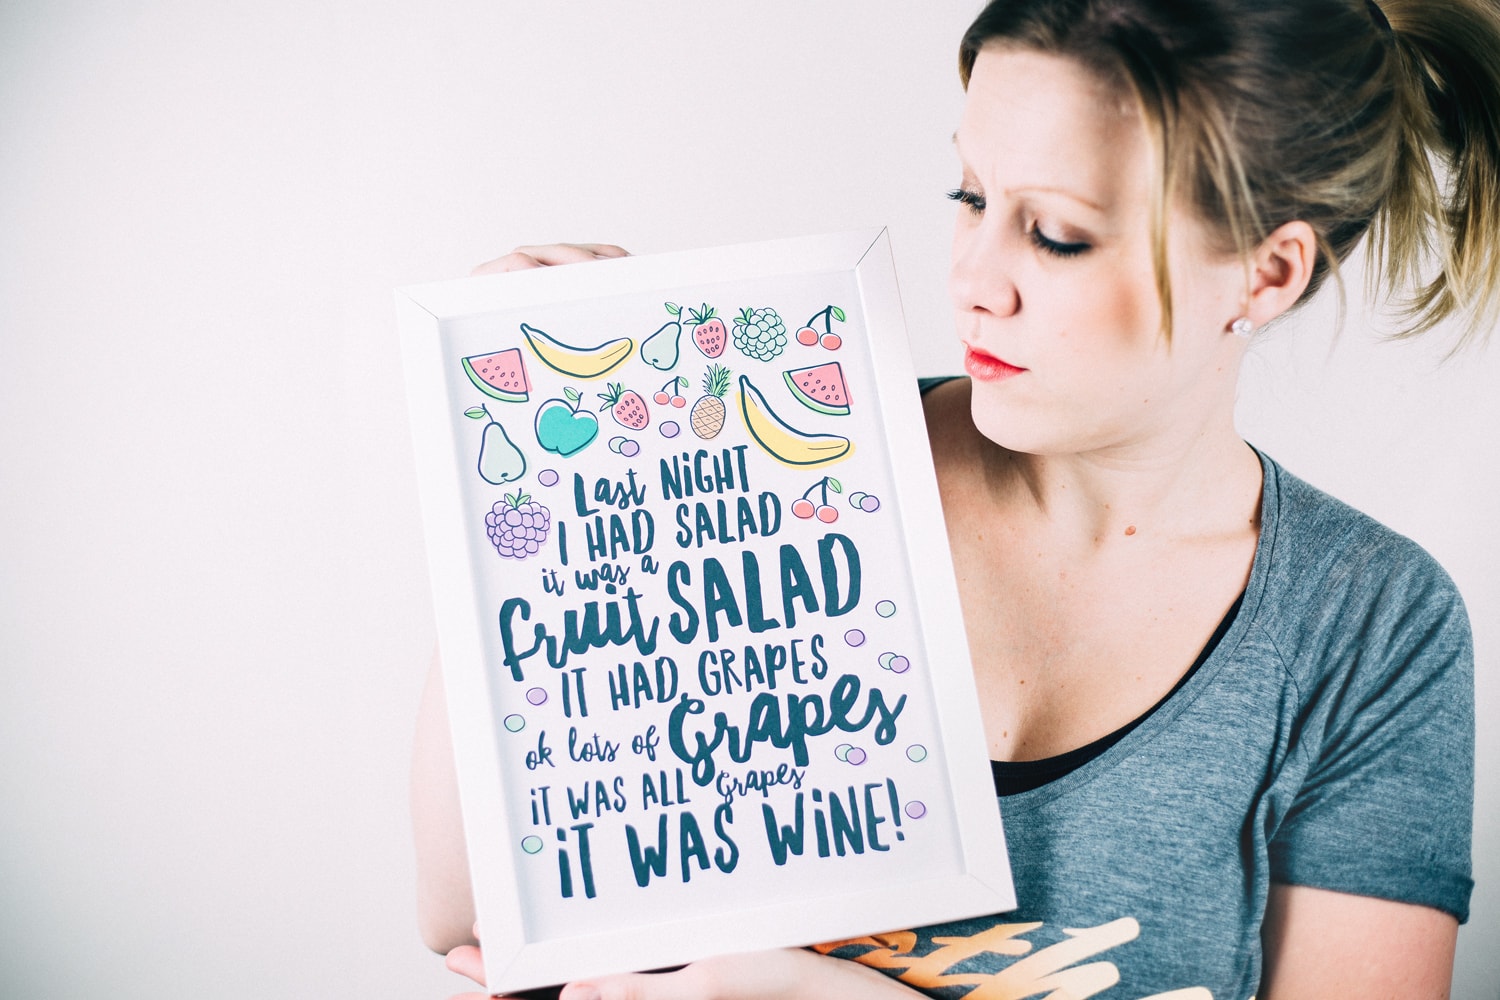
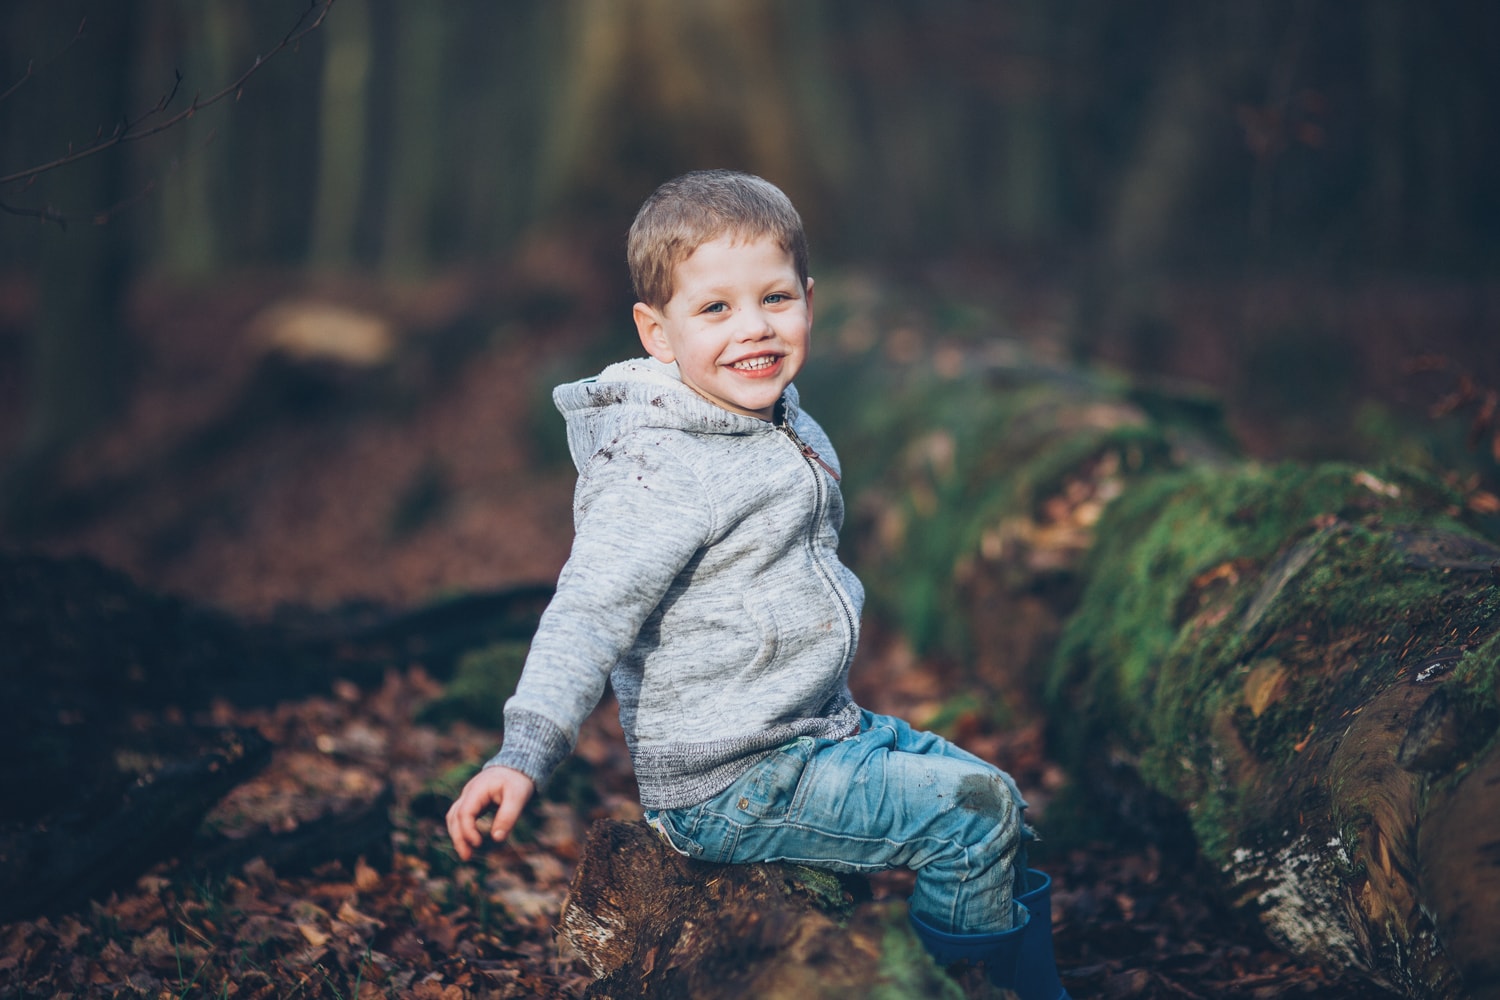
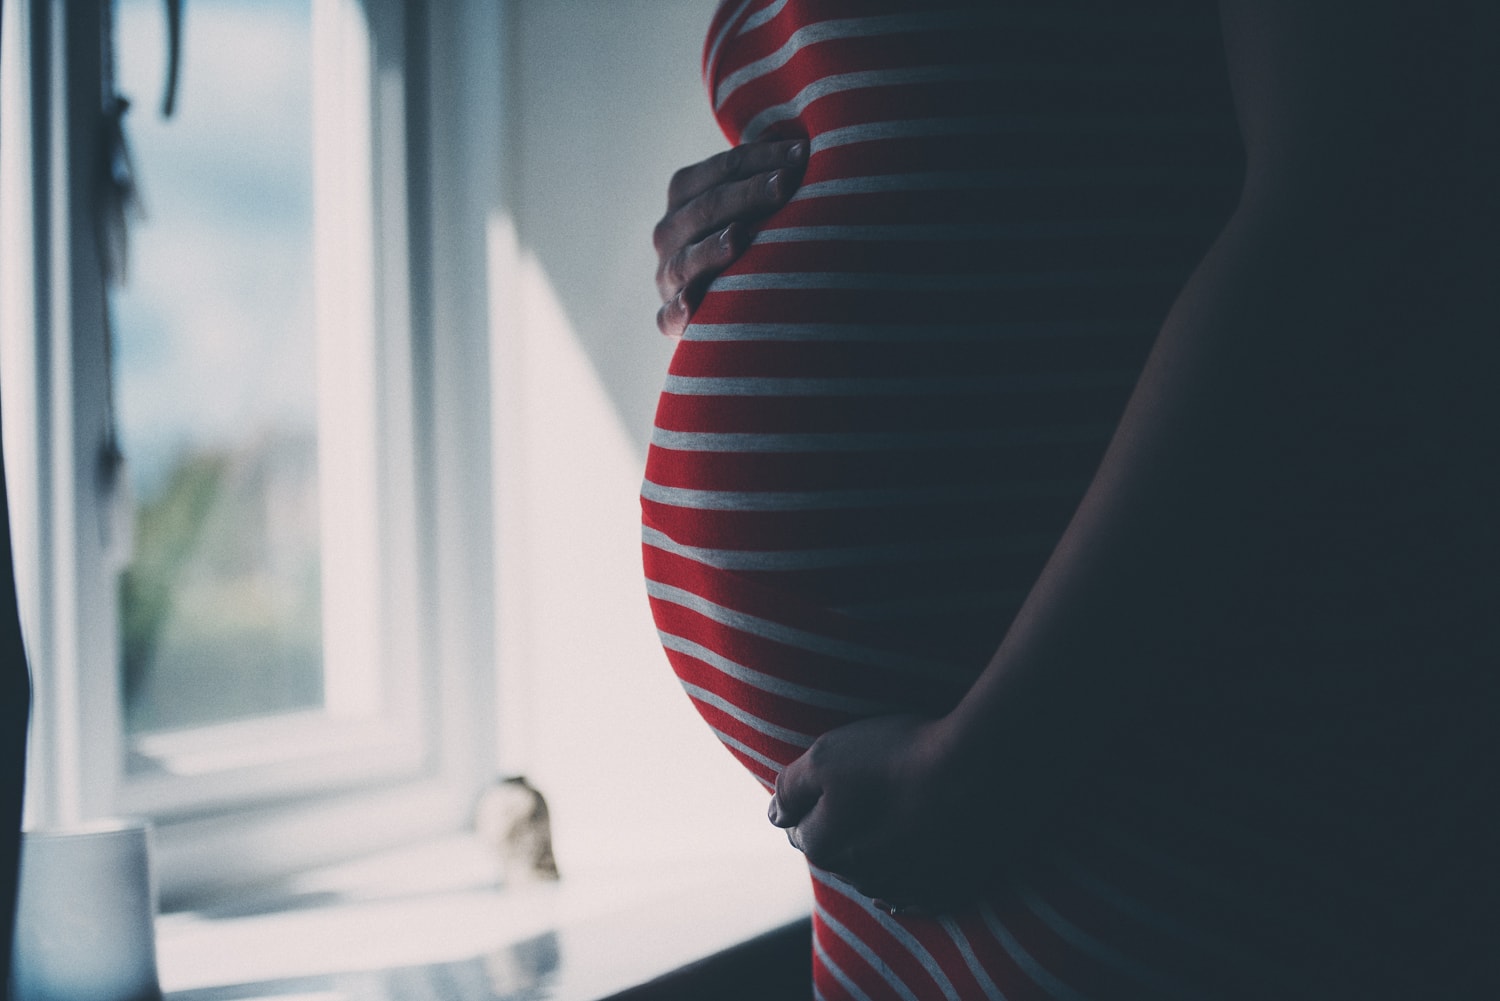
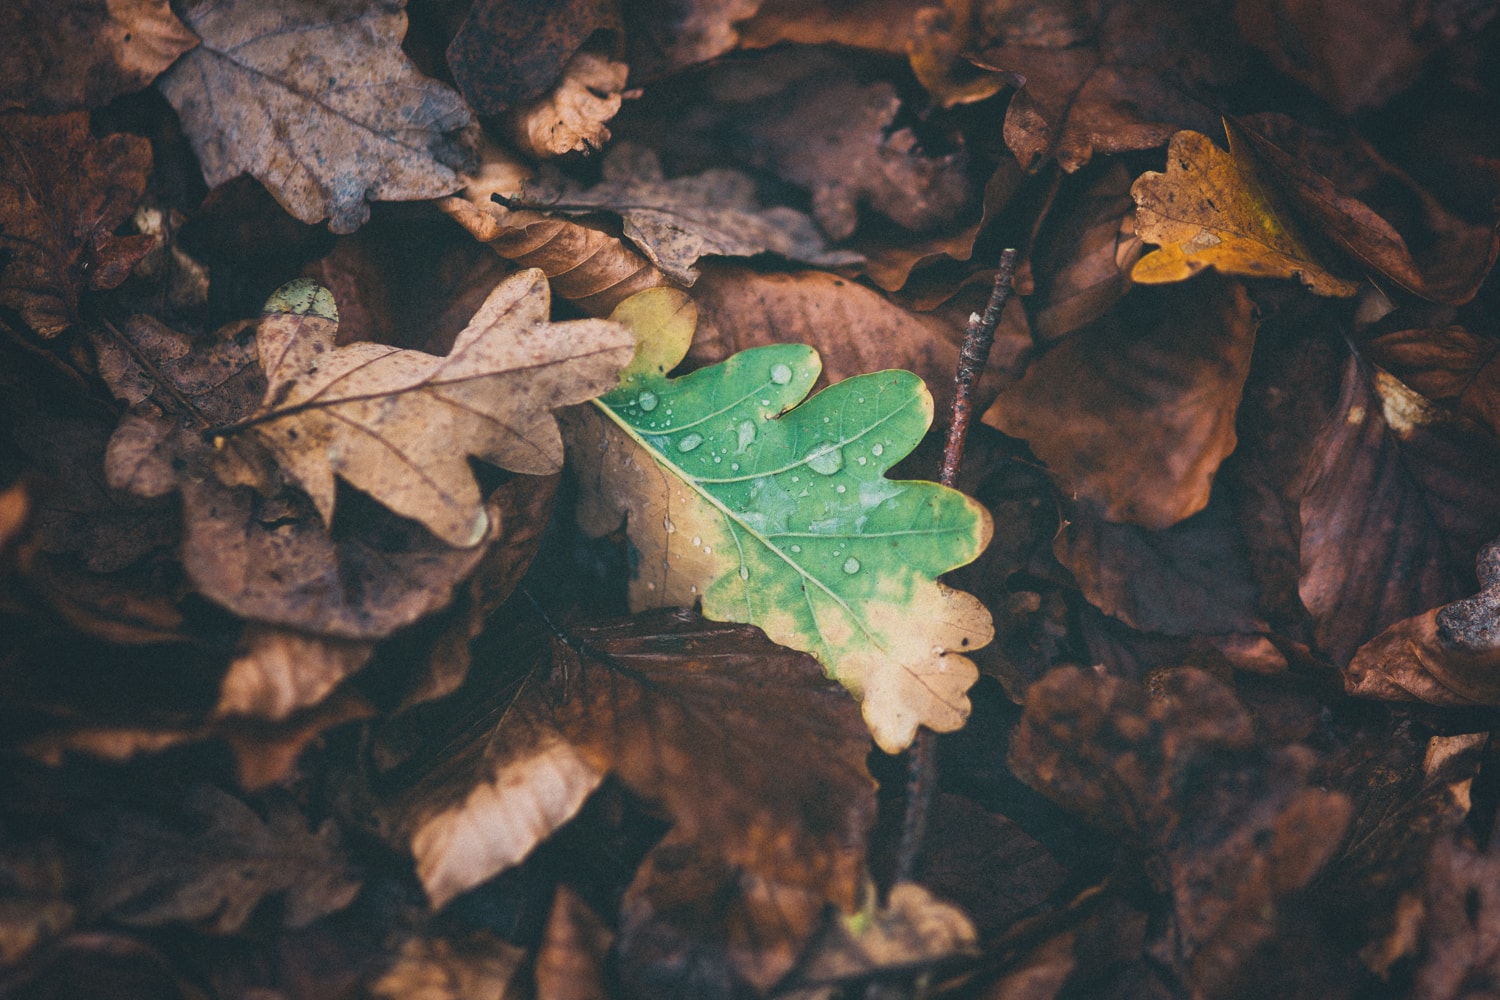
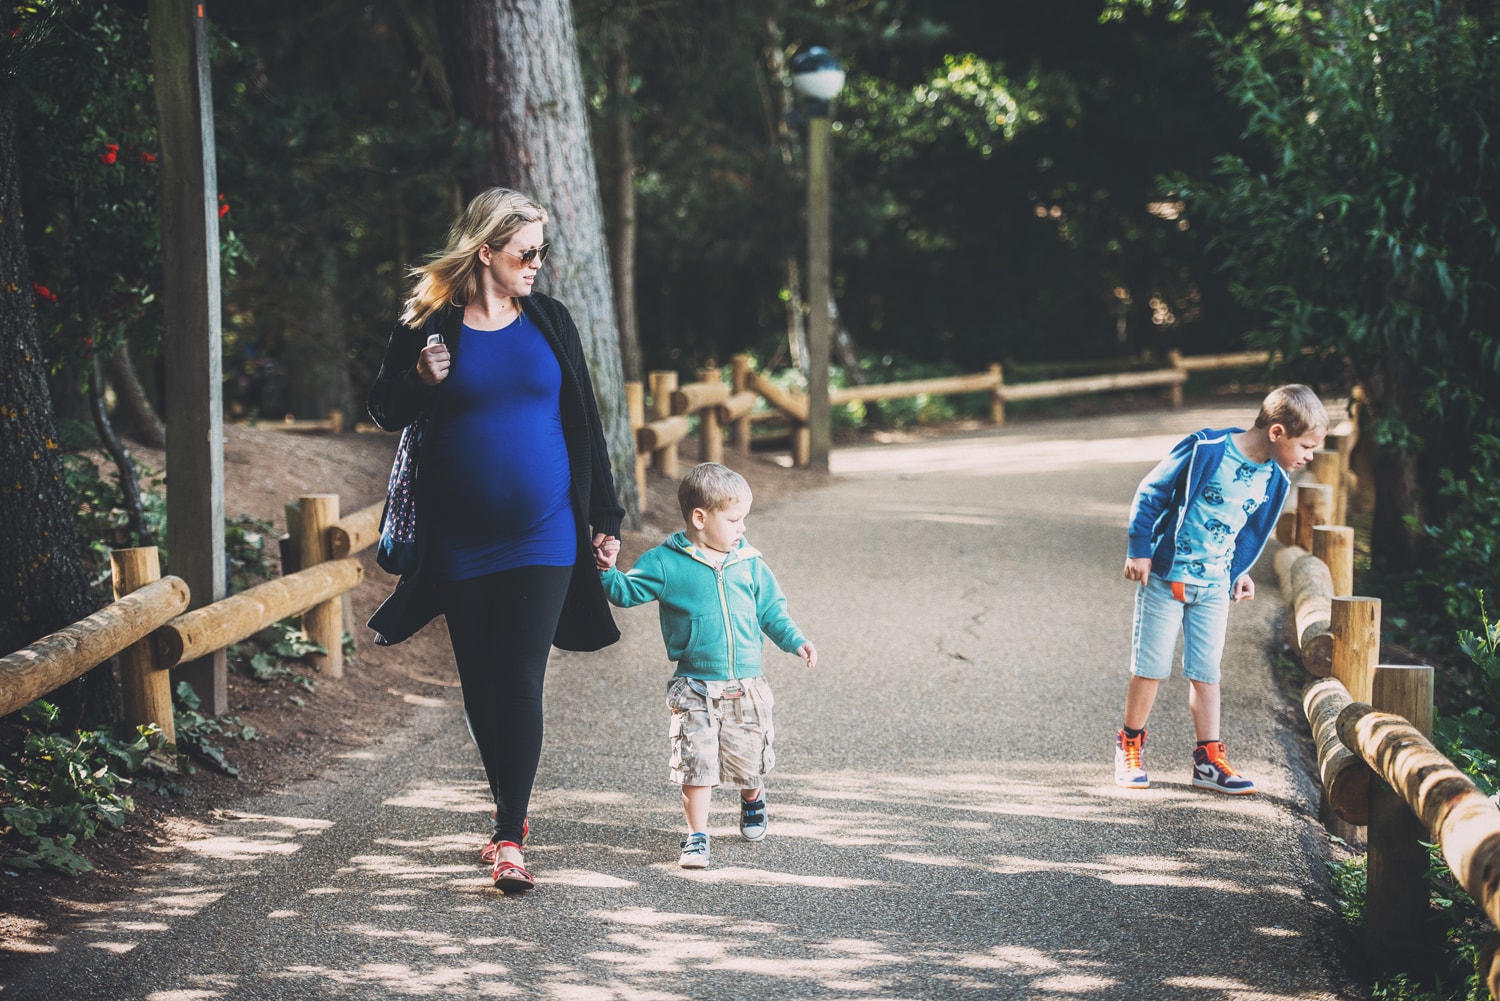
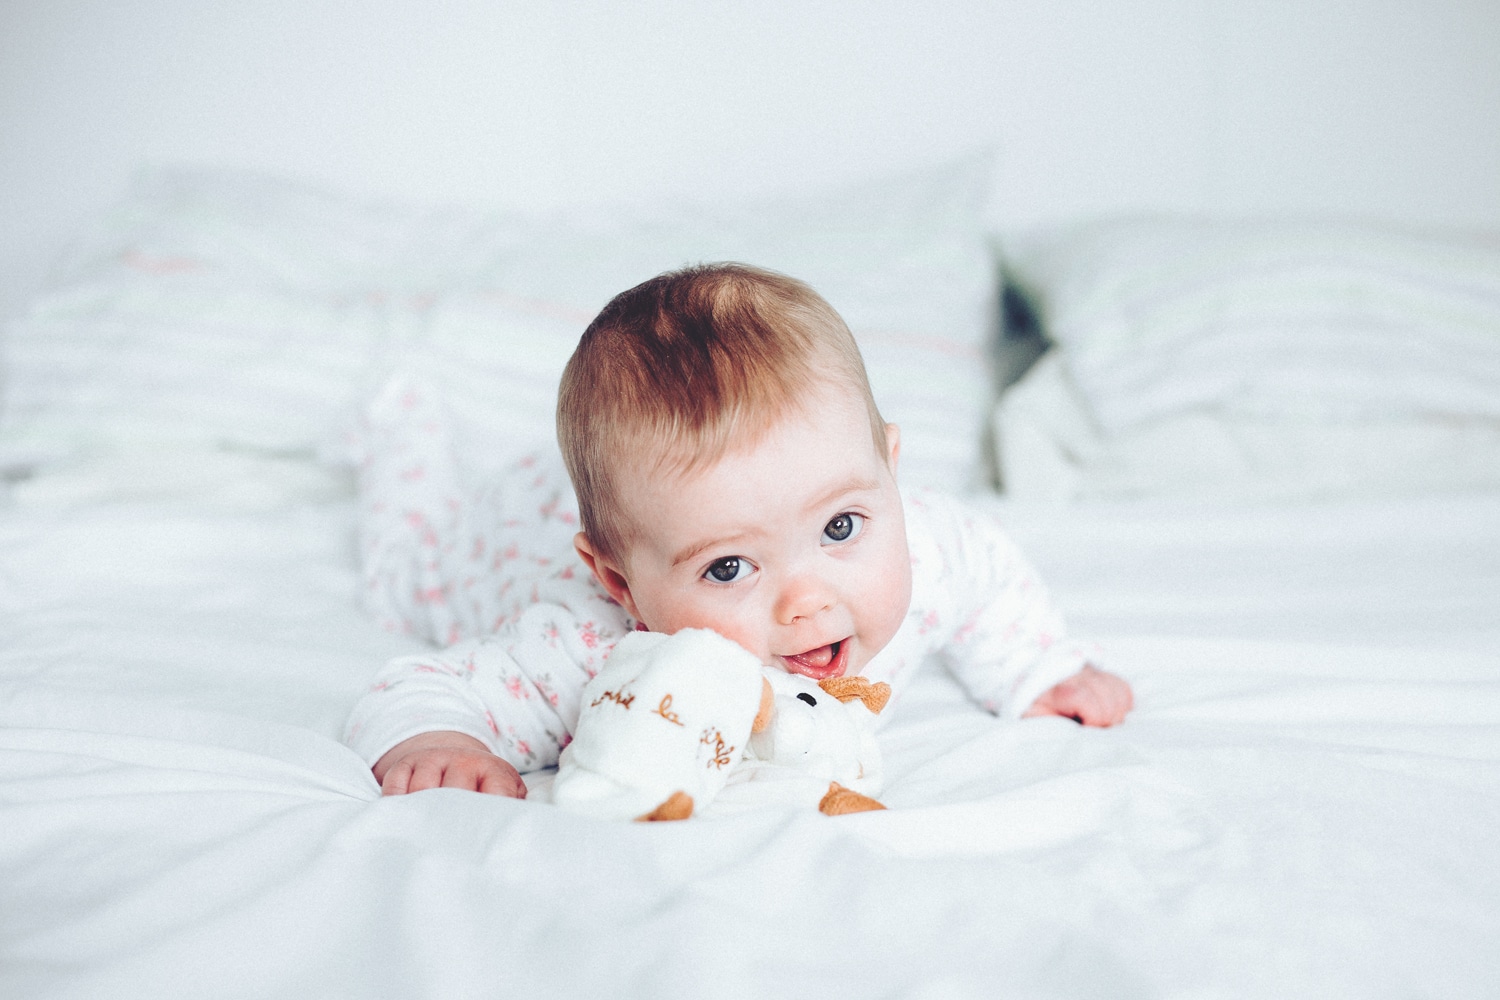
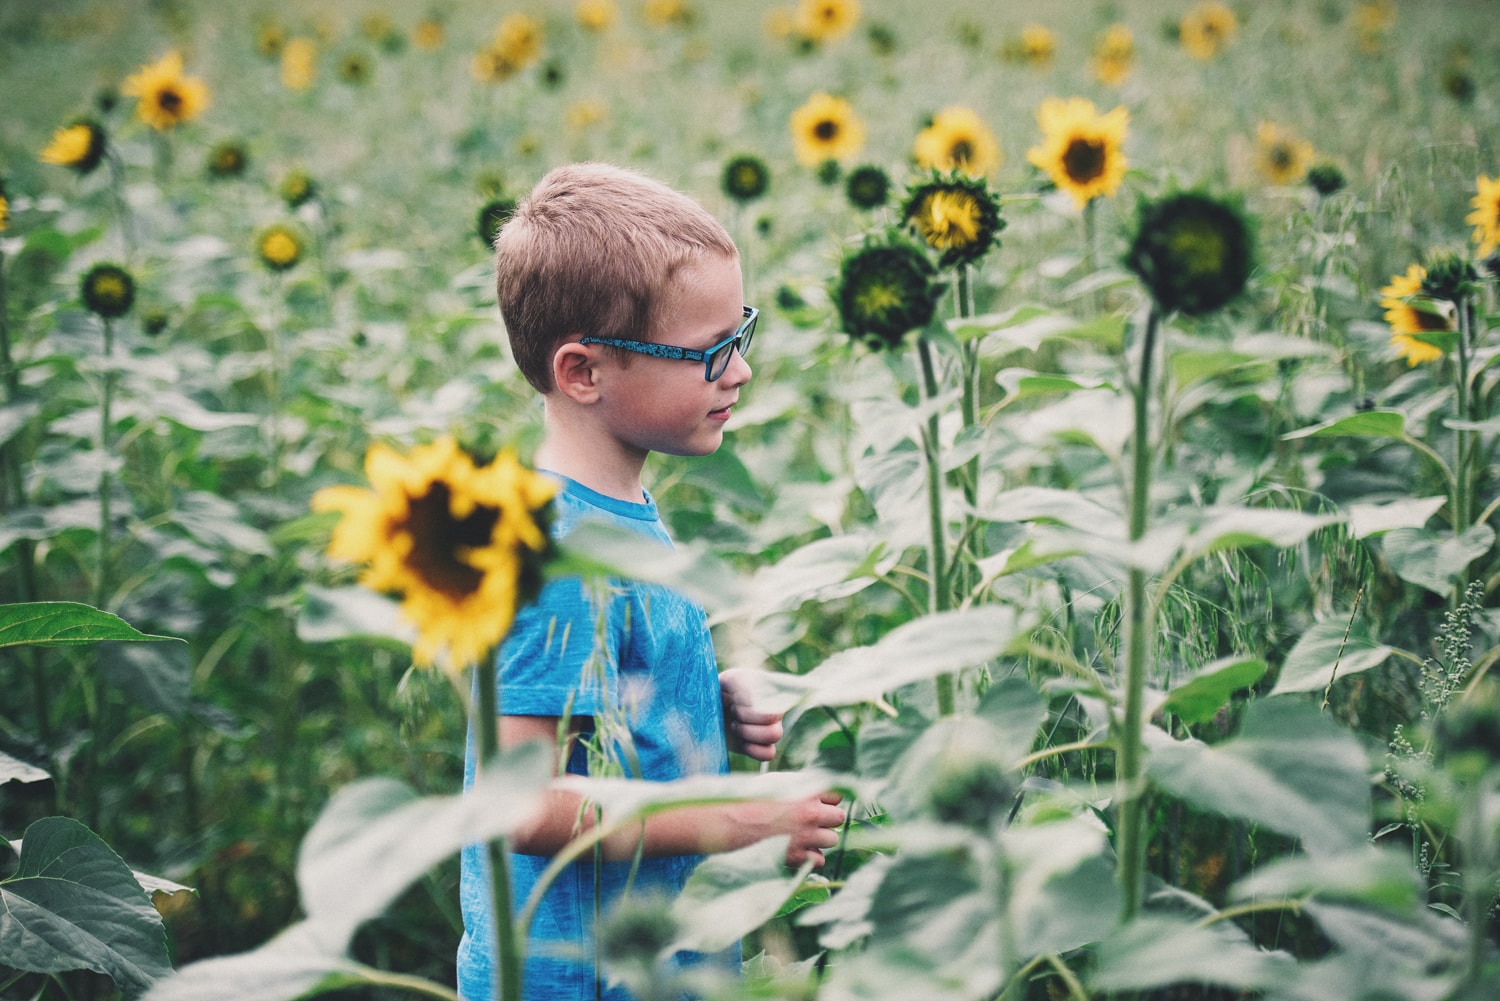
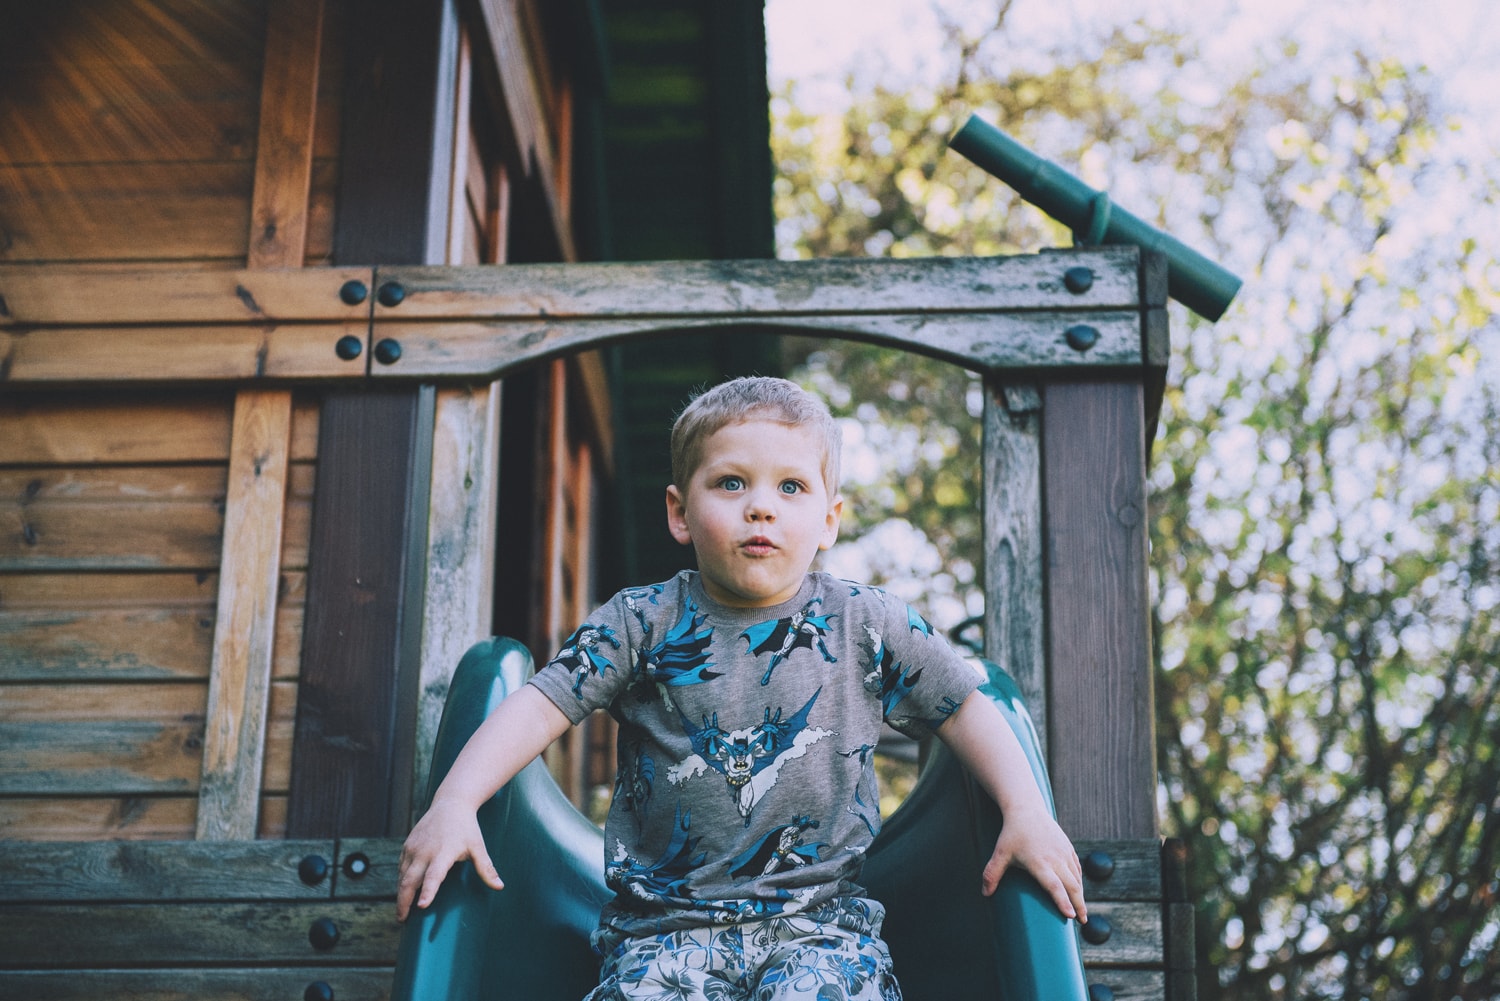
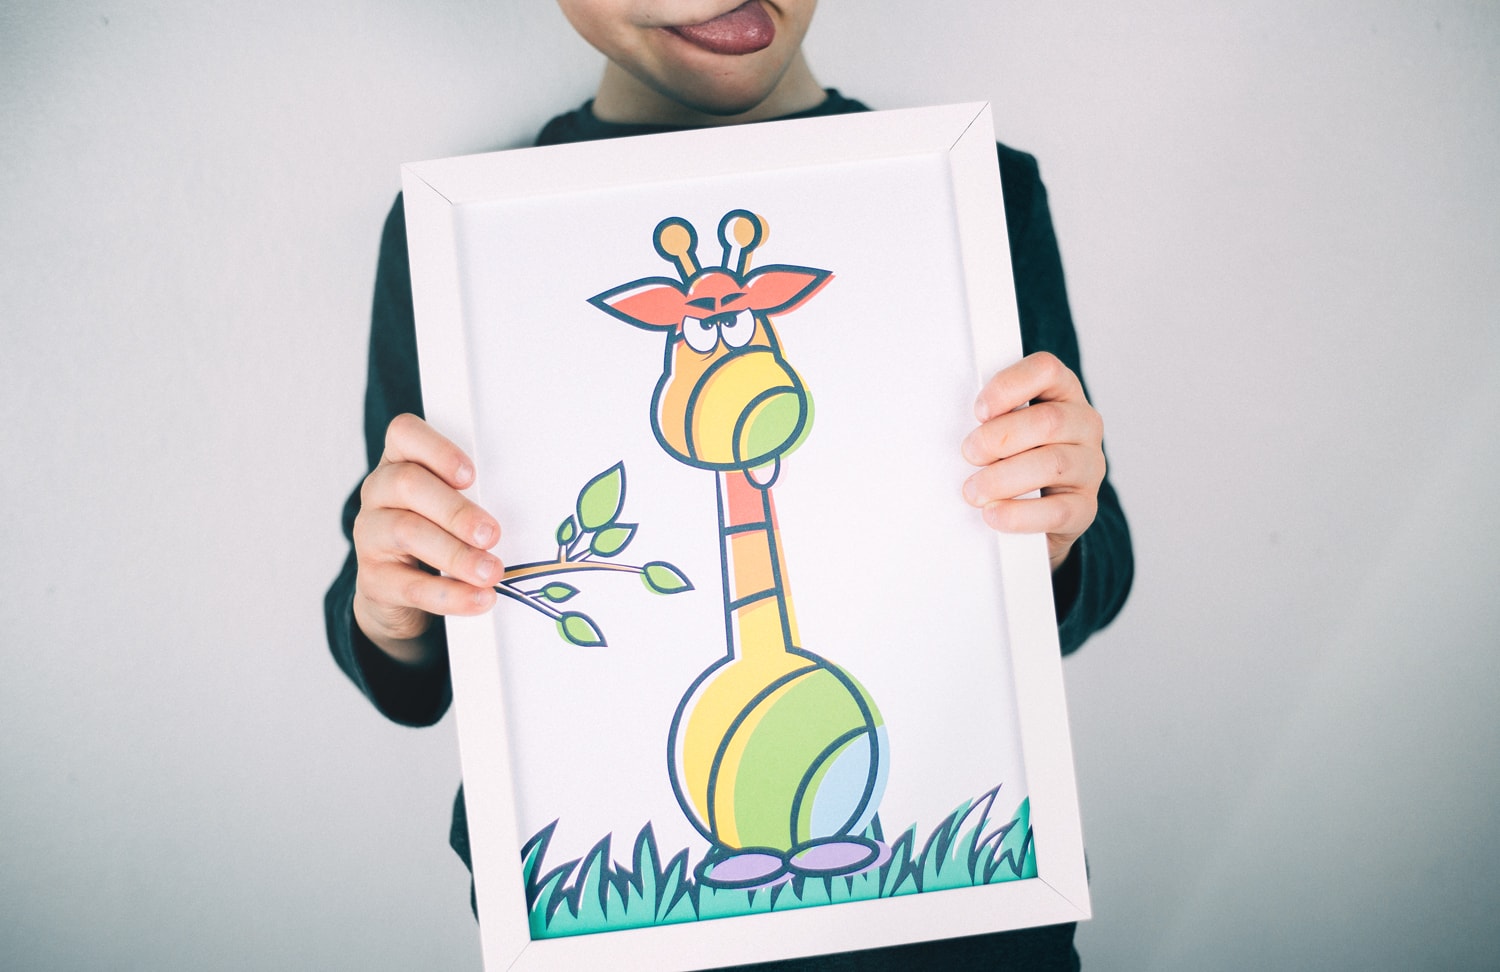
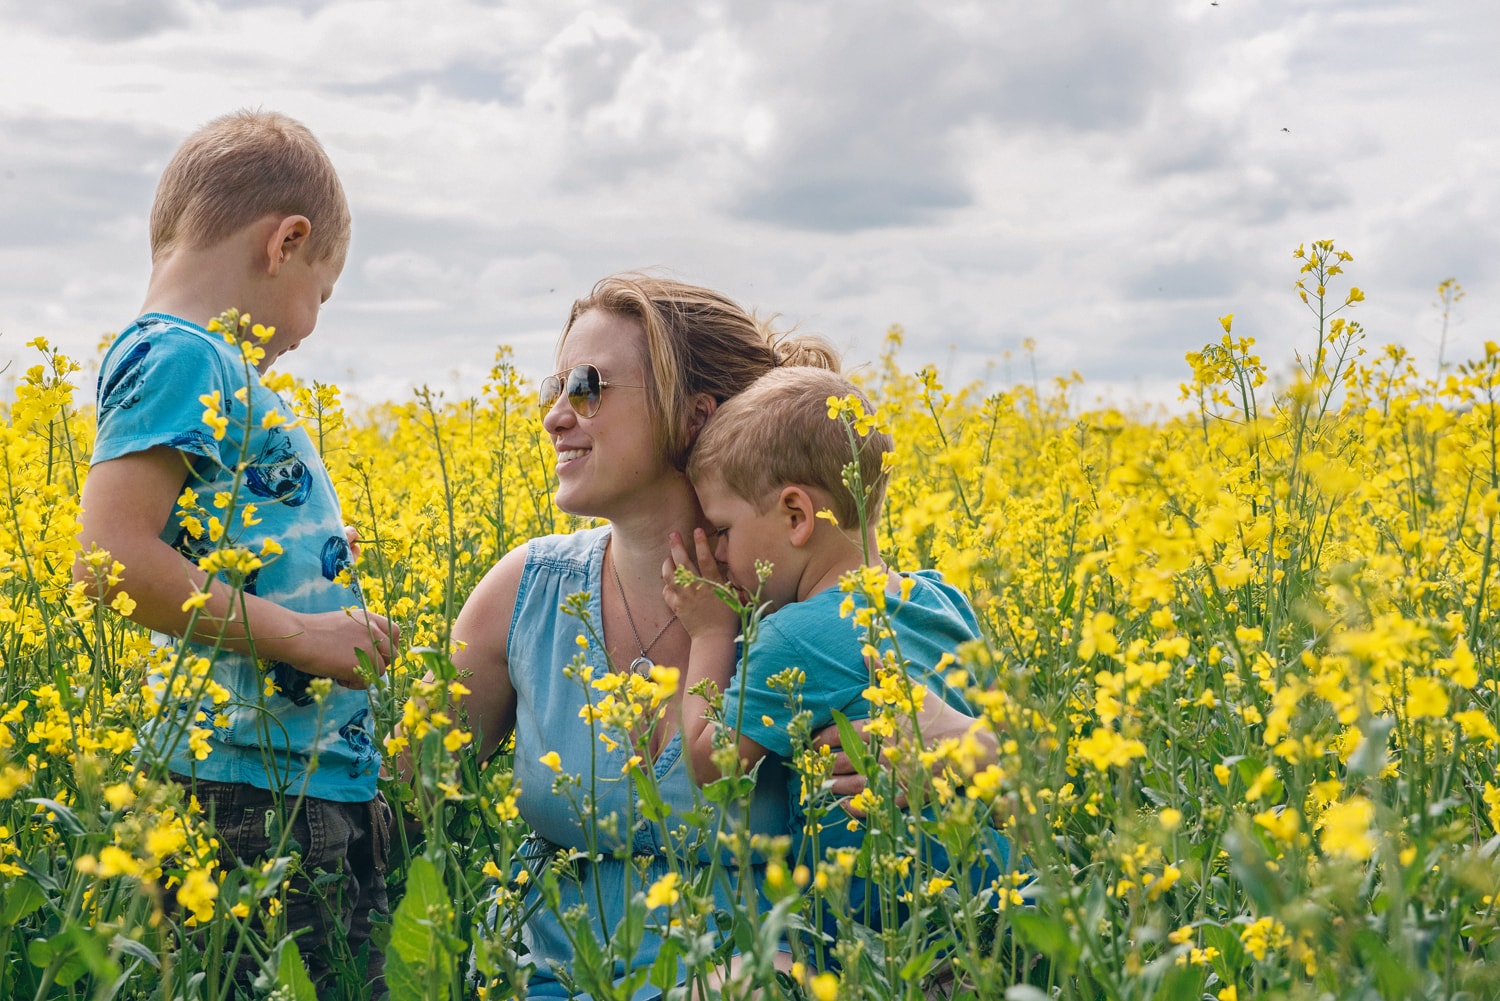
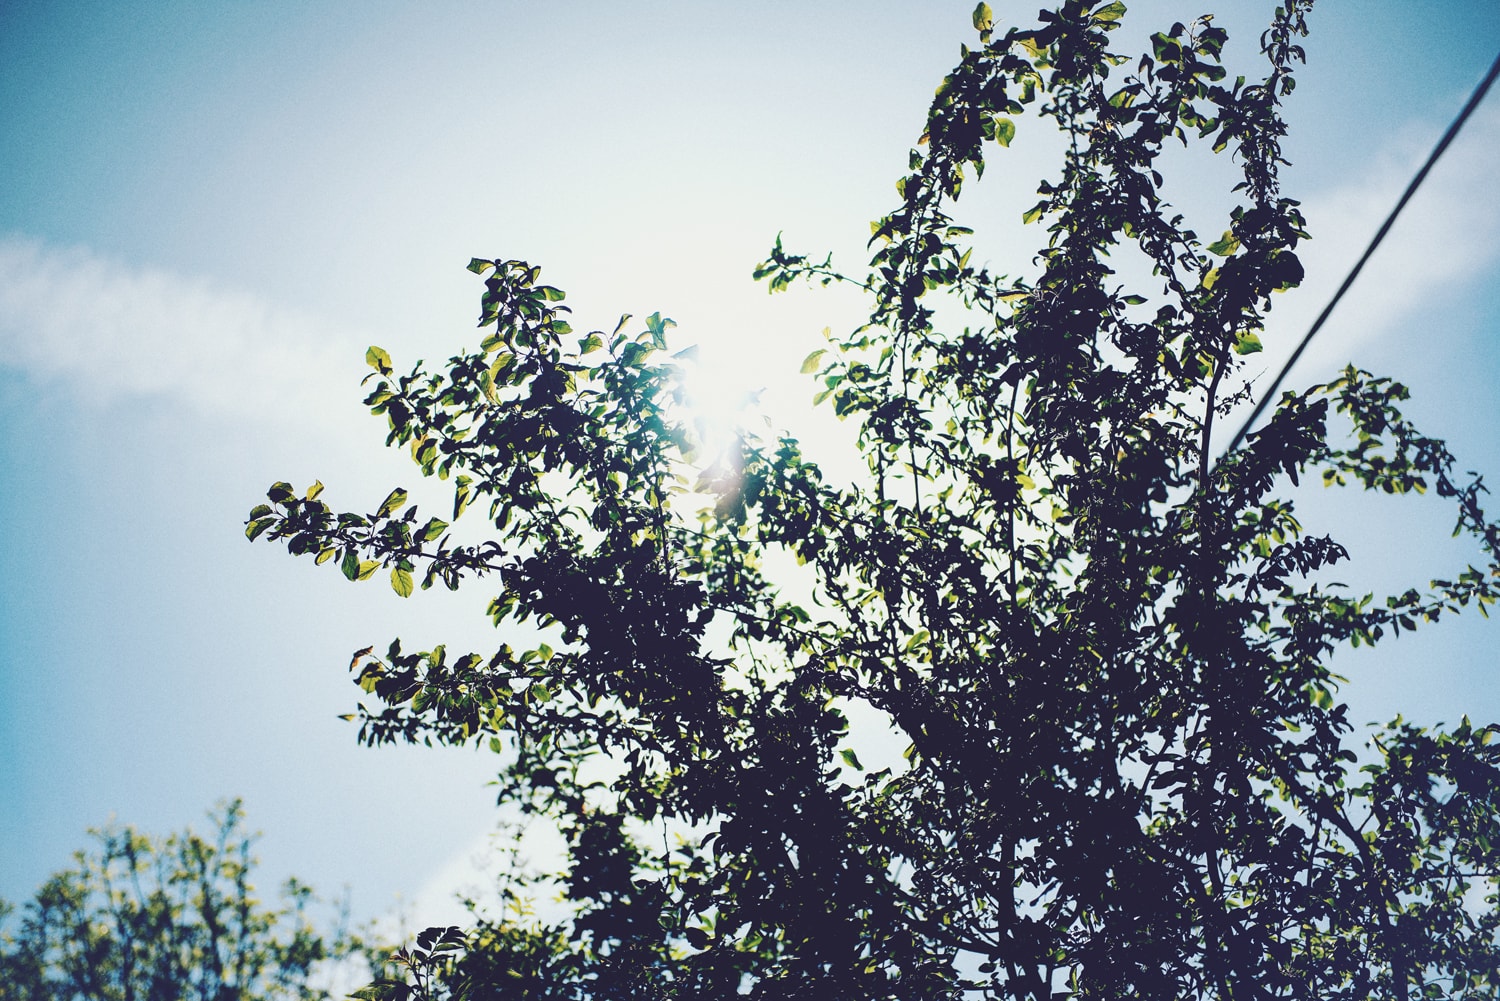
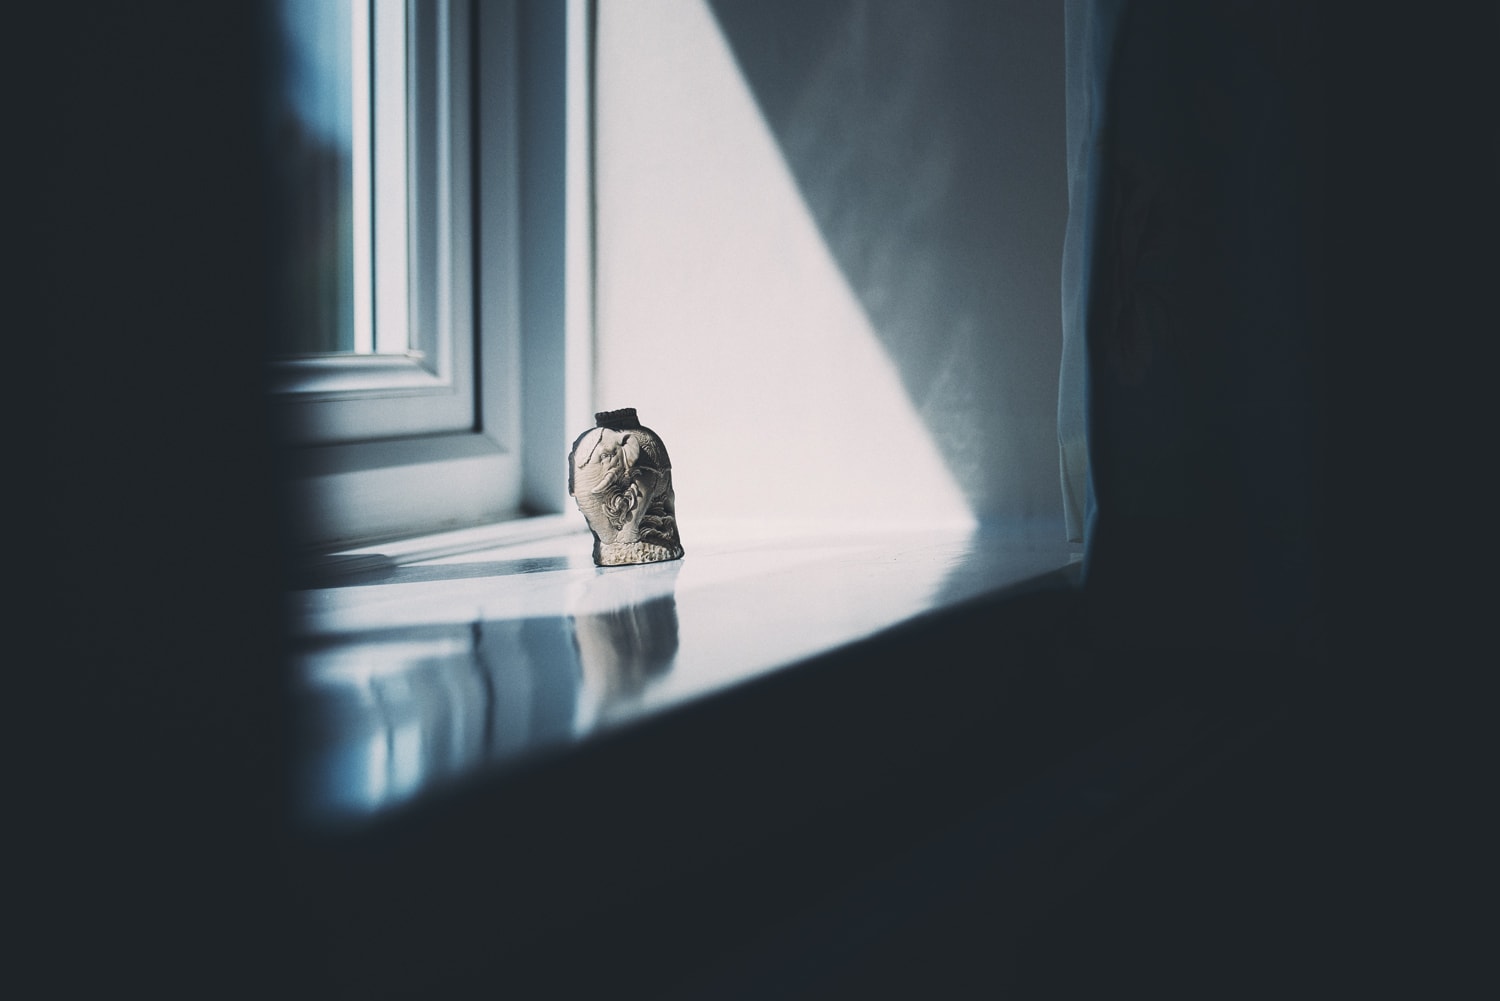
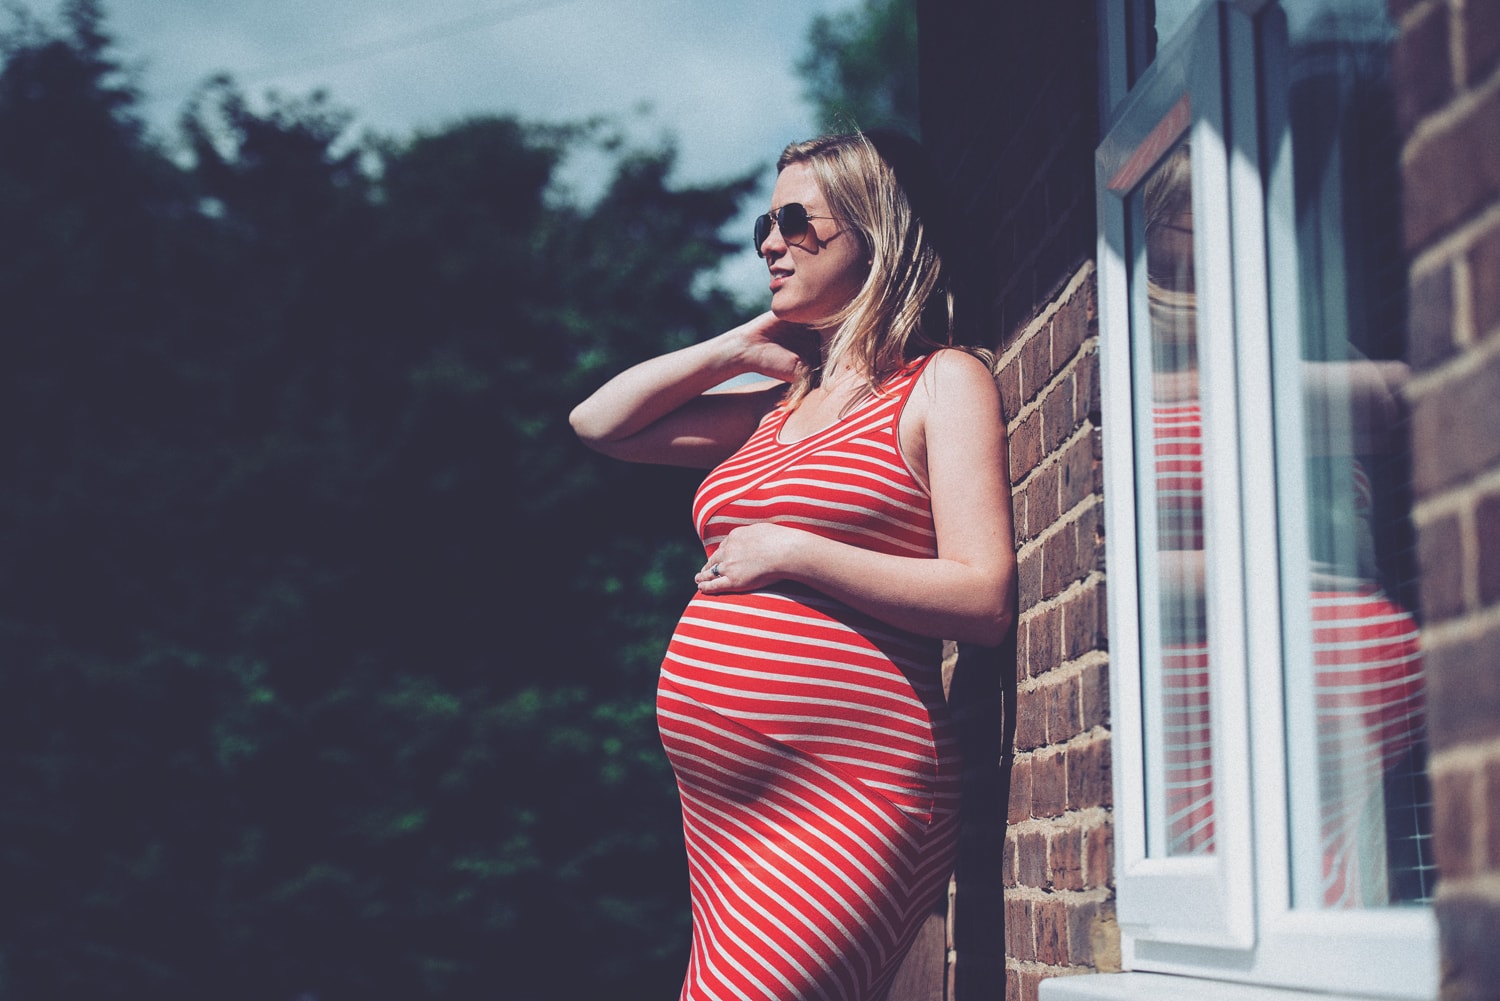
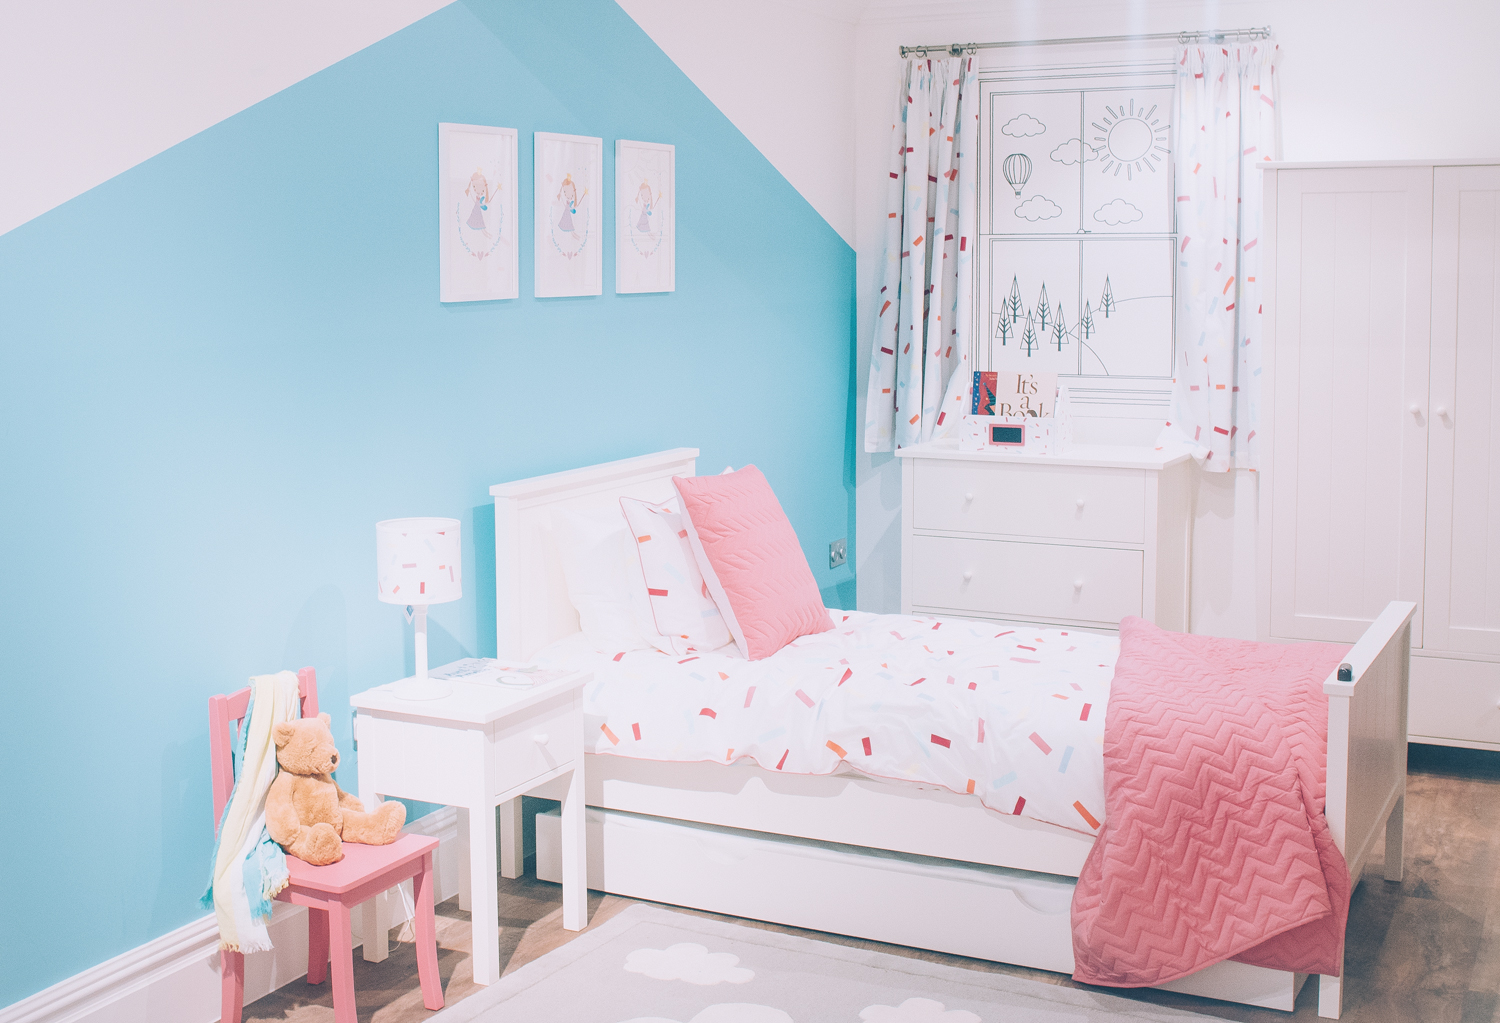
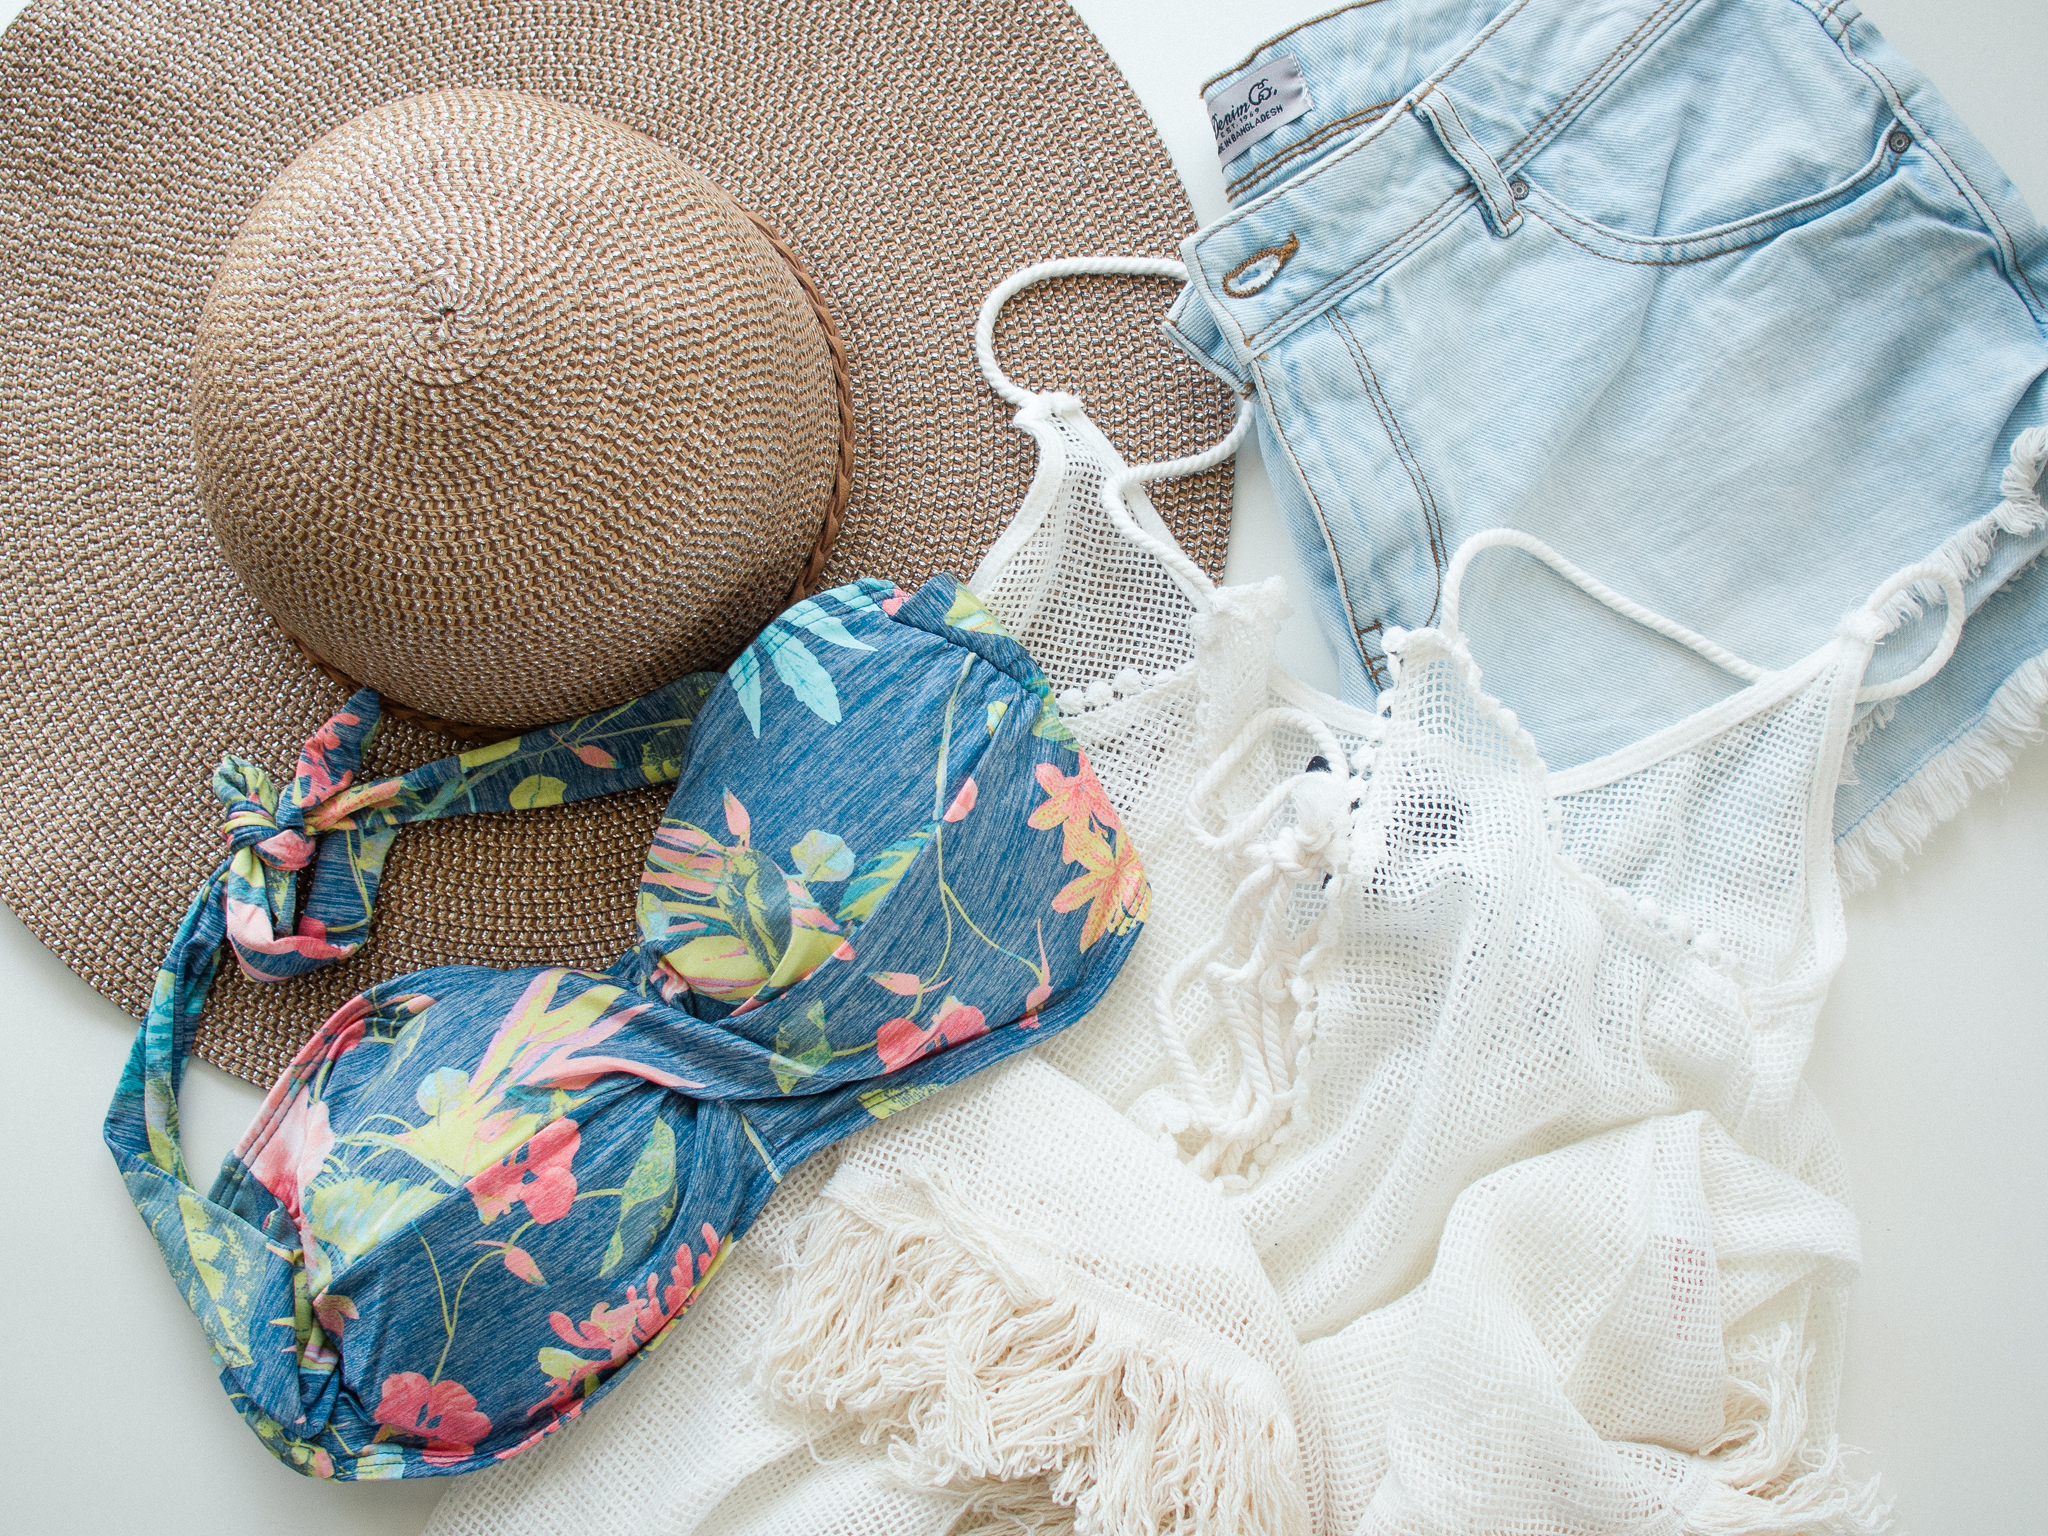
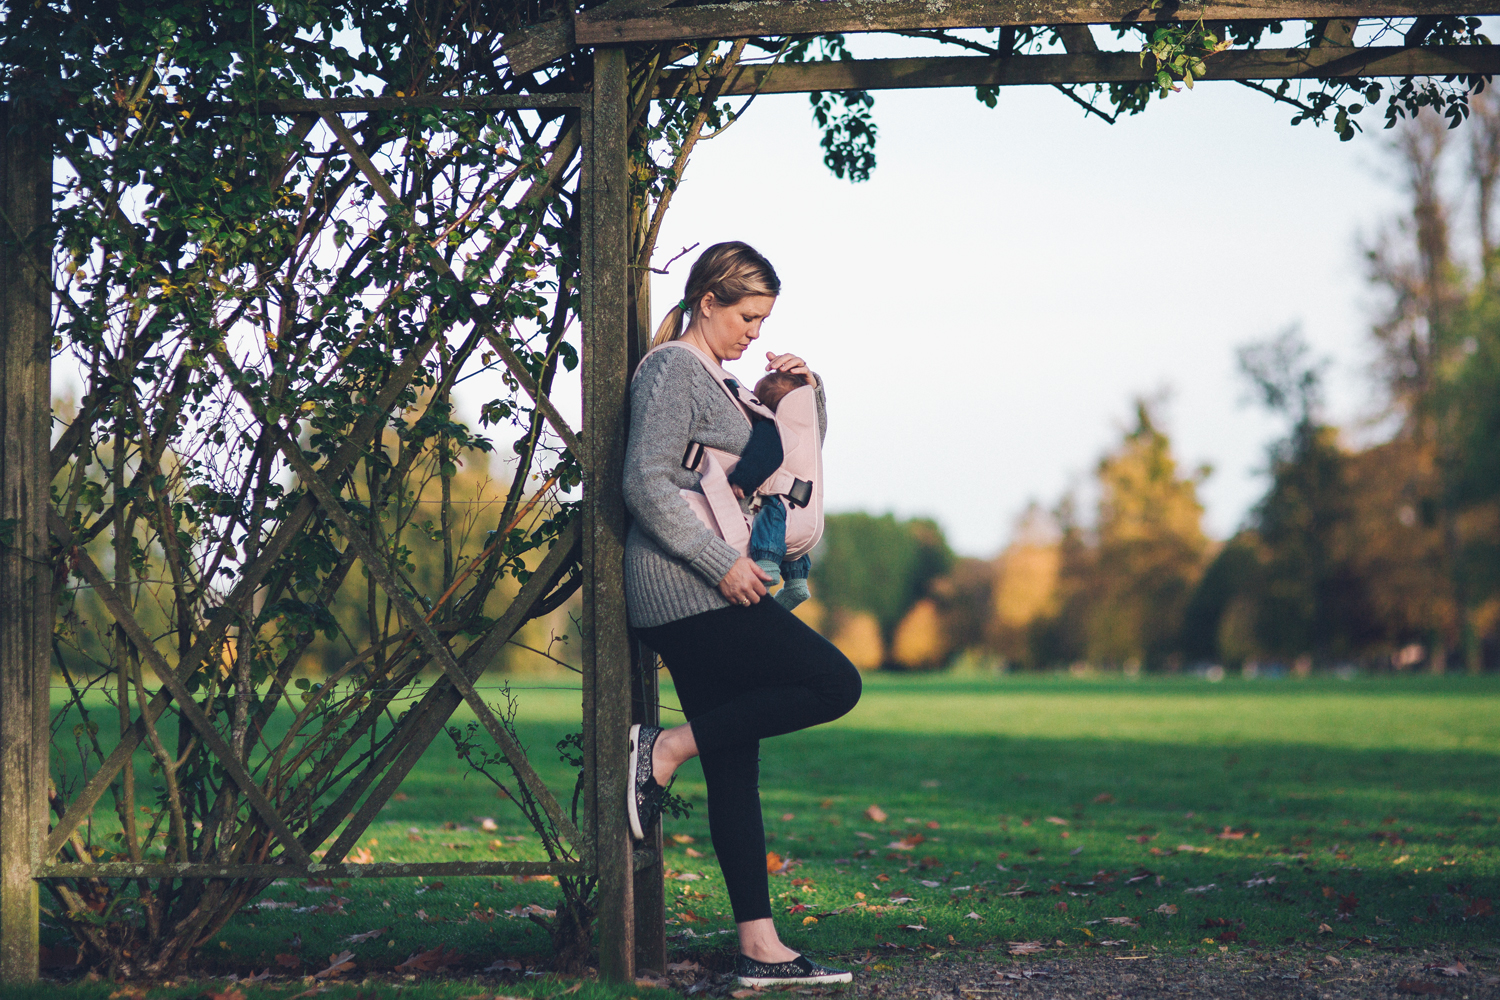
Join me in part 3 for my tutorial. Here are a few of my images which I edited using all of my actions I mentioned above and using VSCO (I re-edited all of the images for the purposes of this post, and each image took no more than five minutes each). All of the below images were shot using my Nikon D7100, Nikon D750 and Canon EOS 5D Mk iii.


N.B. I am in no way affiliated with any of the companies mentioned in this post nor do I receive any commission on any sales you make through their websites. I am only pointing you in the direction of the products I use myself or have been recommended to me.


Thank you again for another really insightful blog post. I am saving all of these, they’re so handy. And thank you for replying to my comment on the last post. I’m still stuck on deciding what camera to go for next, it was going to be the Nikon D7200, but I currently have a Canon and I think I should perhaps stick with Canon. I don’t know if I should wait a while and rather than get the Canon 70d, save up and go for something a bit more expensive. It’s such a hard choice, I guess I just need to pick something and go for it.
Your photos are amazing!
Hey no worries…. It would all depend on where you want to end up… I had the same problem and thats why I ended up going through so many cameras before settling on the Canon EOS 5d mk iii….. I would buy a camera then would end up wanting more and would then trade up!
I had a Nikon D7100 but I found it quite limited as its a cropped sensor camera (I tried a full frame after owning the D7100 and instantly wanted a full frame body). I moved to the Nikon D750 and loved this camera, the colours were so rich and coupled with the right lenses produced some beautiful images. When buying the Nikon D750 I was also looking at the Nikon D810, which is what I would have bought had I had the money at the time!
The Canon 70D is a great camera, its also especially good for vlogging/doing videos on (but again is a cropped sensor). Just to give you a fe more options for full frame cameras, here are my recomendations to look into, all these cameras are excellent choices and cameras I have tried myself, just depends on your budget:
– Canon EOS 5d mk iii (would recomend this camera all day long, its my favourite but is pricey)
– Canon EOS 5DS (amazing detail in the images but pricey)
– Nikon D810 (would have bought if my budget permitted)
– Nikon D750 (amazing camera, most of the photos above were taken with my old D750)
– Nikon D610 (very close to the Nikon D750)
– Canon EOS 6D (Canons version of the Nikon D610)
– Sony A7S ii
I would recomend saving a bit more if you can and getting something you really will have for a while rather than going for something now and then upgrading again as it will cost more in the long run. But thats just my advice and advice I wished I had listened to myself!
Hope this helps and if you have any other questions just shout 🙂
Thanks so much for your help! I really appreciate it. I’m glad you mentioned the Nikon D610 – as thats currently what I’m looking at after doing some more research and realising that I wanted and probably needed a full frame camera. I’d like to stick with Canon, but the EOS 6D is a bit more expensive. So I think I might jump to Nikon and hope the settings aren’t too hard to learn. Your posts are very helpful – thanks again!
You are more than welcome. Full frame cameras open up so many more possibilities, especially when it comes to your shot not being so zoomed in and cropped. If you go the Nikon route this is the first lens I would recomend getting, it is the first one I bought on my first full frame Nikon and the one I ended up using most of the time because of how versatile it is:
https://www.amazon.co.uk/Nikon-AF-S-NIKKOR-50mm-1-8G/dp/B004Y1AYAC/ref=sr_1_1?s=electronics&ie=UTF8&qid=1463482693&sr=1-1&keywords=AF-S+Nikkor+50mm+f1.8G